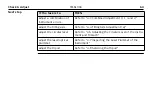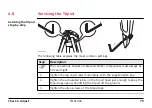
Step
Description
1.
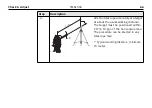
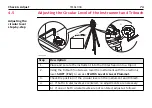
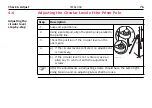
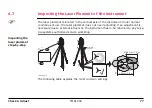
Place and secure the instrument into the tribrach and onto a tripod.
2.
Using the tribrach footscrews, level the instrument with the electronic
level.
STATUS Level & Laser Plummet
.
3.
Laser Plummet
page. Switch on the laser
plummet. Inspection of the laser plummet should be carried out on a
bright, smooth and horizontal surface, like a sheet of paper.
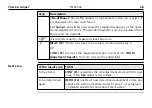
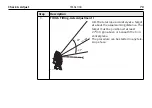
4.
Mark the centre of the red dot on the ground.
5.
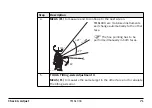
Turn the instrument through 360° slowly, carefully observing the move-
ment of the red laser dot.
The maximum diameter of the circular movement described by the centre
of the laser point should not exceed 3
mm at a distance of 1.5
m.
6.
If the centre of the laser dot describes a perceptible circular movement or
moves more than 3
mm away from the point which was first marked, an
adjustment may be required. Inform your nearest Leica Geosystems
authorized service workshop. Depending on brightness and surface, the
diameter of the laser dot can vary. At 1.5
m it is about 2.5
mm.
78
Check & Adjust
Содержание TM6100A
Страница 1: ...Leica TM6100A User Manual Version 1 0 English ÎÄÓÉÌìÀÖ â æÍø www tleer cn ÕûÀíÌá ...
Страница 50: ...TM6100A_041 a a Intensity actuator 50 TM6100A Operation ...
Страница 81: ...TM6100A_020 1 2 3 4 Check Adjust TM6100A 81 ...
Страница 103: ...b a TM6100A_023 a Laser beam b Exit for laser beam Safety Directions TM6100A 103 ...

