


9
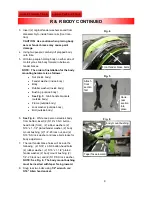
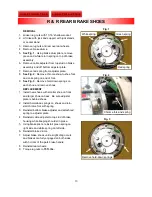
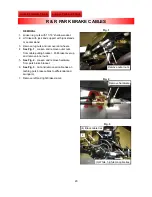
Fig. 5
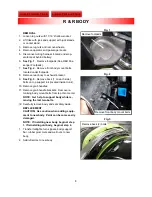
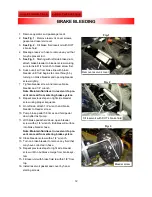
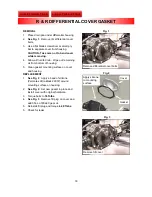
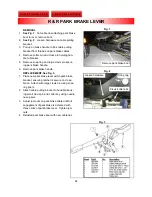
Fig. 4
3. Insert (2) original fender washers saved from
disassembly to inside frame rails (front loca-
tion).
CAUTION: Use caution when placing body
as rear fender braces may cause paint
damage.
4. Using two people, carefully lift prepped body
onto trike.
5. With two people holding body on either side of
motorcycle, slide body forward in between
fender braces.
NOTE: The order of installation for the body
mounting hardware is as follows:
Nut (inside body)
Fender washer (inside body)
Body
Rubber washer (inside body)
Bushing (outside body)
See Fig. 5
. Grab handle brackets
(outside body)
Frame (outside body)
Lock washer (outside body)
Bolt (outside body)
6.
See Fig. 4
. While one person steadies body
from behind, insert (2) 5/16” x 3 NC button-
head bolts (front), (2) rubber washers, (2)
5/16” x 1-1/2” plated fender washer, (2) body
mount bushing, (2) 1/4”-20 lock nut, and (2)
5/16” SS lock washer and leave bolts loose for
body adjustment.
7. The rear fender brace holes will include the
following: (2) 5/16” x 3 NC button-head bolts,
(2) rubber washer, (2) 5/16” x 1-1/2” plated
fender washer, (2) body mount bushing, (2)
1/4”-20 lock nut, and (2) 5/16” SS lock washer.
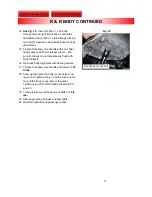
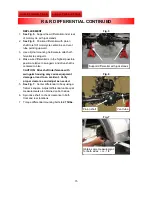
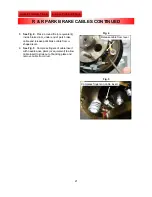
NOTE: See Fig. 6. The body mount bushing
must be inserted with taper facing inward.
8. Snug rear two bolts using
1/2” wrench
and
3/16” Allen head socket.
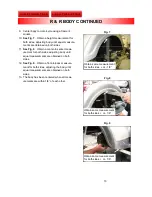
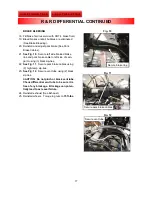
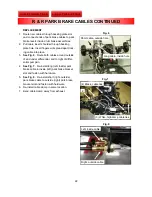
Attach
front
section
first
Hook
rear
section
into
place
Front fender brace bolts
Fig. 6
Taper faces inward
body mount bushing
R & R BODY CONTINUED
Содержание TRAMP 2009
Страница 44: ...u_joint_gu1072 jpg dust_shield_yoke_ls1420 jpg badge_tramp_gb1322 jpg grab handle_lh6202 jpg ...
Страница 46: ...swingarm_ls6200 jpg heat_shield_ls6209 jpg bracket_parkbrake_exhaust_s001361 jpg bracket_muffler_s001362 jpg ...
Страница 49: ...debris_shield_differential_ls1018 jpg shaft_drive_ls1404 jpg yoke_ly1002 jpg cable_park_brake_GB1115_16 jpg ...
Страница 50: ...badge_25year_s001532_REV_00 jpg latch_striker_ls6208 jpg ...