


41
REMOVAL
1. Loosen RH lug nuts with 11/16” shallow
socket.
2. Lift trike with jack and support with jack stands
or center stand.
3. Remove RH lug nuts and remove RH wheel.
4. Remove operator and passenger seats.
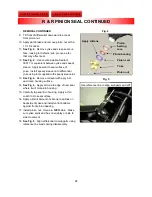
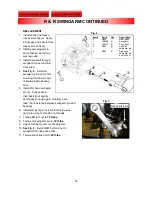
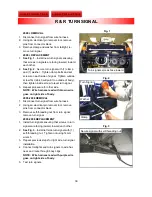
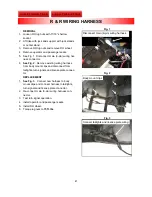
5. See Fig. 1. Disconnect main (6-pin) wiring har-
ness connector.
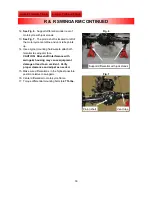
6.
See Fig. 2
. Remove existing wiring harness
from body mount clips and disconnect from
taillights, turn signals and license plate connec-
tor.
REPLACEMENT
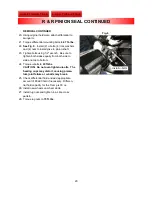
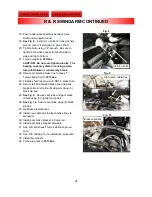
1.
See Fig. 3
. Connect new harness to body
mount clips and connect harness to taillights,
turn signals and license plate connector.
2. Re-connect main (6-pin) wiring harness con-
nector.
3. Test turn signal operation.
4. Install operator and passenger seats.
5. Install
RH
wheel.
6. Torque lug nuts to
75 ft. lbs
.
Fig. 2
Fig. 1
R & R WIRING HARNESS
Body mount clips
Connect taillights and license plate wiring
Fig. 3
Disconnect main (6-pin) wiring harness
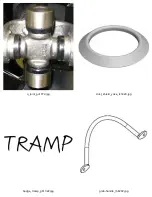
Содержание TRAMP 2009
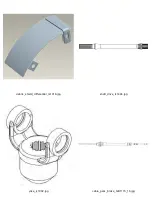
Страница 44: ...u_joint_gu1072 jpg dust_shield_yoke_ls1420 jpg badge_tramp_gb1322 jpg grab handle_lh6202 jpg ...
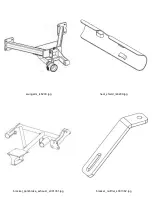
Страница 46: ...swingarm_ls6200 jpg heat_shield_ls6209 jpg bracket_parkbrake_exhaust_s001361 jpg bracket_muffler_s001362 jpg ...
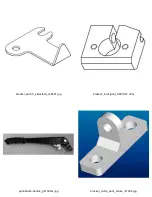
Страница 49: ...debris_shield_differential_ls1018 jpg shaft_drive_ls1404 jpg yoke_ly1002 jpg cable_park_brake_GB1115_16 jpg ...
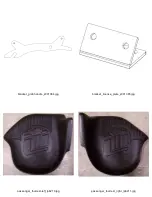
Страница 50: ...badge_25year_s001532_REV_00 jpg latch_striker_ls6208 jpg ...