- 10 -
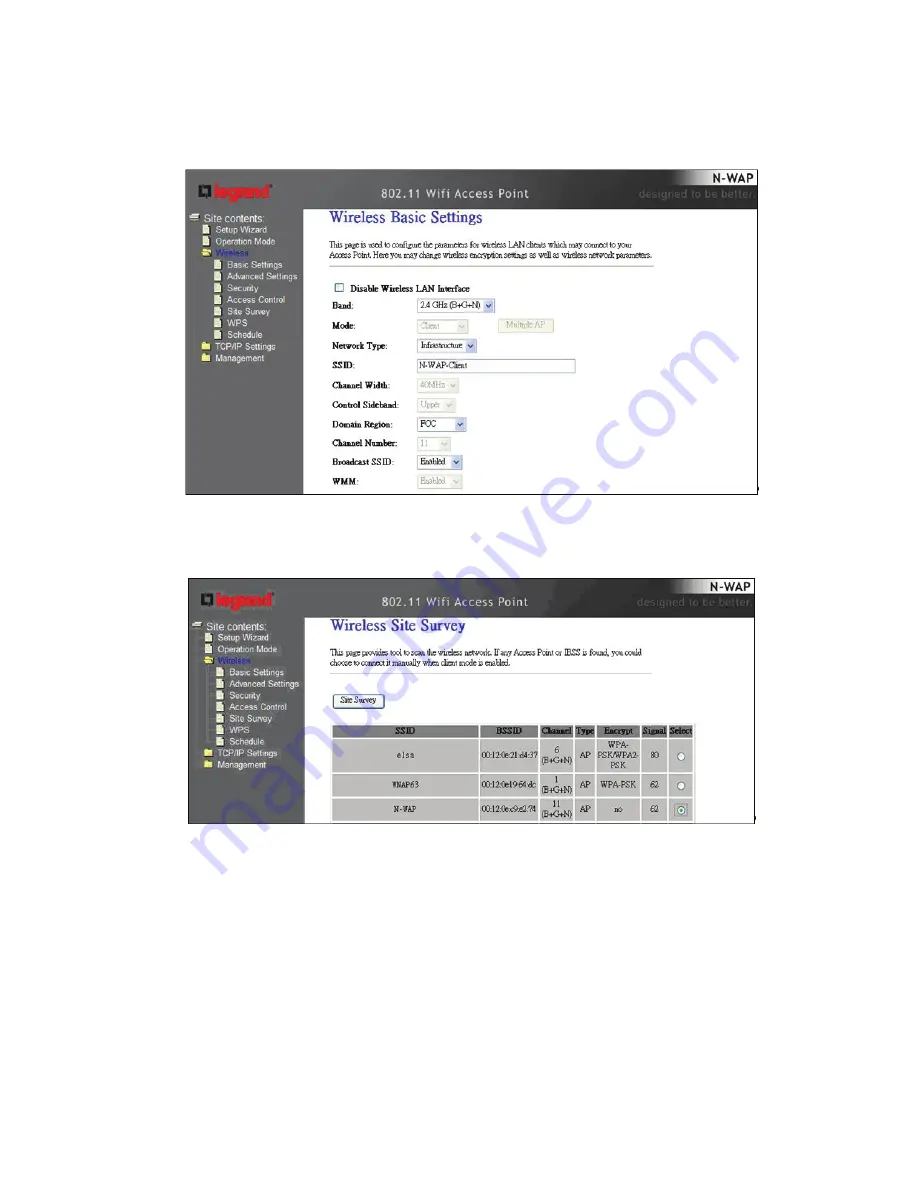
You’ll also need to go to the “Wireless” “Basic Settings” screen (shown below), and change the SSID
to something different than what you called the original N-WAP, and change its Network Type to
“Infrastructure”.
You’ll then need to go to the “Wireless” “Site Survey” screen and click “Site Survey” to search for the
original N-WAP. Once you find it, select it (as shown below), and click “Next”.
Then just click on “Connect”. This tells the second N-WAP that he is a Client of the original N-WAP. At
this point, the PC/s attached to the second N-WAP should be able to be configured to get IP
addresses from the router, through the original N-WAP. Also, if you go to “Wireless” “Basic Settings”,
you should notice that the SSID of the second N-WAP has changed to that of the original N-WAP, and
if you go to the original N-WAP “Wireless” “Basic Settings” “Show Active Clients” screen, you should
be able to see the second N-WAP has been connected to the original N-WAP.


