background image

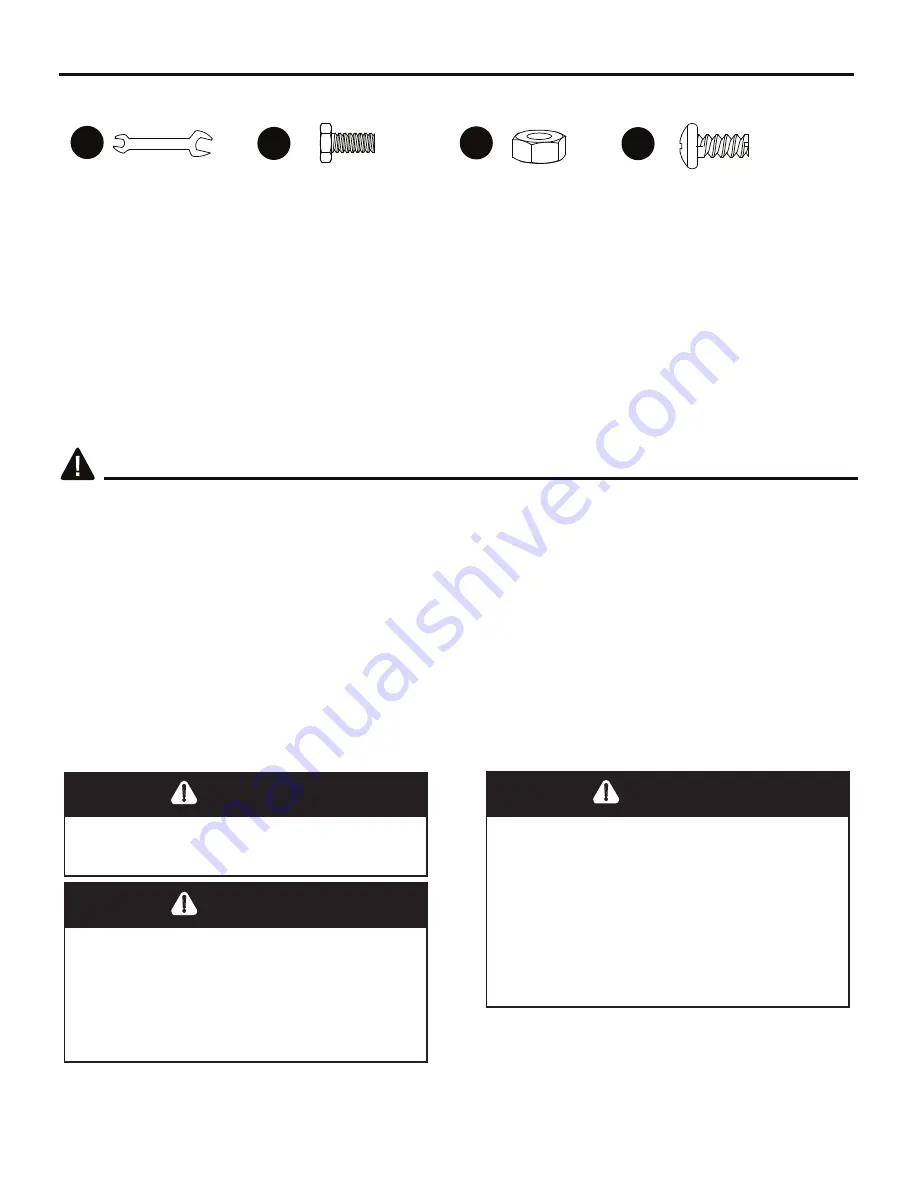
INCLUDED HARDWARE

ADDITIONAL REQUIRED HARDWARE

3

SAFETY INFORMATION

Please read and understand this entire manual before attempting to assemble, operate or install 
the product. 

This manual contains important information about the assembly, operation and maintenance of 
this patio heater. General safety information is presented in these first few pages and is also 
located throughout the manual. Keep this manual for future reference and to educate new users 
of this product. This manual should be read in conjunction with the labeling on the product. Safety
precautions are essential when any mechanical or propane fueled equipment is involved. These 
precautions are necessary when using, storing, and servicing. Using this equipment with the 
respect and caution demanded will reduce the possibilities of personal injury or property damage.
The following symbols shown below are used extensively throughout this manual. Always heed 
these precautions, as they are essential when using any mechanical or fueled equipment.

 DANGER


DANGER indicates an imminently hazardous situation
which, if not avoided, will result in death or serious injury.

 DANGER


Failure to comply with the precautions and instructions
provided with this heater can result in death, serious 
bodily injury and property loss or damage from 
hazards of fire, explosion, burn, asphyxiation, and/or 
carbon monoxide poisoning. Only persons who can
understand and follow the instructions should use or
service this heater.

 CAUTION


An appliance may be in stalled with shelter no more 
inclusive than:
(a) With walls on all sides, but with no overhead cover.
(b) Within a partial enclosure which includes an overhead 
cover and no more than two side walls. These side walls 
may be parallel, as in a breezeway, or at right angles to 
each other.
(c) Within partial enclosure which includes an overhead 
cover and three side walls, as long as 30 percent or 
more of the horizontal periphery of the enclosure is 
permanently open.

OO

Wrench
 

Qty. 1

EE

Bolt Ø10 ×15mm

Qty. 2

HH

Nut M8
Qty. 2

DD

Screw Ø8×15 mm

Qty. 10

‡$GMXVWDEOHRSHQLQJZUHQFKFP´ORQJ
‡6OLSMRLQWSOLHUVFP´ORQJ
‡3KLOLSVVFUHZGULYHUZPHGLXPEODGH
‡7HIORQSOXPELQJWDSHIRUMRLQWV
‡6SUD\ERWWOHRIVRDSVROXWLRQIRUOHDNDJHWHVW

Содержание Opus

Страница 1: ......

Страница 2: ...ent WARNING Do not store or use gasoline or other flammable vapors and liquids in the vicinity of this or any other appliance An LP cylinder not connected for use shall not be stored in the vicinity of this or any other appliance WARNING Improper installation adjustment alteration service or maintenance can cause property damage injury or death Read the installation operation and maintenance instr...

Страница 3: ...otective Guard E Borosilicate Glass Tube F Burner Ignition Plate 3 3 1 1 G 1 H 1 I Wheel Kit Front Door Panel Gas Hose Regulator Control Box Casing 1 J K Base plate L 1 1 1 A B C D Borosilicate Glass Tube E Control Box Casing F Burner Ignition Plate G Back Panel K Bottom plate J Wheel Kit Back Panel I Front Door Panel H Gas Hose Regulator L ...

Страница 4: ... equipment DANGER DANGER indicates an imminently hazardous situation which if not avoided will result in death or serious injury DANGER Failure to comply with the precautions and instructions provided with this heater can result in death serious bodily injury and property loss or damage from hazards of fire explosion burn asphyxiation and or carbon monoxide poisoning Only persons who can understan...

Страница 5: ... DUHDV ZLWK KLJK GXVW FRQWHQW 0LQLPXP KHDWHU FOHDUDQFHV IURP FRPEXVWLEOH PDWHULDOV WKUHH IHHW IURP WKH VLGHV WZR IHHW IURP WKH WRS H FDQQRW IRUHVHH HYHU XVH ZKLFK PD EH PDGH RI RXU KHDWHUV KHFN ZLWK RXU ORFDO ILUH VDIHW DXWKRULW LI RX KDYH TXHVWLRQV DERXW KHDWHU XVH 2WKHU VWDQGDUGV JRYHUQ WKH XVH RI IXHO JDVHV DQG KHDW SURGXFLQJ SURGXFWV IRU VSHFLILF XVHV RXU ORFDO DXWKRULWLHV FDQ DGYLVH RX DERXW ...

Страница 6: ...rawal 6WRUH RU XVH SURSDQH JDV LQ FRPSOLDQFH ZLWK ORFDO ordinances and codes or with ANS NFPA 58 Turn off propane when not in use WARNING OHUW FKLOGUHQ DQG DGXOWV WR WKH KD DUGV RI KLJK VXUIDFH temperatures Stay away from these surfaces to avoid burning skin or igniting clothing DUHIXOO VXSHUYLVH RXQJ FKLOGUHQ ZKHQ LQ WKH YLFLQLW of the heater R QRW KDQJ FORWKLQJ RU DQ RWKHU IODPPDEOH PDWHULDOV fr...

Страница 7: ...ective steel guards D in order to safely remove the bubble rap and foam material from the boroscilate glass tube located in the center of the unit Unscrew all 4 of the MM Ø8 10 mms screws then remove the protective steel guard from its supports slots Now that you have properly and carefully removed all transit protection materials from the unit you will need to place the unit back in its original ...

Страница 8: ...ch of children A disconnected cylinder must have dust caps tightly installed and must not be stored in a building garage or any other enclosed area The maximum inlet gas supply pressure 250 psi The minimum inlet gas supply pressure 5 psi is required for purpose of input adjustment The minimum hourly of 16000 Btu hr is required input rating for a heater at ratings less than full input rating The pr...

Страница 9: ...er is equipped with a pilot light that allows for safer startups and shutdowns Pilot must be lit before main burner can be started HDWHU FDQ EH RSHUDWHG E LQIUDUHG UHPRWH FRQWURO RU GLUHFWO RQ WKH FRQWURO XQLW 23 5 7 21 1 5 5 5 027 21752 72 7851 21 7 7 5 7XUQ RQ WKH YDOYH RI WKH JDV VXSSO F OLQGHU ROG WKH UHPRWH FRQWURO LQ RXU KDQG DQG SRLQW LW WRZDUG WKH FRQWURO XQLW DQJOH RI UHFHSWLRQ LV DQG PHW...

Страница 10: ...he heater are free and clear of debris If debris spider or insect nests are found clean the holes with heavy duty pipe cleaner or compressed air 5 Always keep a dry chemical fire extinguisher readily available 6 For safety always allow a 5 minute complete shut off period before re lighting a hot heater 7 Avoid repeated ignition attempts if ignition doesn t start except for first time or new gas bo...

Страница 11: ...f excessive yellow flame is detected turn off heater and consult Troubleshooting on page 18 B DIRECT OPERATION ON THE CONTROL UNIT TO TURN ON THE HEATER 1 Turn on the valve of the gas supply cylinder 2 Press the POWER button for 2 seconds release and press again to start ignition 3 Press the POWER button to switch to the temperature heat setting Every time the POWER button is pressed it will switc...

Страница 12: ...n 21 More frequent cleaning may be required as necessary It is imperative that control compartment burner and circulating air passageways of the heater be kept clean After Operation 1 Gas control is in OFF position 2 Gas Tank valve is OFF 3 Disconnect Gas cylinder WARNING FOR YOUR SAFETY R 127 WRXFK RU PRYH KHDWHU IRU DW OHDVW PLQXWHV after use 5HIOHFWRU LV KRW WR WKH WRXFK OORZ UHIOHFWRU WR FRRO ...

Страница 13: ...nce of your heater Apply to exterior surfaces from the pole down Do not apply to emitter screen or domes Storage Between uses Turn Control Knob OFF Disconnect LP cylinder Store heater upright in an area sheltered from direct contact with inclement weather such as rain sleet hail snow dust and debris If desired cover heater to protect exterior surfaces and to help prevent build up in air passages N...

Страница 14: ...blockage Clean reflector and burner screen Outdoor temperature is less than 40ºF and tank is less than 1 4 full Turn cylinder valve OFF and replace cylinder Use a full cylinder Turn control knob to ON Dirt built up around pilot Connection between gas valve and pilot assembly is loose Thermocouple is not operating correctly Clean or replace orifice or pilot tube Open gas line and bleed it pressing ...

Страница 15: ...l consumer purchaser only and excludes industrial commercial or business use of the product product damage due to shipment or failure which results from alteration product abuse or product misuse whether performed by a contractor service company or consumer We will not be responsible for labor charges and or damage incurred in installation repair or replace ment nor for incidental or consequential...

Страница 16: ......

Отзывы: