PC50 User Guide- 31
1.
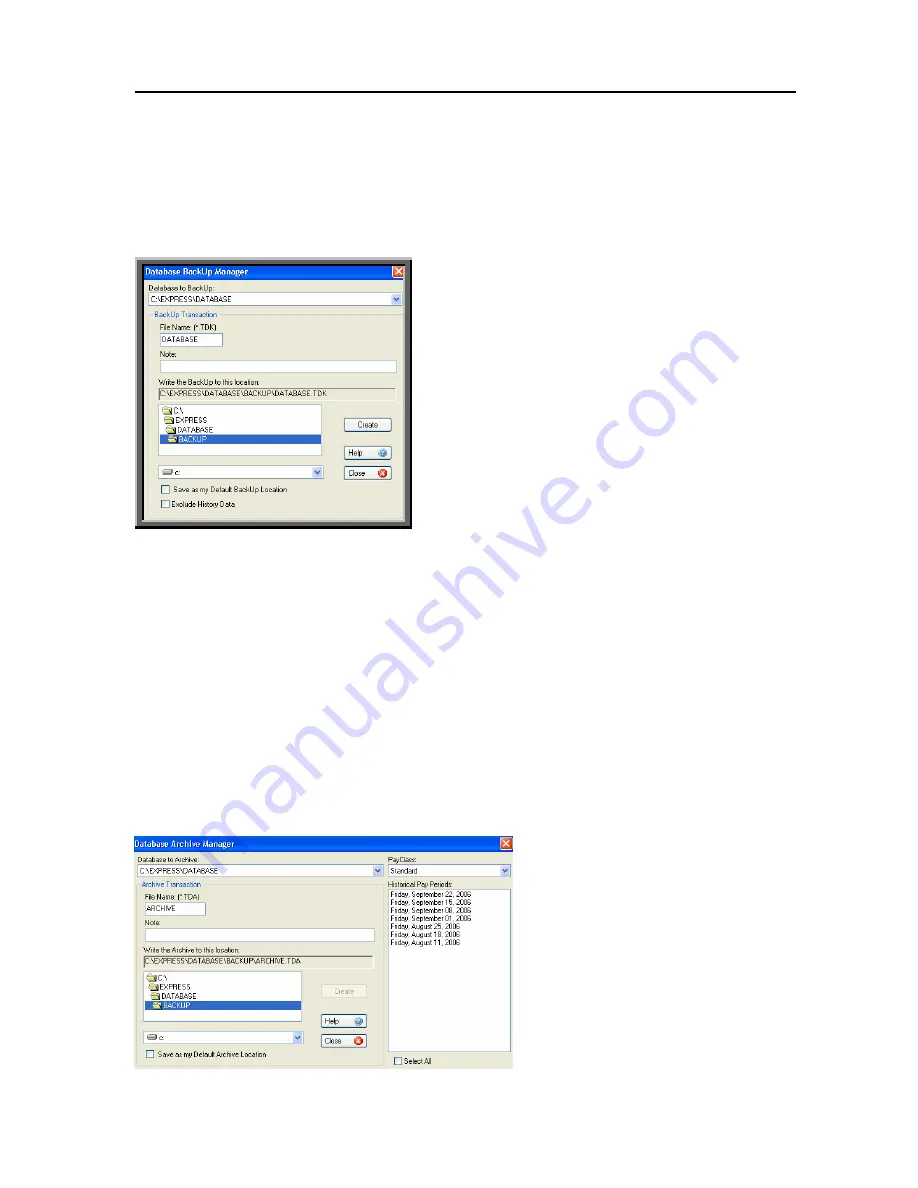
Select
Backup Data
from the drop-down menu
under the
System Button
.
2.
The
Database Backup Manager
window will
open
3.
PayClock automatically locates your data and
displays the file under
Database to Backup
.
Under
File Name
, select the name you want to
give your backup file (the default is simply
“Database). Backups have the file extension
TDK. If you give your backup file the same
name each time you backup, the file will be
updated with the latest information. Your file
will not be written over.
1.
PayClock automatically locates your
data and displays the file in the
Database to Archive
field.
2.
Select the pay periods you would like
to archive from the
Historical Pay
Period
field. Check
Select All
to
select all of the listed pay periods.
3.
Select a name for your file and type it
in the
File Name
field. All archived
files have a TDA extension.
4.
You may write a description of the file
in the
Note
field.
•
Selecting
Refresh
from the
System Button
option will instantly update and reload the screen.
B
ACKUP
D
ATA
It is important to backup your data to protect your records in the event of a disaster. The
Backup function makes a complete copy of all of your files in the Database folder and
then compresses them into one file, which is then accessible (when, where?).
A
RCHIVE
D
ATA
Archiving your data will allow you to free up space on your hard drive. You may only
archive closed pay periods.
To
Archive Data
, select the option from the drop-down menu under the
System Button
.
The following window will appear.
4.
In the
Note
space, you may add a description of your file (this is optional).
5.
Locate the destination for your backup file under
Write the Backup to this location
section.
If you would like to make this destination file as your default, select
Save as my Default
Backup Location
.
6.
To simply backup current and next pay period data (and not closed pay period data), select
Exclude History Data.
7.
To create the backup file, click
Create.
Then close the file by clicking
Close.


