LANGE ORIGINALS
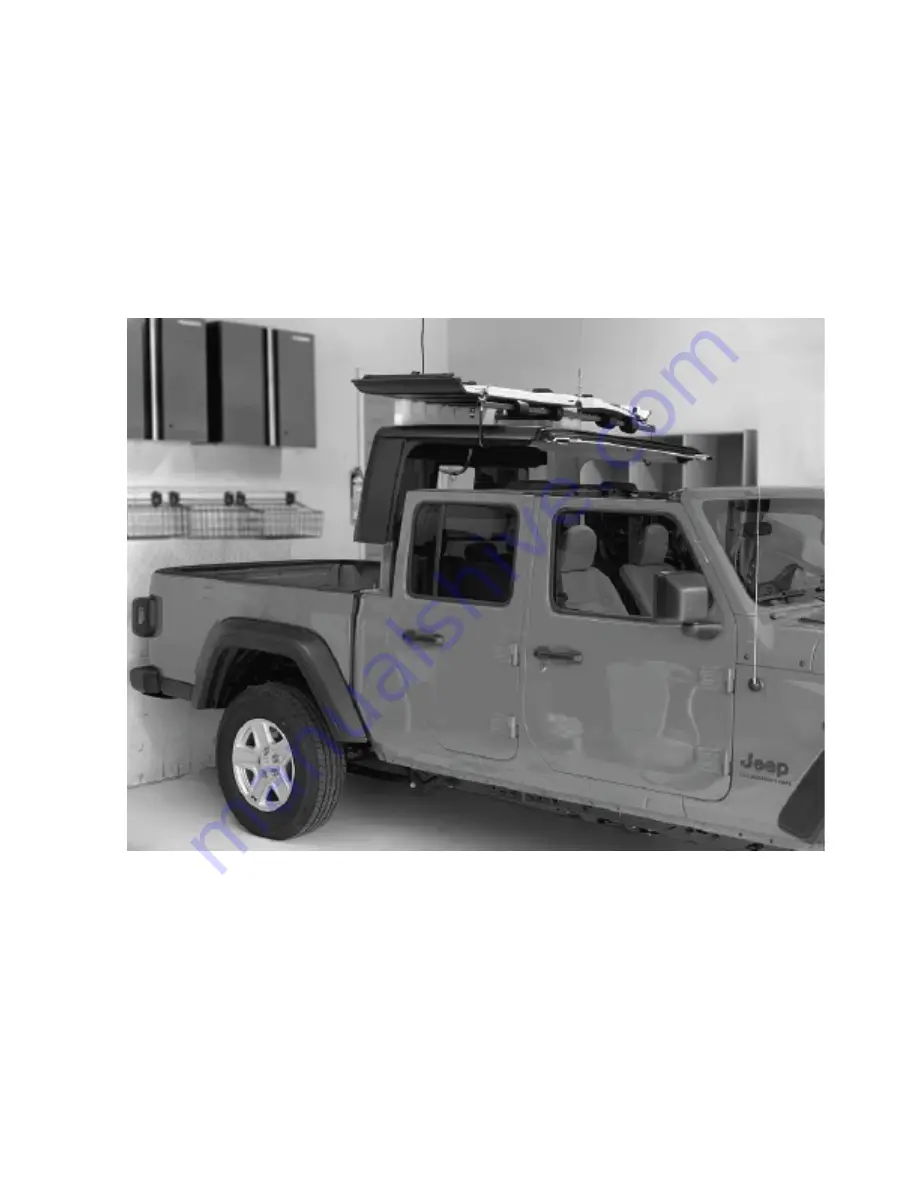
HOIST-A-TOP
JT
CRANK
Call toll free 1866 284 7428
langeoriginals.com copyright
lange originals 2017
Страница 1: ...LANGE ORIGINALS HOIST A TOP JT CRANK Call toll free 1866 284 7428 langeoriginals com copyright lange originals 2017...
Страница 2: ...in your wall and ceiling Wire clamps must be checked and ghtened regularly Do a dead weight li to ini ally test your installa on Upon li ing your top for the rst me and subsequent mes therea er visua...
Страница 3: ...34 HAT 019 Rear Stabilization Arm Black Round Foam 4 Zip Ties for Foam Foam arms T Foam Bungee cord 2 1 1 2 Hardware Parts Bag 3 2 14 14 6 2 2 2 HAC 028 HAC 015 HAT 050 HAT 125 HAC 043 HAT 054 HAC 023...
Страница 4: ...unt it to your back wall using at least 4 screws HAT 050 You will want this at comfortable working height approximately 50 inches above the oor 3 Mount your crank unit to the 2x6 centered with your ha...
Страница 5: ...ng 3 5 screws HAT 050 to place cross bracing 2x6 2 With the 1 5 screws HAT 125 provided mount the double pulley HAT 118 and one of the single pulleys HAT 116 centered with the crank unit and hardtop 3...
Страница 6: ...the double pulley HAT 118 The distance between the double pulley and the first single pulley can be custom to your garage 3 With the 1 5 wood screws HAT 125 a ach both single pulleys HAT 116 on the 2x...
Страница 7: ...pulley can be installed on the wall or ceiling This pulley is inch of center Aprox 50 inches Longer cable side of crank drum Call toll free 1866 284 7428 langeoriginals com copyright lange originals...
Страница 8: ...from the double pulley to the two singles Fig A 2 note the distance from the wall to the jeep is optional but a minimum of 4 feet is recommended see Fig B 3 Wire your crank unit through the pulleys an...
Страница 9: ...the J Shaped hooks HAT 003 through the holes found on each end of the front support arms HAT 101 Place one hole of the grommet strap HAT 110 around the threaded part of the J Shaped hook HAT 003 Secu...
Страница 10: ...Fig 3 front settings on frame JT 4 Door Setting JT 4 Door Setting JT 4 Door Setting Long Foam Supports Fig 4 Underside look at the correct place ment of the rear arm...
Страница 11: ...uld be assembled in steps after frame is assembled and needs to be fitted with care through window Fig 6 Showing the frame fully assembled through the rear window Fig 8 Lacing the wire ties into the f...
Страница 12: ...care that the cables don t cross and that the long side stays on the left pulley and the shorter side stays on the right Pull the side cable the shorter cable through the middle single pulley in the c...
Страница 13: ...ow that the frame is preliminarily balanced it also needs to be balanced on your hardtop Make sure that all the torque bolts in the top latches windshield fluid tube and wiring harnesses are disconnec...
Страница 14: ...re registered trademarks of FCA US LLC ALFA ROMEO and FIAT are registered trademarks of FCA Group Marketing S p A 2018 FCA US LLC All Rights Reserved WARNING This product can expose you to bisphenol a...