HUMMEL
®
01.12.2012
English / Englisch
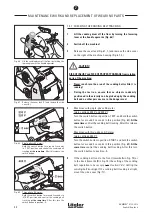
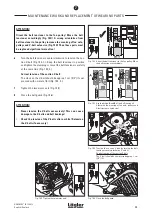
Fig. 63
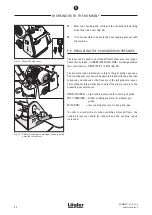
Carefully remove the drive unit.
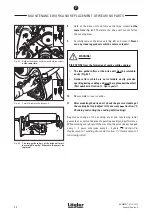
Fig. 62
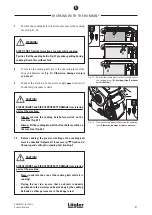
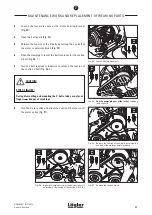
Hold on the drive unit and remove the three screws
at the same time
.
MAINTENANCE WORK AND REPLACEMENT OF WEARING PARTS
8
Hold on the drive unit and remove the three screws
at the
same time
(Fig. 62)! Therefore the drive unit cannot fall on
the sanding drum.
9
Carefully remove the drive unit (Fig. 63) and clean it.
Never
use any cleaning products which contain solvents!
WARNING!
RISK OF FIRE from the formation of sparks while sanding:
•
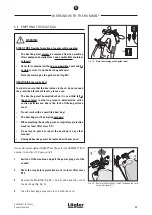
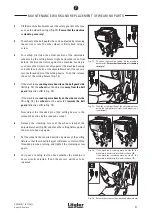
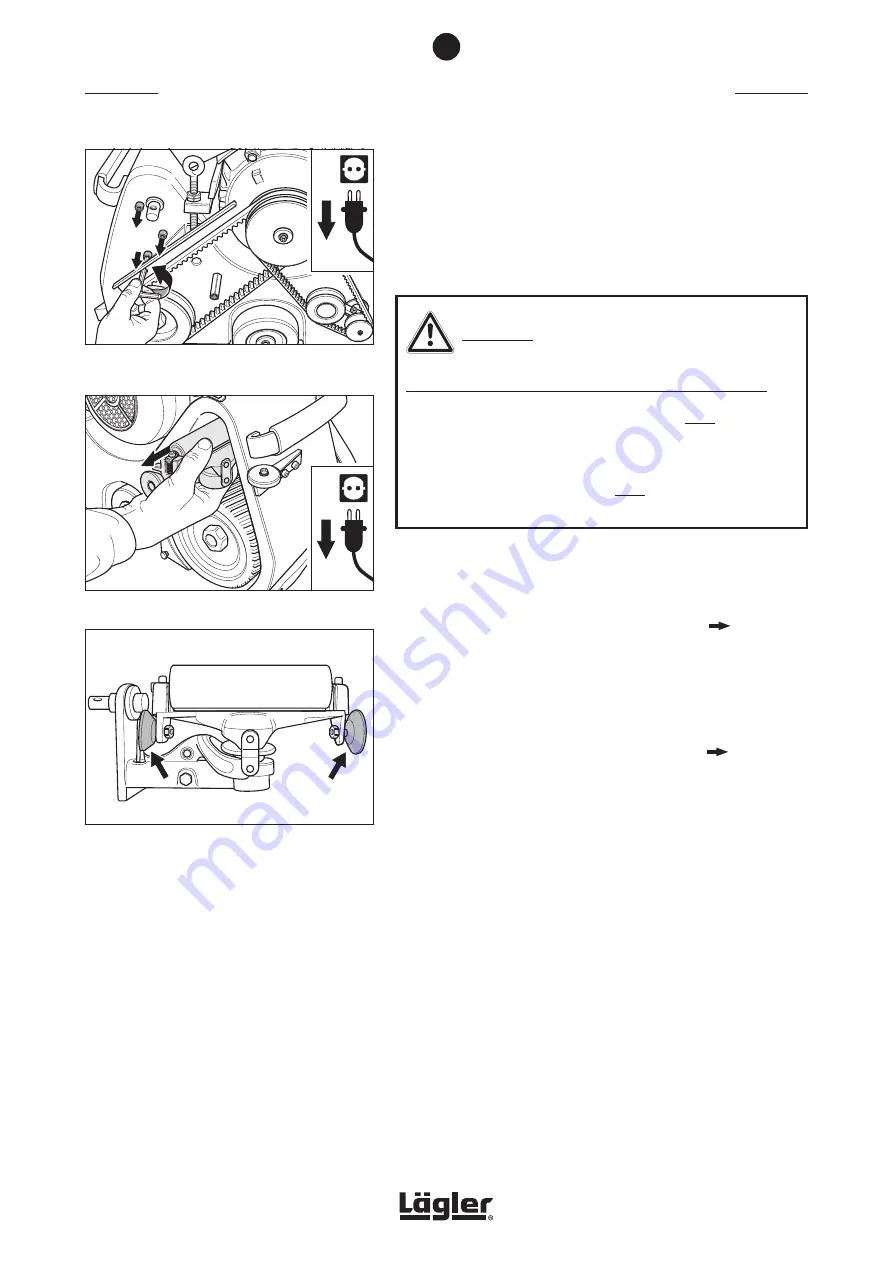
The two guide rollers at the drive unit must be rotatable
easily (Fig. 64)!
•
Guide rollers which are not rotatable easily provoke
sparking during sanding and must be replaced without fail
(Part number in
Section 11, Spare parts
)!
10
Reassemble in reverse order.
11
After mounting the drive unit, check the precise tracking of
the sanding belt and adjust it if necessary (
Section 7.3,
Checking and setting the sanding belt tracking
)!
Regular exchange of the sanding drum and tensioning roller
guarantees a constant degree of operating quality and performance.
When working every day with the machine, they must be exchanged
every 1 – 2 years, otherwise every 3 – 4 years (
Section 7.6,
Replacement of sanding drum
and
Section 7.7, Replacement of
tensioning roller
).
7
Fig. 64
The two guide rollers at the drive unit must
be rotatable easily! Otherwise they must be
replaced!
32
Содержание HUMMEL
Страница 56: ...HUMMEL 01 12 2012 English Englisch SPARE PARTS 56 11...
Страница 58: ...HUMMEL 01 12 2012 English Englisch SPARE PARTS 58 11...
Страница 60: ...HUMMEL 01 12 2012 English Englisch SPARE PARTS 60 11...
Страница 64: ...HUMMEL 01 12 2012 English Englisch SPARE PARTS 64 11...
Страница 66: ...HUMMEL 01 12 2012 English Englisch SPARE PARTS 66 11...
Страница 68: ...HUMMEL 01 12 2012 English Englisch NOTES 68...
Страница 69: ...HUMMEL 01 12 2012 English Englisch NOTES 69...
Страница 70: ...HUMMEL 01 12 2012 English Englisch NOTES 70...


