3. Installing Your LaCie Drive
page 23
LaCie d2 Hard Drive
User’s Manual
Mac OS 9.x – USB
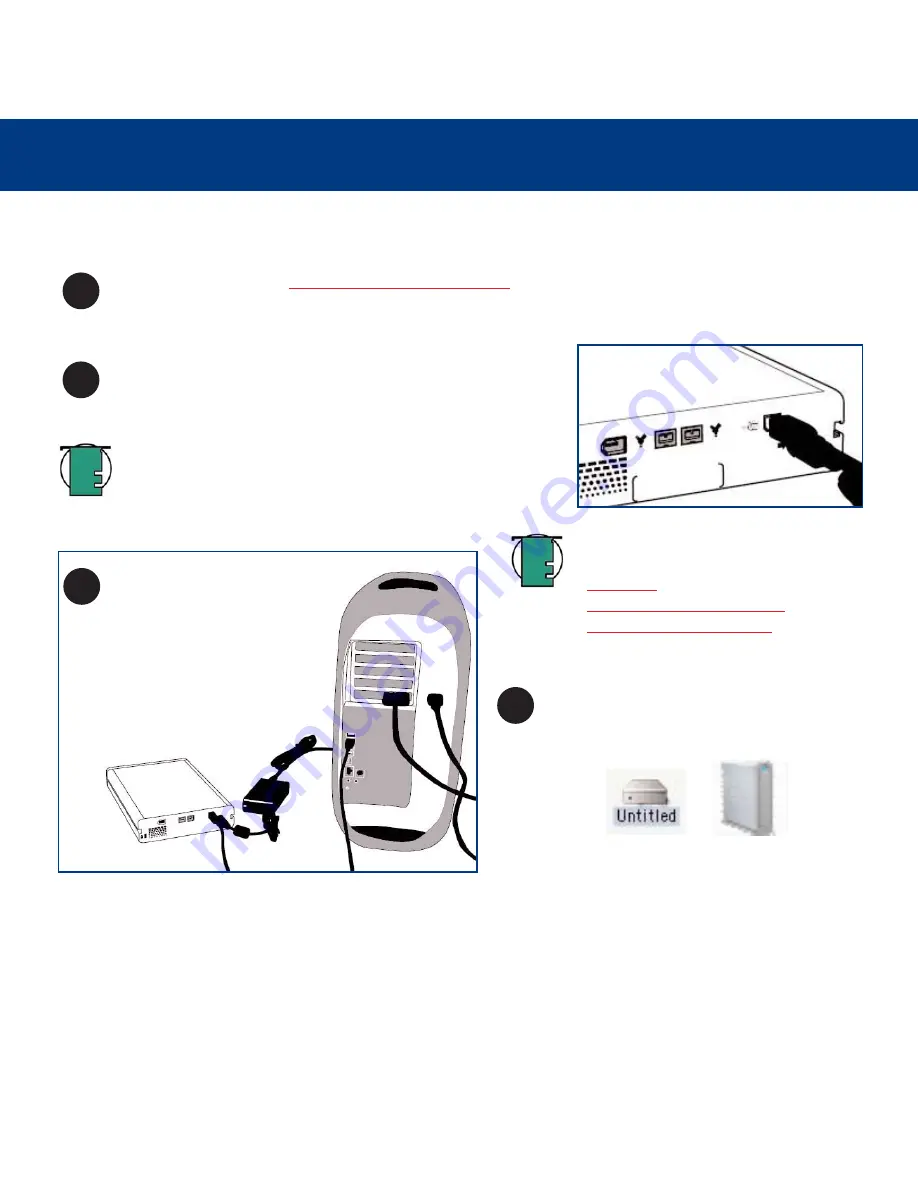
Connect the Hi-Speed USB 2.0 cable into the Hi-Speed USB
2.0 port on the back of the LaCie d2 Hard Drive.
Connect the other end of the
Hi-Speed USB 2.0 cable into
an available USB port* on
your computer.
1
2
3
4
Computer models vary. Please consult your computer’s User’s Manual for the exact location of your interface.
Tech Note:
For more information about
USB, please see sections:
•
2.3.2. USB
•
5.3. Optimizing Data Transfers
•
7. USB Questions & Answers
.
Your drive should appear on your desktop. It
may take a few seconds for your computer to
recognize the drive and for it to appear on the
dektop.
After following the steps in
3.1. Connecting The Power Supply
, power on the drive by pressing the On/Off button
on the front of the drive.
Your LaCie d2 Hard Drive will now be ready for use. You can then use the formatting and partitioning capabilities in
Silverlining Pro
to configure your hard drive system. Please refer to the
Silverlining Pro
documentation on the LaCie
Storage Utilities CD-ROM for more information.
Tech Note:
Apple does not support the Hi-Speed USB 2.0
standard under Mac OS 9.x. You will be limited to USB 1.1
speeds.
Mac OS Drive Icons


