Multi-Image Splicing Processor
6
(2) Input by number of the front panel. For example,
of the
key
refers to figure 1.
Step 3:
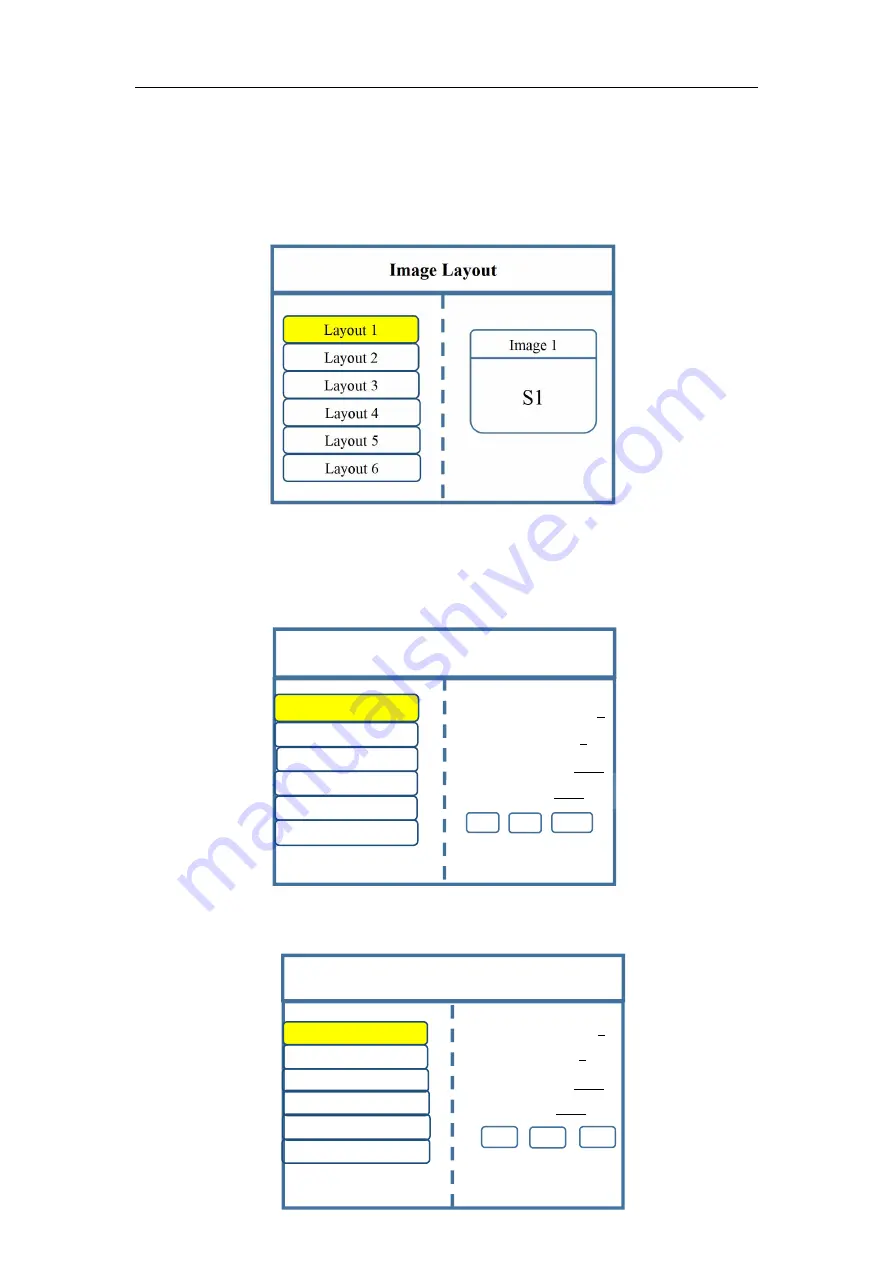
get back to main menu interface to select “Image layout” and enter into
image number selecting interface to select image number required to be set.
Note: This step can be skipped for signal image. For multi-image, it’s OK if
image number and item requirement are in consistent. Following operations can be
taken to set when layout are not in consistent.
Step 4:
Click “OK” and return to main menu interface; select “Image parameter”
and enter into its setting interface to set size and position of each image.
Step 5:
Click “OK” and return to main menu interface; select “Clipped view” to enter into
its setting interface to set size and position of each image.
×
1
×
10
×
100
Image Parameters
Select by Finger key
Horizontal Position: 0
Vertical Position: 0
Horizontal Size: 1920
Vertical size: 1080
Rotate knob to select output
Click
“
OK
”
to adjust
Image 4
Image 2
Image 3
Image 5
Image 6
Image 1
Clipped View
S
elect by Finger key
Image 1
Image 3
Image 2
Image 6
Image 4
Image 5
×
1
×
10
×
100
Horizontal Position: 0
Vertical Position: 0
Rotate knob to select output
Click
“
OK
”
to adjust
Vertical Size: 1080
Horizontal size: 1920


