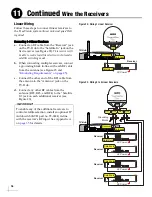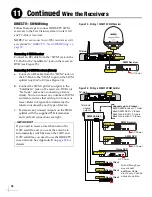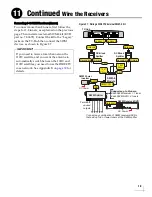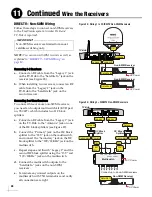
12
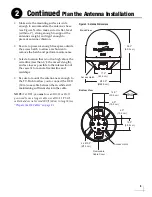
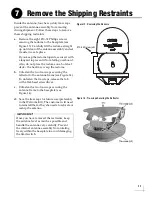
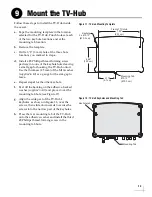
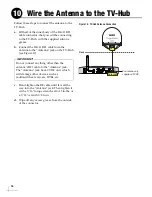
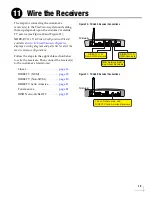
Follow these steps to mount the antenna.
a.
Place the antenna over the holes drilled in the
mounting surface. Ensure the forward arrow
points toward the bow and is
parallel
to the
vessel’s centerline (see Figure 15) and the
connector plate faces the stern.
b.
Apply a thin layer of the supplied anti-seize
lubricant to the threads of the four M10
mounting bolts (see Figure 16).
c.
At each of the four baseplate mounting holes,
place a M10 lock washer and flat washer on a
M10 bolt and insert the bolt into the hole
from below (see Figure 16).
d.
Tighten all four bolts until the four rubber
feet on the baseplate are bottomed against the
mounting surface. KVH recommends that
you tighten the bolts to between 10.3 and
12.6 ft-lbs (14.0 and 17.1 N-m) of torque.
e.
Rotate the antenna assembly slowly by hand
to ensure the mounting bolts do not impede
the rotation of the antenna.
f.
Reinstall the radome onto the antenna. Secure
in place with the eight #10-32 screws you
. Hide and protect the
screws with the supplied plastic screw caps.
CAUTION
Be sure to observe the safe handling
instructions in the Material Safety Data Sheet
(MSDS) provided with the anti-seize
lubricant.
FOR
W
ARD
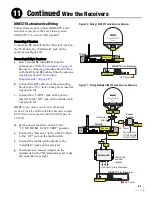
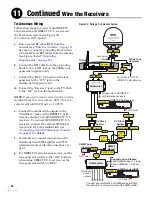
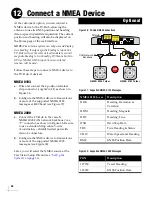
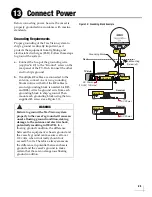
Figure 15: Forward Arrow in Antenna Baseplate
Figure 16: Mounting the Antenna (Side View)
M10 x 50 mm Bolt (x4)
Antenna Base
Mount Surface
M10 Flat Washer (x4)
M10 Lock Washer (x4)
10 mm max.
Note: Apply anti-seize
to the M10 bolt threads
Be sure to use the metric (not standard) bolts
to avoid stripping the inserts. To prevent
damage, do not extend the bolts further than
0.4" (10 mm) into the antenna’s baseplate.
IMPORTANT!
Do not block the four small drain holes in the
bottom of the antenna. These drain holes
ensure that any moisture within the antenna
will be able to escape.
IMPORTANT!
Mount the Antenna
8
Содержание tracvision tv8
Страница 1: ...TracVision TV8 Installation Guide ...
Страница 50: ......

