ProLaser III Operator's Manual
Page
17
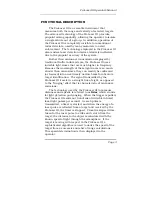
The brackets around the selection indicate the menu
item to be changed. Depressing the BRT/VOL switch
with the items above displayed then employs the ARROW
to move to the next item. The user then presses the
ENTER push button to confirm the display or audio alert
item to be adjusted.
If no adjustments are desired, press ESC to return to
the Speed or Range mode.
Brightness
The brightness control should be adjusted to allow
comfortable viewing of the HUD displays, and sufficient
illumination of the aiming reticle for targeting purposes.
To adjust, press ENTER at the BRT/VOL menu while HUD
is selected.
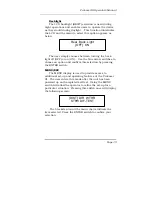
There are eight LCD blocks between the MIN and MAX
text on the LCD screen. This corresponds to eight
brightness levels in the HUD. HUD brightness can be
increased by depressing the blue arrow switch pointing
upward or decreased by pressing the blue arrow switch
that is pointing downward. Once the desired brightness
level is achieved, press the ENTER switch.
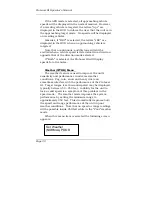
Avoid using excessively bright settings for lower level
ambient light conditions as this will make target
identification more difficult. Upon being powered up, the
ProLaser III will automatically default to the brightness
level set at the factory.
HUD Brightness
MIN MAX

