BE A
PRO
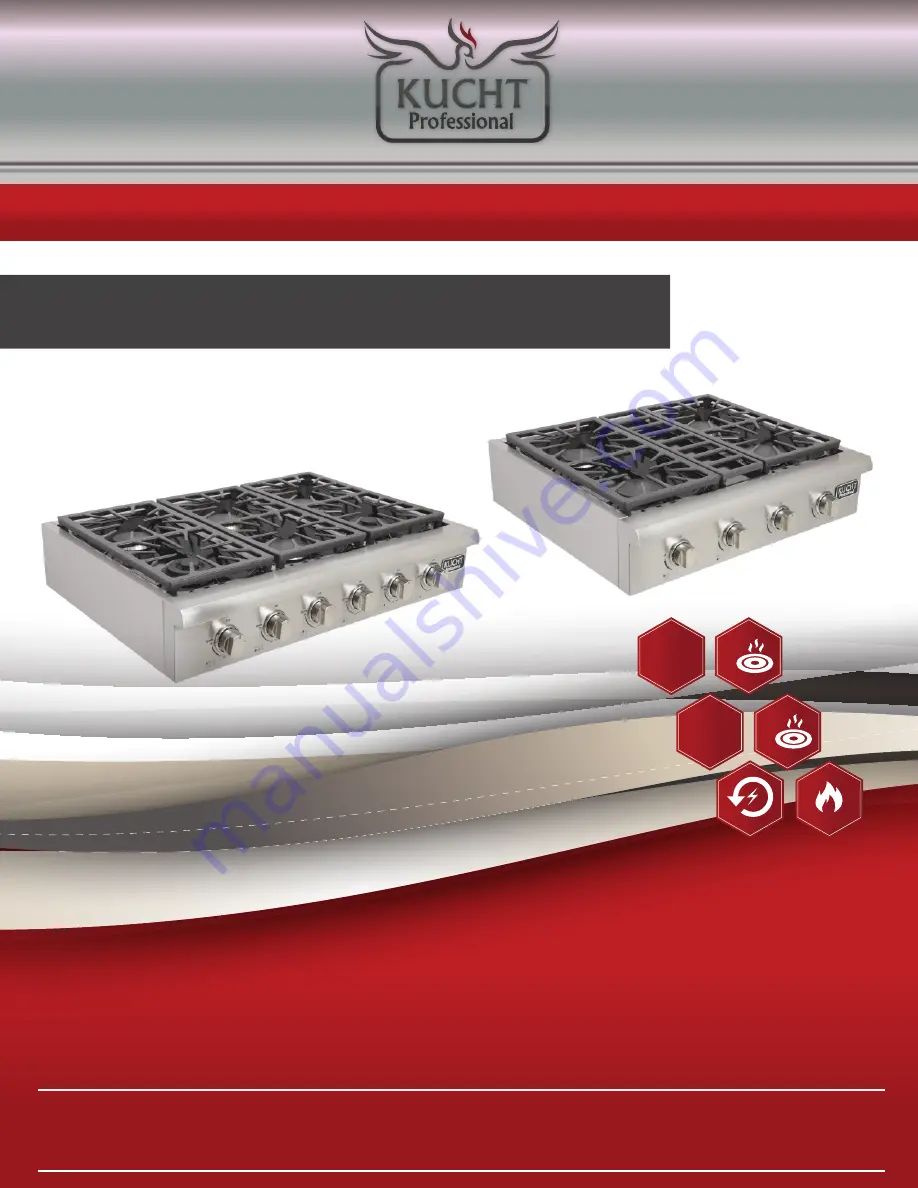
IN YOUR KITCHEN
GAS RANGE TOP
www.kucht.com
APPLICABLE MODEL: KRT3618U, KRT3003U.
INSTALLATION GUIDE AND USER MANUAL
36”
6
30”
4
Страница 1: ...BE A PRO IN YOUR KITCHEN GAS RANGE TOP www kucht com APPLICABLE MODEL KRT3618U KRT3003U INSTALLATION GUIDE AND USER MANUAL 36 6 30 4...
Страница 2: ...uctions given in this booklet pertain to your range top This booklet is valuable instructions covering the installation and adjustment and use of your range top How to Obtain Service and or Parts When...
Страница 3: ...FOR MORE DETAILS AND INFORMATION PLEASE VISIT OUR WEBSITE WWW KUCHT COM INSTALLATION GUIDE AND USER MANUAL Read and Save These Instructions...
Страница 4: ...tents Important Safeguards Page 1 5 Installation Instructions and Clearances Page 6 14 Operation of Range top Page 15 21 Cleaning the Range top Page 22 23 Gas Range top Conversion and Adjustment Guide...
Страница 5: ...appliance Record in the space provided below the Model No and Serial No of this appliance These numbers are found on the serial plate located at back of range top Model No Type Number Serial No Purcha...
Страница 6: ...re cuts and destroy finishes if they contact with other appliances or furniture Be safety conscious The preparation of food on a range top requires temperatures that could cause severe burns Before us...
Страница 7: ...ual gas shut off valve and gas meter in the even tit is necessary to shut off gas supply to the range top during an emergency USER SERVICING Do not repair or replace any part of the appliance unless s...
Страница 8: ...ct contact and ignition of clothing Also proper relationship of utensil to burner will improve efficiency Know which knob controls each burner Place a pan of food on the burner before turn ignition an...
Страница 9: ...ue to the sudden change in temperature Check the manufacturer s recommendations for range top use Do not place plastic salt and pepper shakers spoon holders or plastic wrappings on top of the range to...
Страница 10: ...ce Have the dealer where you purchase your new range top install it or have them recommend a qualified installer Installation must conform with local codes In the absence of local codes the installati...
Страница 11: ...The appliance must be isolated from the gas supply piping system by closing its individual manual shut off valve during any pressure testing of the gas supply piping system at test pressures equal to...
Страница 12: ...installation are not covered under the warranty Any expenses incurred due to such situations will not be paid by the manufacturer of the appliance Note Based on 24 61 cm deep cabinet This range top m...
Страница 13: ...the 36 91 4 cm high counter top Wall cabinets above the range top must be a minimum of 42 106 7 cm above the range top cooking surface for the full width of the range top This minimum height requireme...
Страница 14: ...rom non combustible materials are not part of the ANSIZ21 1 scope and are not certified by CSA Clearances to non combustible materials must be approved by the authority having jurisdiction This range...
Страница 15: ...be 13 33 0 cm and wall cabinets within this 6 15 2 cm side clearance must be 18 45 7 cm above the 36 91 4 cm high counter top Wall cabinets above the range top must be a minimum of 42 106 7 cm above t...
Страница 16: ...ATION PLEASE VISIT OUR WEBSITE WWW KUCHT COM INSTALLATION GUIDE AND USER MANUAL 12 Make the counter top cut out following the dimensions given in the illustration above Base below range top must be of...
Страница 17: ...ponthat gas For correct operation the pressure of natural gas supplied to the regulator should be between 4 and 5 of water column For LP gas the pressure supplied must be between 10 and 12 of water co...
Страница 18: ...f valve Be sure every one operating the range top knows where and how to shut off the gas supply to the cook top 2 Use a flexible gas line to connect to the 1 2 fitting located on the bottom right han...
Страница 19: ...FOR MORE DETAILS AND INFORMATION PLEASE VISIT OUR WEBSITE WWW KUCHT COM INSTALLATION GUIDE AND USER MANUAL 15 OPERATION OF RANGE TOP HRT3609U...
Страница 20: ...FOR MORE DETAILS AND INFORMATION PLEASE VISIT OUR WEBSITE WWW KUCHT COM INSTALLATION GUIDE AND USER MANUAL 16 HRT36...
Страница 21: ...FOR MORE DETAILS AND INFORMATION PLEASE VISIT OUR WEBSITE WWW KUCHT COM INSTALLATION GUIDE AND USER MANUAL 17 HRT30...
Страница 22: ...ing Oil or fat can overheat very quickly particularly on a high setting Make sure that all burner parts are properly in place Incorrectly or incompletely assembled burners may produce dangerous flames...
Страница 23: ...flame will give the best simmer results Small flames offer precise cooking performance for delicate foods keeping food warm melting chocolate or butter and for cooking that need to cook over low heat...
Страница 24: ...clean cook top after each use and wipe up acidic or sugary spills as soon as the cook top has cooled The sealed burners of your range are not sealed to your cook top and are designed to be removed Bo...
Страница 25: ...r the front edge of the griddle Position the tray under the griddle overhang to catch grease or food residue Use of the griddle 1 Push and turn the control knob counter clockwise to the preferred cook...
Страница 26: ...ng more difficult and may present a fire hazard Do not use any abrasive or harsh cleaners cloths scouring pads or steel wool on the exterior these will scratch and damage the appearance Do not use as...
Страница 27: ...ure Regulator The range tops are shipped to operate on Natural Gas NG Propane LPG orifices are shipped with the unit in a separate envelope with the manual Save the NG or if ices removed from the appl...
Страница 28: ...ve the grates burners and burner caps from the range top to access the orifices 7 You will need a 7 mm socket wrench to remove the orifices Each orifice can be accessed easily Orifice removed 8 Remove...
Страница 29: ...mm 1 24mm 1 00mm 10 Once all the orifices are installed replace all burner sand burner caps then fire up the burners to check the minimum flame height 11 Minimum flame height should be approx tall You...
Страница 30: ...Notch 14 Using a 3 32 X3 screw driver or similar you can make the adjustment Turn to minimumflamethenadjustthescrewcounterclockwiseforasmallerflameand clock wise for a larger flame Replace the lid bu...
Страница 31: ...or misaligned See Care and Cleaning instructions BURNER FLAMES ARE VERY LARGE AND YELLOW Burner bezel Ports are clogged Burner ports or burner caps are not positioned properly Range top is being opera...
Страница 32: ...burners off cleaning the burners And sump area See Care and Cleaning for instructions Once clean reignite top burners NO IGNITION SPARK Dead batteries Or ignition module failed Replace batteries and...