58
Using the Auto mode menu (cont
’
d)
Selecting the Image Size
- You can choose from 3 image sizes depending on the sort of picture you
want to take.
- All on the same card, you can choose a different image size for every
picture. Every time you change the image size, the number of remaining
photos also changes, which is displayed on the LCD monitor.
- This option is also available in the mode menus for Scene Select (p.62)
and Manual (p.74).
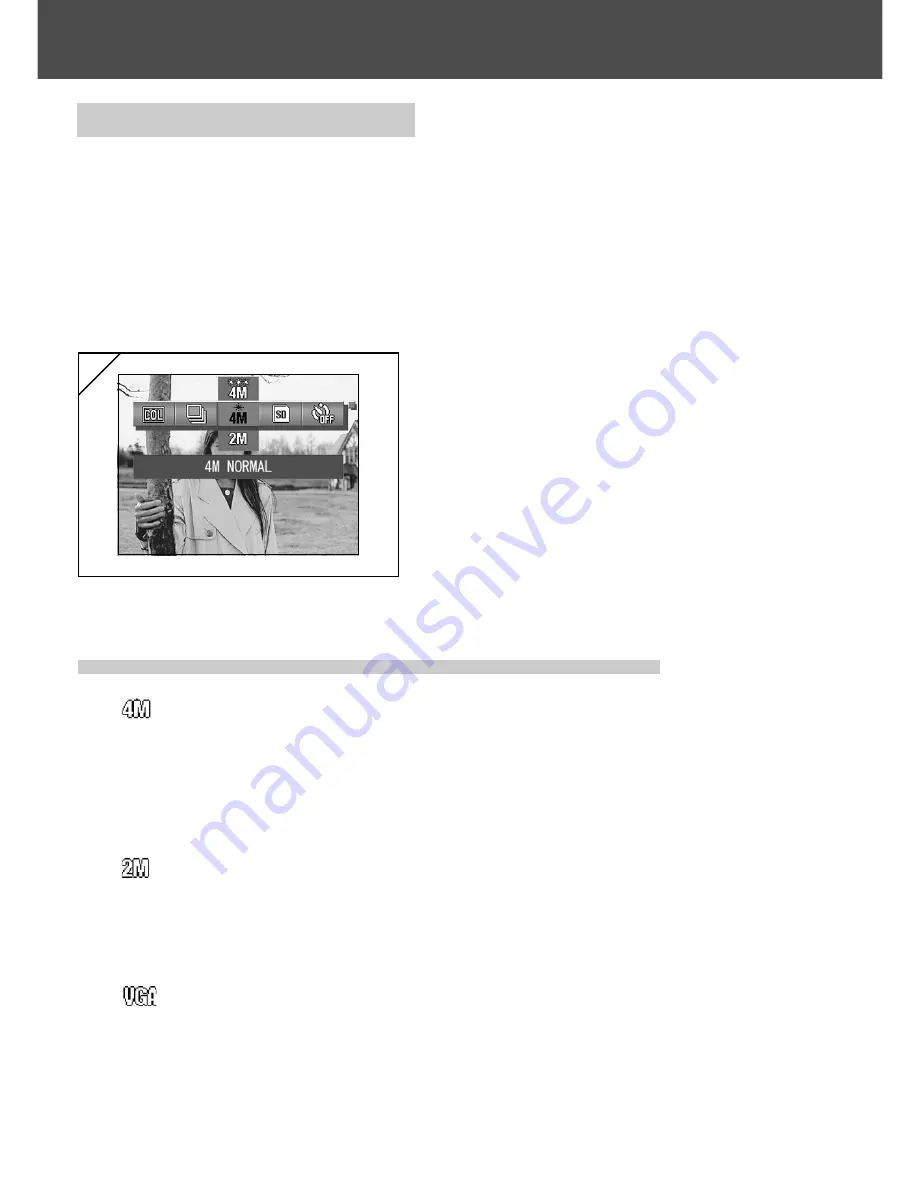
1. Select the Image Size menu option.
• The current setting is displayed.
“4M NORMAL” is displayed as the default
setting.
2. Use the
왖
or
왔
buttons to select the
desired image size.
Press the SET/DISP. button to
complete the setting and return the
camera to shooting mode.
1
●
Image size and pixel count (width)
×
(height)
1)
4M: 2272
×
1704 pixels (approximately 3,870,000 pixels)
This is the highest quality image. Use this mode for important pictures
you want to keep, for images you want to edit on your computer, etc. As
it is the largest, it is also ideal for printing out your enlarged photos.
To take better quality images, select “FINE”.
2)
2M: 1600
×
1200 pixels (approximately 1,920,000 pixels)
You can shoot pictures in high quality resolution with low memory
requirements. This mode is suitable if you wish to take more shots and
the memory does not have enough space.
3)
VGA: 640
×
480 pixels (approximately 300,000 pixels)
As this mode produces the smallest file size, it is best for sending via
email, for use in home pages, etc.
Содержание DiMAGE G400
Страница 1: ......
Страница 139: ...9224 2732 11 KO A310...


