E-11
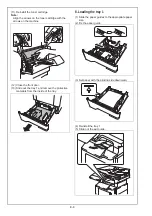
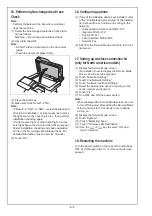
(4) Insert the memory into the slot shown in the illus-
tration in the MFP board at an angle while paying
attention to the insertion direction.
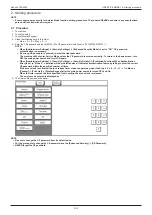
(5) Press the memory at the position shown in the
illustration to install it into the MFP board.
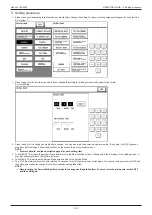
(6) Attach the plate removed in step (3).
(Two screws)
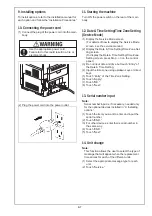
(7) Close the right door.
3. Configuration procedures
<Check after the memory has been Installed>
(1) Plug the power cord into the power outlet and
turn ON the power switch.
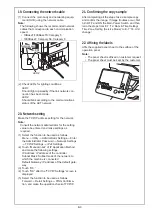
(2) Display the Service Mode screen.
(For details of how to display the Service Mode
screen, see the service manual.)
(3) Touch “State Confirmation.”
(4) Touch “Memory/Storage Status.”
(5) Make sure that the volume of memory was
increased.
(6) Touch “END.”
(7) Touch “Exit” on the Service Mode screen.

