


105
3. Appendix
1. Viewer for KDB data
104
3. Appendix
1. Viewer for KDB data
Vi
ew
er
for
K
D
B
dat
a
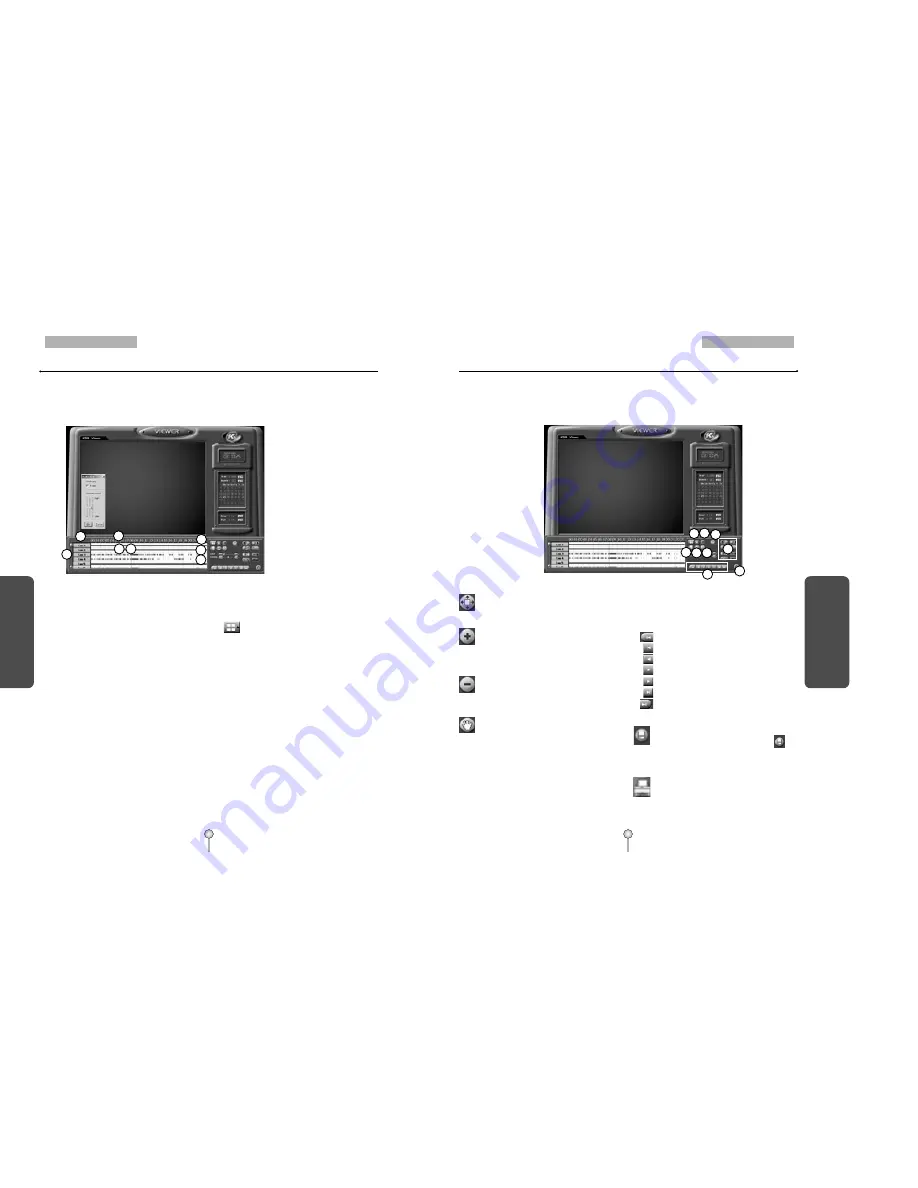
1.2 Viewer Main screen
Vi
ew
er
for
K
D
B
dat
a
1
3
2
4
6
7
5
8
9 10
12
15
13
17
14
①
[Scroll button for camera]
�
Scroll up or down to show camera buttons.
②
[Camera]
�
Select camera number(s) you wish to search.
③
[Time indication bar]
�
It indicates time of stored data.
�
To enlarge the time scale, click on the time
indication bar.
④
[Indication for stored amount]
�
This function indicates recording type and
stored data in graphical colour form as below ;
Pink bar indicates 'Continuous Recording',
Blue bar indicates 'Motion Recording',
Dark Yellow bar indicates 'Sensor Recording',
Green bar indicates'Pre Alarm', and there will
be no graphic bar if nothing was recorded.
⑤
[Search Bar]
�
This indicates time line for searching data.
�
Move the line to the left or right to start
searching.
⑥
[Split Screen setup]
�
When you click the button, split mode
from search screen will automatically change
according to the number of cameras you
choose in a form of 4, 9, or 16 split screen.
⑦
[SKIP]
�
Move the slides to the right if you wish to
increase search speed.
�
The number of images to be skipped are set by
an internal value of the KSR816 software. The
value is not the number of images to be
skipped.
⑧
[SPEED]
�
Move the slides to the right to increase the
speed of replaying saved image.
⑨
[Zoom]
Increases screen size by up to x4.
⑩
[Digital Zoom]
[Zoom In]
Click right mouse button to increase the
selected part of the image by up to
x17(when recorded by high resolution)
[Zoom Out]
Click right mouse button to reduce zoom
ratio.
[Move]
Click right mouse button and drag to
“move around inside” the stored image.
⑪
[Playback]
�
Be sure to select the camera, time and date to
search.
�
Adjust SKIP and SPEED ratio as you wish.
Go to first saved image for selected date
Reverse play frame by frame
Reverse playback
Stop
Forward playback
Forward play frame by frame
Go to last saved image for the selected date
⑫
[Backup]
While you are searching recorded data,
select the image to backup and click .
The “Backup” window will appear.
⑬
[Print]
Print the selected image.
It is possible to print BMP or JPEG images.
11
16


