24
A-62051 May 2008
17. Grasp and keep a slight tension on the self-threader while drawing it
out until the first film appears.
18. Cut the first film from the self-threader with a pair of scissors.
19. Attach the first film to a reel using one of the methods described in
“Attaching film to a take-up reel.”
20. Place the take-up reel on the spindle closest to the processor.
NOTE: If you pull on the self-threader or when you remove the self-
threader from the film, you may unintentionally raise and
lower the tension roller. Raising and lowering the tension
roller activates the time delay for energy conservation
mode, which causes the film transport to stop after 60
seconds (3 m or 10 ft of film).
If approximately 2.5 m (8 ft) of film has exited from the
Archive Processor but has not yet been tensioned, lift and
release the tension roller to reset the time delay for an
additional 60 seconds.
If the film transport stops before the film is tensioned,
immediately press and release the Mode switch to the run
position or lift and release the tension roller bracket. This
will restart the film transport. If film is left stopped in the
processing chemicals, image quality problems will result.
Remove all film ends and tape before reusing the self-
threaders. Do not use self-threaders that have been folded,
curled or shortened. Store the self-threaders by hanging
them from the prepunched hole in the end.
21. Continue to keep tension on the self-threader to keep the film
moving until the second film appears.
22. Cut the second film from the self-threader with a pair of scissors.
23. Attach the second film to a reel using one of the methods described
in “Attaching film to a take-up reel.”
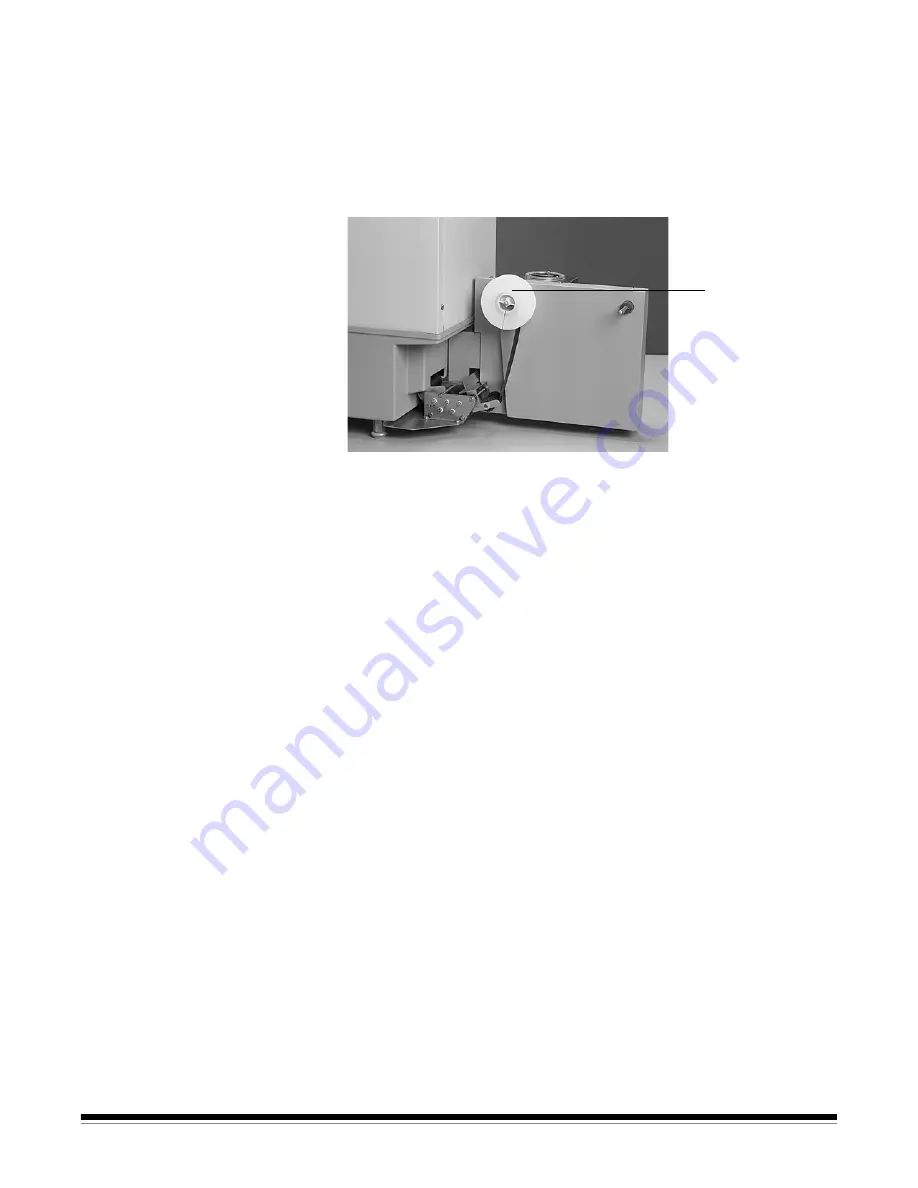
The first film goes
on the reel closest
to the processor


