Page 19 of 32
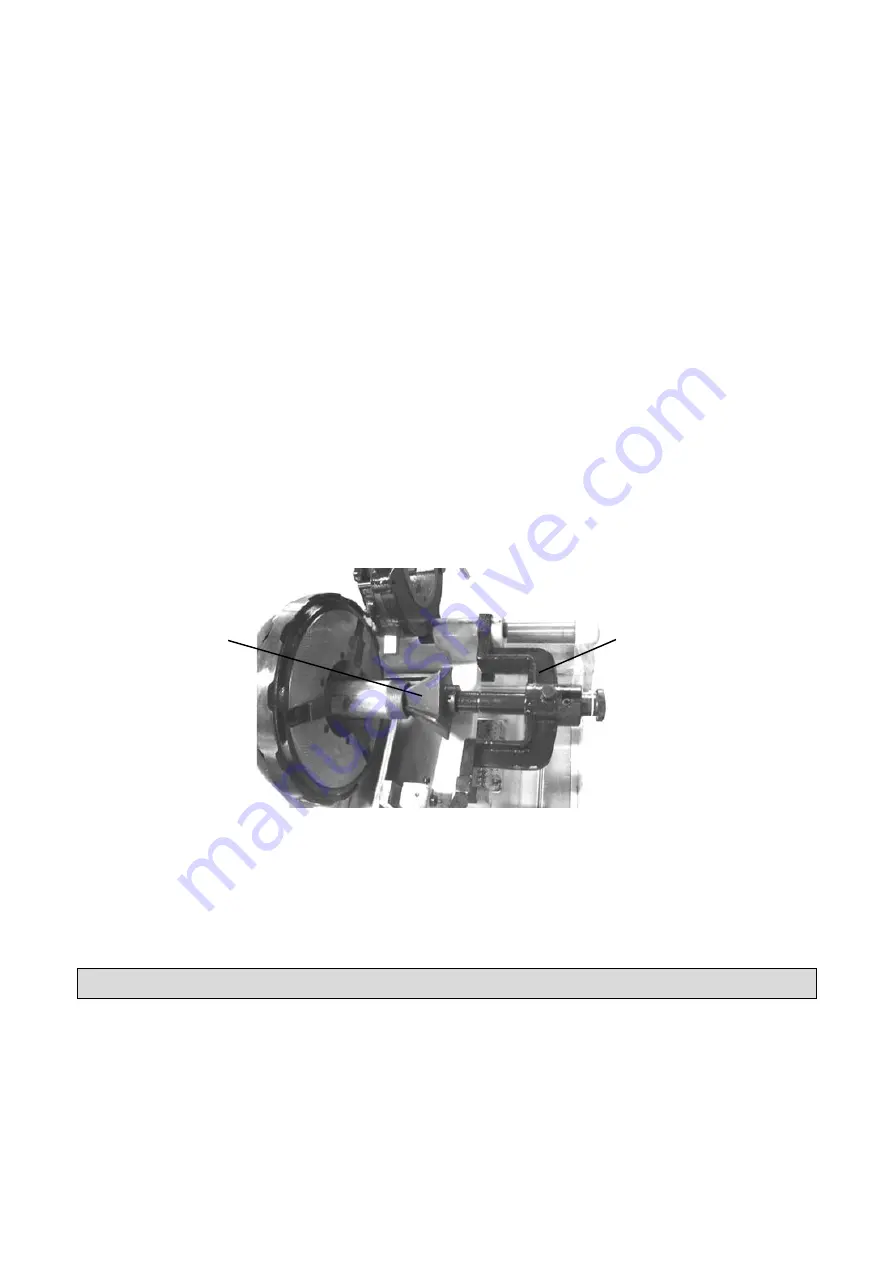
Fig. 9
6. Rotate the cutting knife handle to move the cutting knife to the pipe.
7. Move the gear shift to Fast (Fig. 7) and start the threader to start cutting into the pipe.
8. For each turn of the pipe, turn the cutting knife handle about 1/10 turn.
Caution:
Cut with moderate speed and force to avoid the distortion of the pipe and the damage of the
cutting knife.
9. When cutting is done, loosen the cutting knife and pull the rack up, then turn off the threader.
10. Loosen the fore and rear chucks, by turning them clockwise, and remove the pipe from the rear chuck.
Inner Beveling
1. Turn the fore and rear chucks clockwise. Then loosen the three claws and install the pipe from behind the
rear chuck, passing it through the fore chuck and past it by about 4 inches (100 mm).
2. Holding the pipe, turn the fore and rear chucks counterclockwise to secure the pipe then moderately
tighten the hammer disk by turning it counterclockwise (Fig. 5).
3. Rotate the die head and cutting knife rack (Fig. 9) up out of the way then rotate the beveling rack (reamer,
Fig. 10) in.
4. Move the gear shift to Fast (Fig. 7) and start the threader.
5. Rotate the sledge handle (Fig. 5) to move the beveling device (reamer) to the pipe then apply force to the
handle to start beveling the pipe.
Blade Beveling Rack
Fig. 10
6. Stop the machine after the beveling is complete and rotate the beveling rack to the upward.
7. Loosen the fore and rear chucks, by turning them clockwise, and remove the pipe from the rear chuck.
After Each Use
•
Unplug power when the machine is not in use.
•
Clean the machine of metal scraps and excess oil.
•
Coat corrosion resistant oil on working surfaces
•
Store the pipe threader when it will not be used for a long time. Inspect the threader for good working
condition prior to storage and again before re-use. Store it in a dry, secure place out of the reach of
children. Please refer to Maintenance for more information.
Содержание 49671
Страница 21: ...Page 21 of 32 Wiring Diagram...


