11
INSTALLATION
INSTALLATION
Testing the Shade
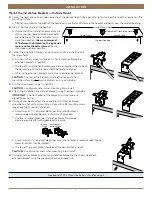
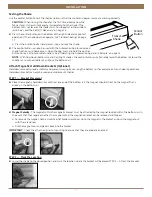
Use the control button to test the shade and ensure that the motor and power source are working correctly.
CAUTION:
When raising the shade for the first time, observe how the
fabric stacks. It should stack evenly. Immediately stop the shade if the
bottom rail is not level or the shade starts to rub against either window
jamb. See "Level the Rail(s), If Necessary" on page 16.
■
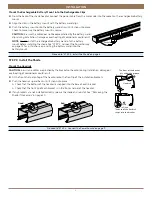
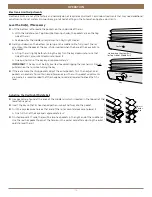
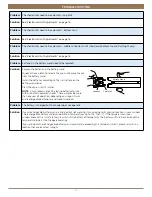
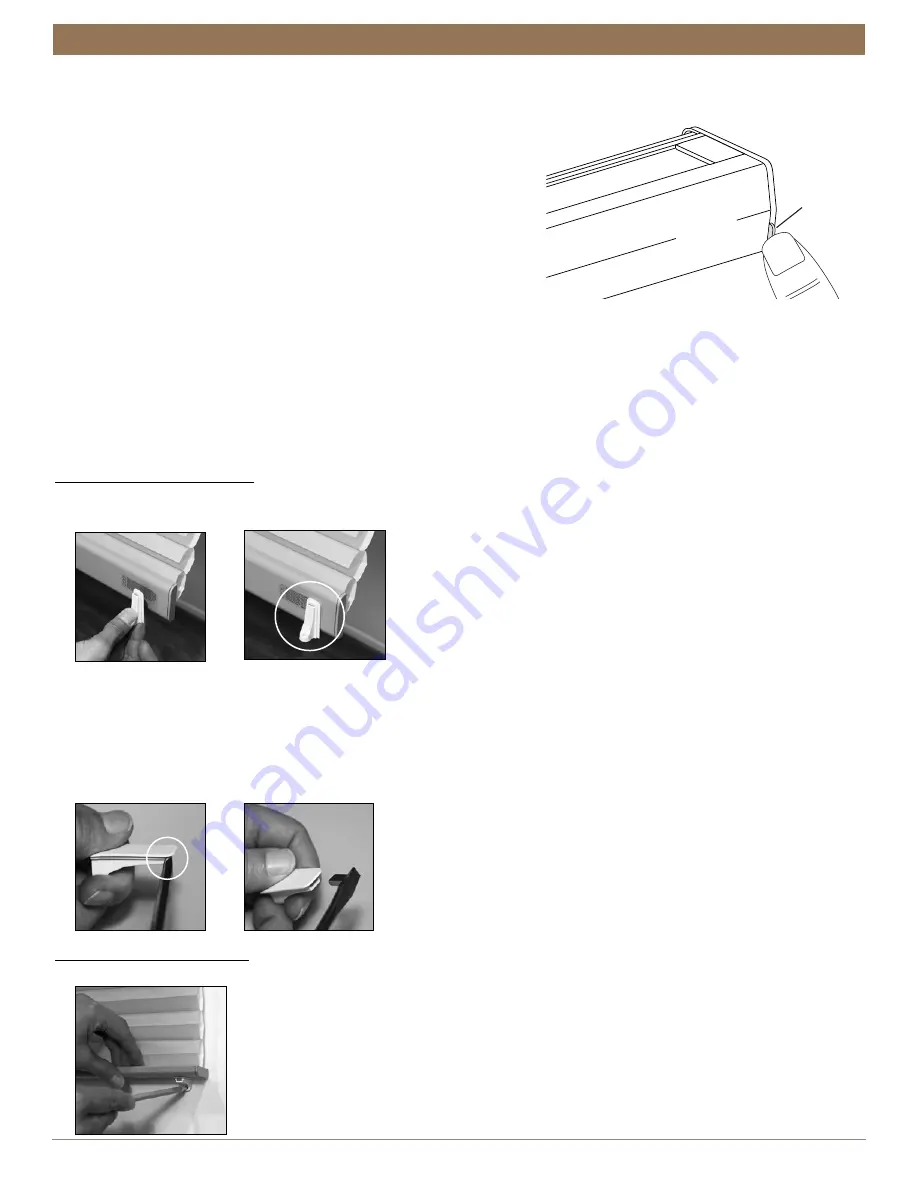
Press the control button on the bottom of the right-side end cap to test
operation. If the shade does not operate, see "Troubleshooting" on page
17
➤
Press the button to alternately lower, stop, and raise the shade.
■
The control button can also be used with the Automation App for advanced
shade functions and home access. Open the app, press and hold the control
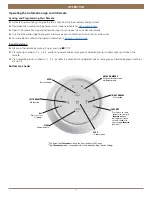
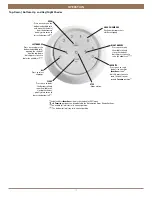
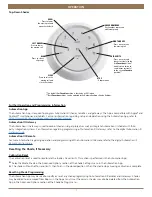
button to see a list of available functions. See "Operating the Automation App and III Remote" on page 13
NOTE:
With Top-Down/Bottom-Up and Day/Night shades, the control button will alternately lower the bottom rail, lower the
middle rail, raise the middle rail, and raise the bottom rail.
Attach Magnetic Hold-Down Brackets (Optional)
Hold-down brackets provide stability and prevent swaying by securing the bottom rail, for example on French door applications.
Hold-down brackets can only be used on outside mount shades.
STEP 1 — Bracket Placement
■
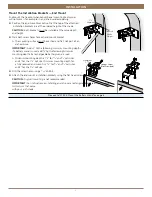
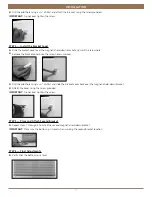
Place the magnetic hold-down bracket near one end of the bottom rail. The magnet should attract to the magnet that is
already in the bottom rail.
■
Magnet Polarity:
The magnet within the magnetic bracket must be attracted to the magnet located within the bottom rail. In
the event that they repel each other, the magnet within the magnetic bracket can be removed and flipped.
➤
To remove the magnet, hold a small steel flat blade screwdriver up to the magnet in the bracket and pull the magnet out
with the screwdriver.
➤
Flip the magnet over and place it back into the bracket.
IMPORTANT:
Check the attraction prior to mounting to ensure that they are properly oriented.
STEP 2 — Mark the Location
■
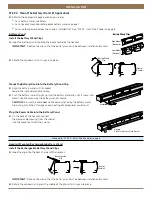
Lower the shade to the closed position and mark the location where the bracket will be placed.STEP 3 — Attach the Bracket
Control
Button
Front of
Shade
Содержание Cellular Shade Automation III
Страница 22: ...21 INSTALLATION CHILD SAFETY...


