


EN
FPLM132H-6
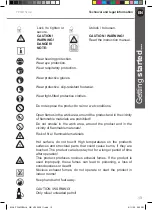
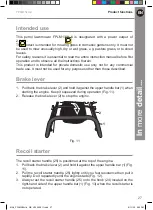
Before you start
Getting
started...
20
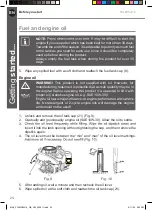
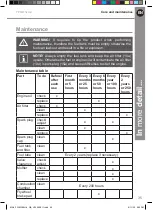
Assembly
NOTE:
Take care of small parts that are removed during assembly
or when making adjustments. Keep them secure to avoid loss.
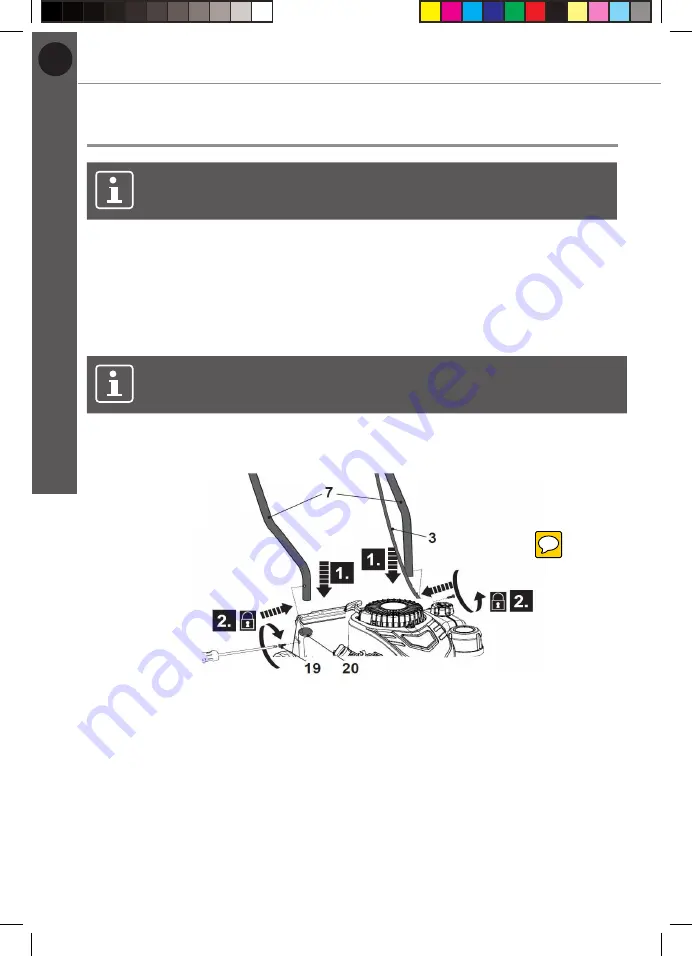
Low handle bars
1. Put the product on the ground.
2. Insert the lower handle bars (7) into the handle supports (20). Align the
mounting holes of the lower handle bars (7) and the handle supports (20)
(Fig. 1, step 1).
3. Secure the lower handle bars (7) with the handle support screws (19) using
the suitable screwdriver (not delivered) (Fig. 1, step 2).
NOTE:
The position of mounting holes can be lift by adjusting the
cutting height for the convenience, if necessary.
4. Make sure the brake wire (3) run on the upper side of the lower handle bar
(7).
Fig. 1
Upper handle bar
1. Hold the upper handle bar (1) with the brake lever (2) facing upwards. Align
the mounting holes of the upper handle bar (1) and the lower handle bars (7).
2. Pass the mounting bolt through the mounting holes to the end (Fig. 2, step 1).
3. Place the hook for recoil starter handle (24) with its pin positioned on the
upper side of the upper handle bar (1) and secure it by turning the mounting
knob (4) through the thread of the mounting bolt (5) (Fig. 2, step 2).
4. Pass the remaining mounting bolt through the mounting holes to the end (Fig.
3, step 1).
5. Make sure the brake wire (3) run on the upper handle bar (1).
MNL_FPLMP99H-4_GB_V05_200911.indd 20
9/11/20 5:23 PM
Содержание FPLM132H-6
Страница 1: ...Original Instructions_MNL_FPLM132H 6_GB_V02_220512 FPLM132H 6 5059340359427 132 ...
Страница 15: ...FPLM132H 6 132 UK Conformity Assessed FPLM132H 6 750 g h NP130F L 132 ...
Страница 16: ...F5RTC NP130 92 94 2 01 FPLM132H 6 ...
Страница 48: ...EN 48 EN In more detail EC declaration of conformity MNL_FPLMP99H 4_GB_V05_200911 indd 46 9 11 20 5 23 PM ...
Страница 50: ...EN 50 EN EC declaration of conformity In more detail MNL_FPLMP99H 4_GB_V05_200911 indd 48 9 11 20 5 23 PM ...


