


ENGLISH
Chapter 3: Getting Started
24
DVR User’s Manual
Chapter 3: Getting Started
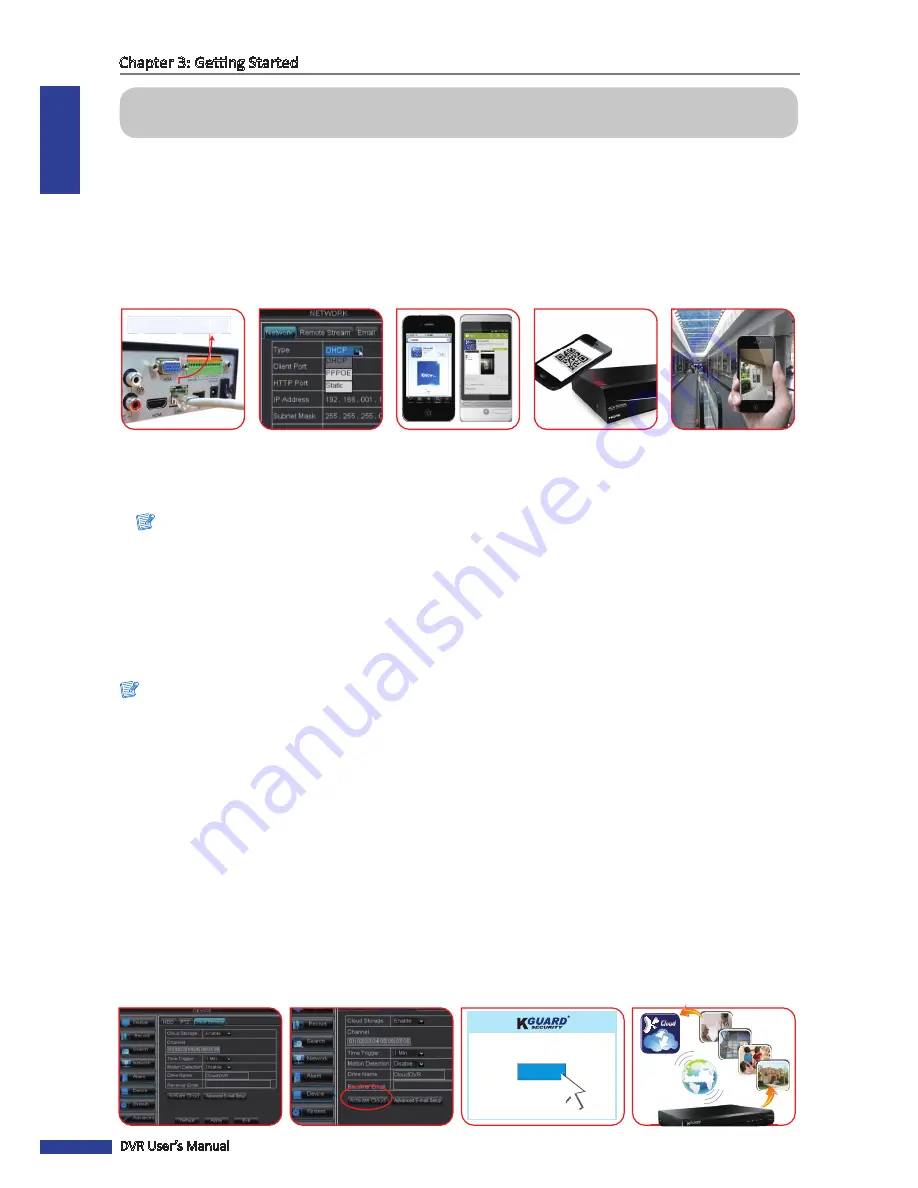
3.1 Easy Network Setup for Remote Live View on Smart Phone/
Pad
The outstanding feature of this DVR is that you do not need to do any complicated network settings to set up the DVR
for remote live view on smart phone/pad. In a DHCP typical personal home LAN (Local Area Network), basic steps are
as below:
1
Connect the power adapter to the DVR. See
“2.2 Connecting the Power” on page 17
for further details.
2
Connect the DVR to network. See
“2.8 Connecting to Network” on page 22
for further details.
Note:
To enable remote monitoring, recording, playing, or configuring the setting via KGUARD Web Client or Kview Center
software, you still need to configure the network settings and setup port forwarding in Router. See
“4.4.1 Network
Settings” on page 52
for further details.
3
Download
KViewQR
application on your smart phone/pad. See
“6.1 KViewQR” on page 107”
for further details.
4
Add the connected DVR by scanning the QR code. Once the router provides IP address to DVR, the Live screen
appears.
Note:
• We suggest your smart phone/pad using WIFI, and connecting to the same Router as DVR.
• The default user name and password are:
- User Name:
admin
- Password:
123456
For system security, we suggest you change the password in DVR to protect your privacy. See
“4.7.2 User and
Password Settings” on page 67
for further details.
3.2 Upload images to Cloud
You can also setup a cloud storage account and receive snapshots from your DVR. See
“4.6.3 Cloud Storage” on page
62
for further details.
At present, your DVR supports the Dropbox cloud storage. Before setting up the cloud storage on the DVR, make sure
your Dropbox account has been created and active (Dropbox website: www.dropbox.com) and the Network settings of
your DVR has been configured properly, see
“4.4.1 Network Settings” on page 52
.
Hi Dear,
Please Click on the following to complete your setup for Cloud
storage at Dropbox.
The snapshot taken at set interval or by motion detection will be
sent and stored automatic ally at Dropbox where you can easily
access to and shane the snapshol with others!
-Your KGUARD Team
Activate Cloud
Internet
Internet
tion detecti
where yo
rs!
1
Main Menu > Device > Cloud Storage
2
Set and active Cloud
3
Check mail box within 3 minutes
to activate Cloud.
4
Success!
Connect a RJ45 cable
Complete Network settings
Install APP
Scan QR code
Live view


