background image

12

K-2500™ BREWER

BREWER FEATURES & CONTROLS

Brewer Features

Strong Brew

 increases the strength and bold taste of your coffee’s flavor. 

For bolder coffee, press the 

Strong

 button so it is highlighted in yellow,  

and select your brew size. 

Commercial Rating

 ensures that the K-2500™ brewer will stand up to  

the demands of your coffee station. Enjoy the convenience of a touch 
screen, an industrial easy-grip handle, and a plumbed water tank for  
back-to-back brewing. 

Brewing Iced Beverages:

 Fill a 16-oz cup (do not use glass) to the top with 

ice and place a K-Cup® pod in the K-Cup® pod holder. Select your brew 
size—we recommend selecting 6 oz or 8 oz on 

Strong

. Press 

Brew

High Altitude Brewing:

 When brewing at higher altitudes (over 5,000 

feet), please enable the High Altitude Brewing Mode on your brewer. To 
enable this mode, you will need to access the Technician menu in Technician 
Mode. For more information on Technician Mode, please contact your 
Keurig® Authorized Distributor.

Travel Mug Friendly:

 Remove the drip tray  

to accommodate most travel mugs.
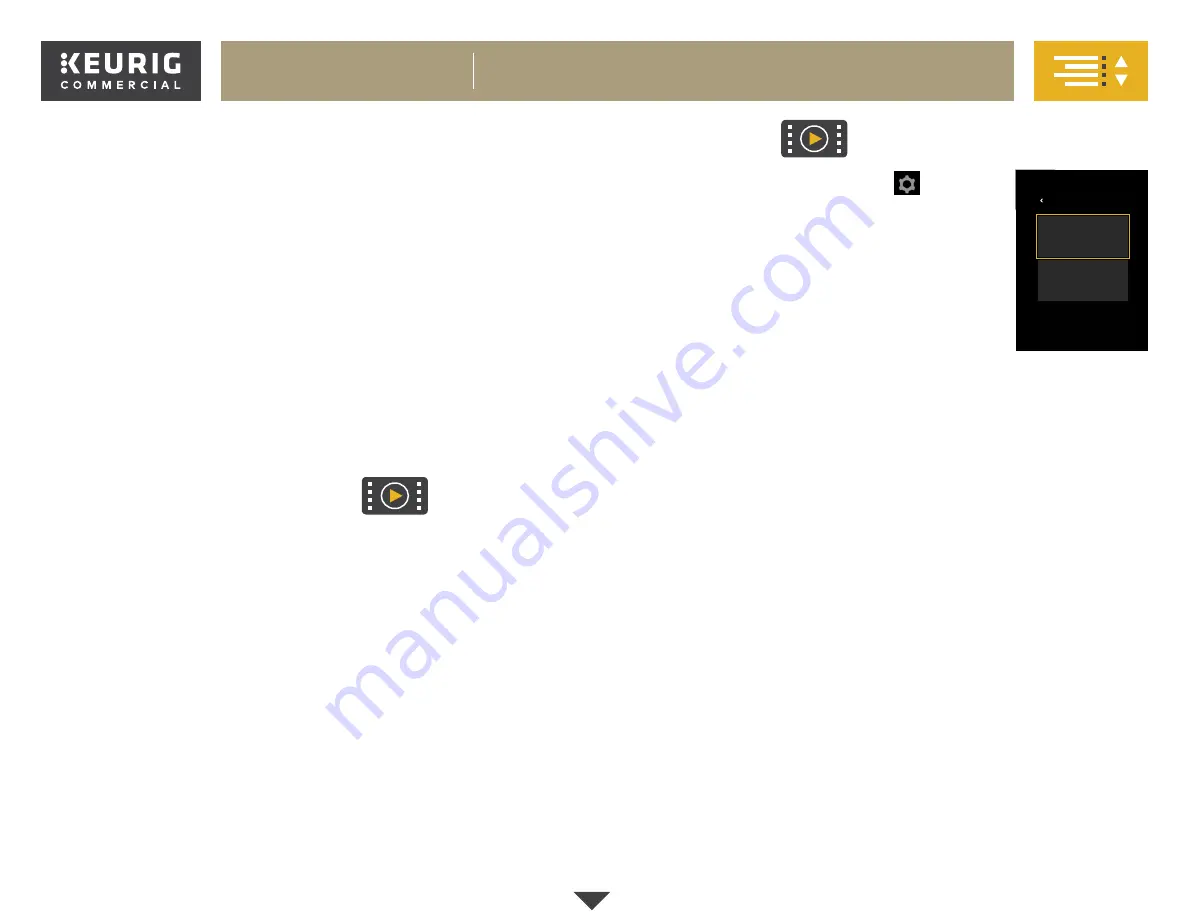
Menu Controls

To enter the Menu Mode, press the icon 

 in the  

upper right hand corner. The menu will display two  
admin roles: “Manager” and “Technician”.
To enter the Manager Mode, touch the button and  
enter the passcode (23456). For more information on  
the Technician Mode, please contact your Keurig®  
Authorized Distributor.
Once the manager menu is accessed, you will see the  
display screens in the following order:

Language


You can change the default language to either Spanish or French if English 
is not your primary language. To temporarily change the language for a 
single brew, simply press the button for your language of choice on the 
touch screen while it’s in its idle state.

Units


Change between ml (mililiters) and oz (ounces) for volume measurement. 

Brew Settings


Select which cup sizes you want the brewer to dispense. Five brew sizes 
are available: 4, 6, 8, 10, and 12 oz. You may disable up to four cup sizes, as 
well as select your default cup size and brew strength.

Sleep Settings


Change the number of minutes the screensaver runs before the screen 
goes to sleep.

Screensaver


You can select multiple images to use as a screensaver, as well as 
the duration for each image and the number of minutes before the 
screensaver starts.  
See the “Adding Screensaver Images” section to add custom images to 
your screensaver slide show.

Brew History


Displays the number of brews the brewer has performed, both as a total 
and by brew size. This cannot be reset.

Password


Choose to enable or disable passcode protection.

Select Admin Role

Manager

Technician

ABOUT

Continued

Содержание K-2500

Страница 1: ...Use Care Guide Get the Most From Your New Keurig Brewer Click Anywhere to Begin K 2500 Brewer...

Страница 2: ...fety precautions should be followed including the following ADDITIONAL SAFEGUARDS 1 WARNING Keep all plastic bags away from children 2 WARNING There is extremely hot water under pressure in the K Cup...

Страница 3: ...up or operating your K 2500 brewer GETTING TO KNOW YOUR BREWER Brewer Parts 4 K 2500 Water Reservoir Kit Parts 5 WATER HOOKUP Plumbing Instructions 6 Installing the Reservoir 8 BEFORE YOU BREW 9 BREW...

Страница 4: ...K Puncture Mechanism Base Plate L Drip Tray Plate M Drip Tray N USB Port O Water Filter Inlet Tube P Power Switch Q Hot Water Drain Tube R Water Inlet Port S Cold Water Drain Tube T Power Cord U Filte...

Страница 5: ...umbed or refillable water source This Use Care Guide provides installation instructions for both If plumbing your brewer refer to the Plumbing Instructions section on page 6 for water hookup If you ha...

Страница 6: ...16 18 mm wrench Make sure the connections are secure but do not overtighten 3 Attach the filter mounting bracket to the Omnipure KQ8A Water Filter using the four screws provided NOTE The top of the O...

Страница 7: ...ny carbon deposit 8 Place the open end of the long length of tubing in a container or sink 9 Turn on water supply and allow at least four gallons of water to flush through the filter Turn off water su...

Страница 8: ...e the dock into the left hand side of the brewer until it clicks into place the click indicates that it is properly connected Place Reservoir Fill the reservoir with water up to the MAX fill line then...

Страница 9: ...the brewer is plumbed and the water supply is on in order to proceed Confirm Water Supply If the water reservoir has a sufficient amount of water the brewer s touch screen will display Filling hot wa...

Страница 10: ...w When the cleansing brew is complete discard the hot water from the mug The brewer will enter its idle state and will be ready to brew your first K Cup pod Lift Lower Place a mug on the drip tray pla...

Страница 11: ...l not display unless the lid is fully closed 1 2 Select Your Brew The display will show a choice of 4 6 8 10 and 12 oz brew sizes as well as an option to brew on Strong Select your brew size by pressi...

Страница 12: ...the Manager Mode touch the button and enter the passcode 23456 For more information on the Technician Mode please contact your Keurig Authorized Distributor Once the manager menu is accessed you will...

Страница 13: ...er menu CAUTION Do not remove the USB flash drive while in the Screensaver menu Only remove the flash drive once images have fully downloaded and you have exited Menu Mode Insert Flash Drive Insert a...

Страница 14: ...ges are in the top root directory of the flash drive Adding Screensaver Images cont Select New Image s Go back to the Image Selection screen select your new image s to be part of the screensaver slide...

Страница 15: ...ve slide it toward you keeping it level to avoid spilling Clean with a damp soapy lint free non abrasive cloth K Cup Pod Holder Lift the lid handle to access the K Cup pod holder To remove the K Cup p...

Страница 16: ...instructions for cleaning and descaling before sanitizing Measure 15 ml of Complete Cafe solution into the provided measuring cup lid and add to one gallon of water IMAGE A For Plumbed Brewers Discon...

Страница 17: ...technician are transitioning the brewer from a plumbed water source to reservoir the internal water tanks will need to be fully drained IMAGE A before connecting the reservoir dock IMPORTANT If trans...

Страница 18: ...ning If an external water filter is mounted to the back of the brewer this will need to be removed before beginning the descaling procedure The descaling procedure differs slightly between plumbed bre...

Страница 19: ...he first cleansing brew from finishing This allows the solution to soak the entire brew path Let the brew path soak for 30 minutes NOTE for Plumbed Brewers While the brew path is soaking open the desc...

Страница 20: ...s only a partial cup The exit or entrance needle may be clogged Clean K Cup pod holder if necessary and rinse under faucet If the brewer is alerting you to perform a Descale have your Keurig Authorize...

Страница 21: ...AL COSTS AND EXPENSES RESULTING FROM ANY BREACH OF THIS WARRANTY EVEN IF FORESEEABLE Some states or provinces do not allow the exclusion or limitations of incidental or consequential damages so the ab...

Отзывы: