28
ENGLISH
Data Size:
B6L (182 mm x 128 mm)
Book Size:
B6L (182 mm x 128 mm)
Change the display settings
1
Press the volume knob to enter
[FUNCTION]
.
2
Turn the volume knob to select an item (see the following table), then
press the knob.
3
Repeat step 2 until the desired item is selected/activated or follow the
instructions stated on the selected item.
4
Press and hold
to exit.
To return to the previous setting item, press
.
Default:
[XX]
[DISPLAY]
[COLOR SELECT]
(For
/
)
Selects illumination colors for
[ALL ZONE]
,
[ZONE 1]
and
[ZONE 2]
separately.
1
Select a zone. (See the illustration on page 27.)
2
Select a preset color for the selected zone.
Default:
[VARIABLE SCAN]
To make your own color, select
[CUSTOM R/G/B]
. The color you have made
will be stored in
[CUSTOM R/G/B].
1
Press the volume knob to enter the detailed color adjustment.
2
Press
S
/
T
to select the color (
[R]
/
[G]
/
[B]
) to adjust.
3
Turn the volume knob to adjust the level (
[0]
to
[9]
), then press the knob.
[DIMMER]
Dims the illumination.
[ON]
: Dimmer is turned on.
[OFF]
: Dimmer is turned off.
[DIMMER TIME]
: Set the time to turn on dimmer and to turn off dimmer.
1
Turn the volume knob to adjust the
[ON]
time, then press the knob.
2
Turn the volume knob to adjust the
[OFF]
time, then press the knob.
Default:
[ON]
:
[18:00]
;
[OFF]
:
[6:00]
[BRIGHTNESS]
Sets the brightness for day and night separately.
1
[DAY]
/
[NIGHT]
: Select day or night.
2
Select a zone. (See the illustration on page 27.)
3
[LVL00]
to
[LVL31]
: Set the brightness level.
[TEXT SCROLL]
[ONCE]
: Scrolls the display information once. ;
[AUTO]
: Repeats scrolling at
5-second intervals. ;
[OFF]
: Cancels.
[LEVEL METER]
(For
/
)
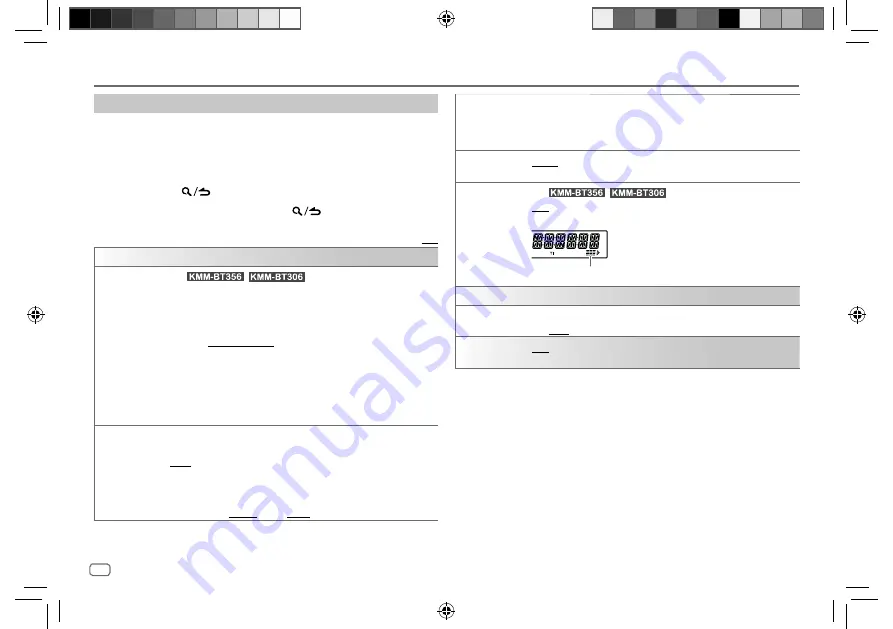
[ON]
: Shows the level meter on the display window (as shown below). ;
[OFF]
: Cancels.
Level meter
[CLOCK]
[CLOCK DISPLAY] [ON]
: The clock time is shown on the display even when the unit is turned
off. ;
[OFF]
: Cancels.
[DEMO MODE]
[ON]
: Activates the display demonstration automatically if no operation is
done for about 15 seconds. ;
[OFF]
: Deactivates.
Preset color:
[INITIAL COLOR]
/
[VARIABLE SCAN]
/
[CUSTOM R/G/B]
/
[RED1]
/
[RED2]
/
[RED3]
/
[PURPLE1]
/
[PURPLE2]
/
[PURPLE3]
/
[PURPLE4]
/
[BLUE1]
/
[BLUE2]
/
[BLUE3]
/
[SKYBLUE1]
/
[SKYBLUE2]
/
[LIGHTBLUE]
/
[AQUA1]
/
[AQUA2]
/
[GREEN1]
/
[GREEN2]
/
[GREEN3]
/
[YELLOWGREEN1]
/
[YELLOWGREEN2]
/
[YELLOW]
/
[ORANGE1]
/
[ORANGE2]
/
[ORANGERED]
Display Settings
JS_KWD_KMM_BT356_EN_EN.indd 28
JS_KWD_KMM_BT356_EN_EN.indd 28
6/21/2019 4:01:21 PM
6/21/2019 4:01:21 PM
Содержание KMM-BT206
Страница 47: ...JS_KWD_KMM_BT356_EN_EN indd 39 JS_KWD_KMM_BT356_EN_EN indd 39 6 21 2019 4 01 22 PM 6 21 2019 4 01 22 PM ...
Страница 85: ...JS_KWD_KMM_BT356_EN_FR indd 39 JS_KWD_KMM_BT356_EN_FR indd 39 2 8 2019 9 27 30 AM 2 8 2019 9 27 30 AM ...
Страница 123: ...JS_KWD_KMM_BT356_EN_GE indd 39 JS_KWD_KMM_BT356_EN_GE indd 39 2 8 2019 9 44 05 AM 2 8 2019 9 44 05 AM ...
Страница 161: ...JS_KWD_KMM_BT356_EN_NL indd 39 JS_KWD_KMM_BT356_EN_NL indd 39 2 8 2019 9 52 14 AM 2 8 2019 9 52 14 AM ...
Страница 162: ...JS_KWD_KMM_BT356_EN_NL indd 40 JS_KWD_KMM_BT356_EN_NL indd 40 10 21 2019 2 25 25 PM 10 21 2019 2 25 25 PM ...
Страница 163: ...JS_KWD_KMM_BT356_EN_NL indd 41 JS_KWD_KMM_BT356_EN_NL indd 41 10 21 2019 2 25 25 PM 10 21 2019 2 25 25 PM ...


