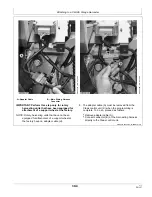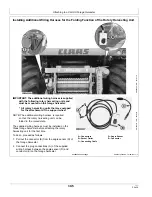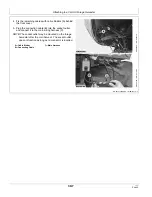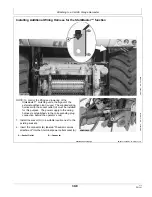
Attaching to a CLAAS Forage Harvester
KM00321,00006CD -19-05OCT17-1/2
KM00321,00006CD -19-05OCT17-2/2
Rotary Harvesting Units with Multi-Speed
Gearbox and Quick Coupler
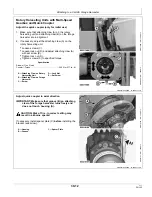
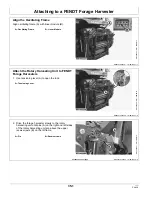
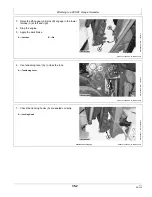
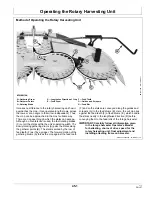
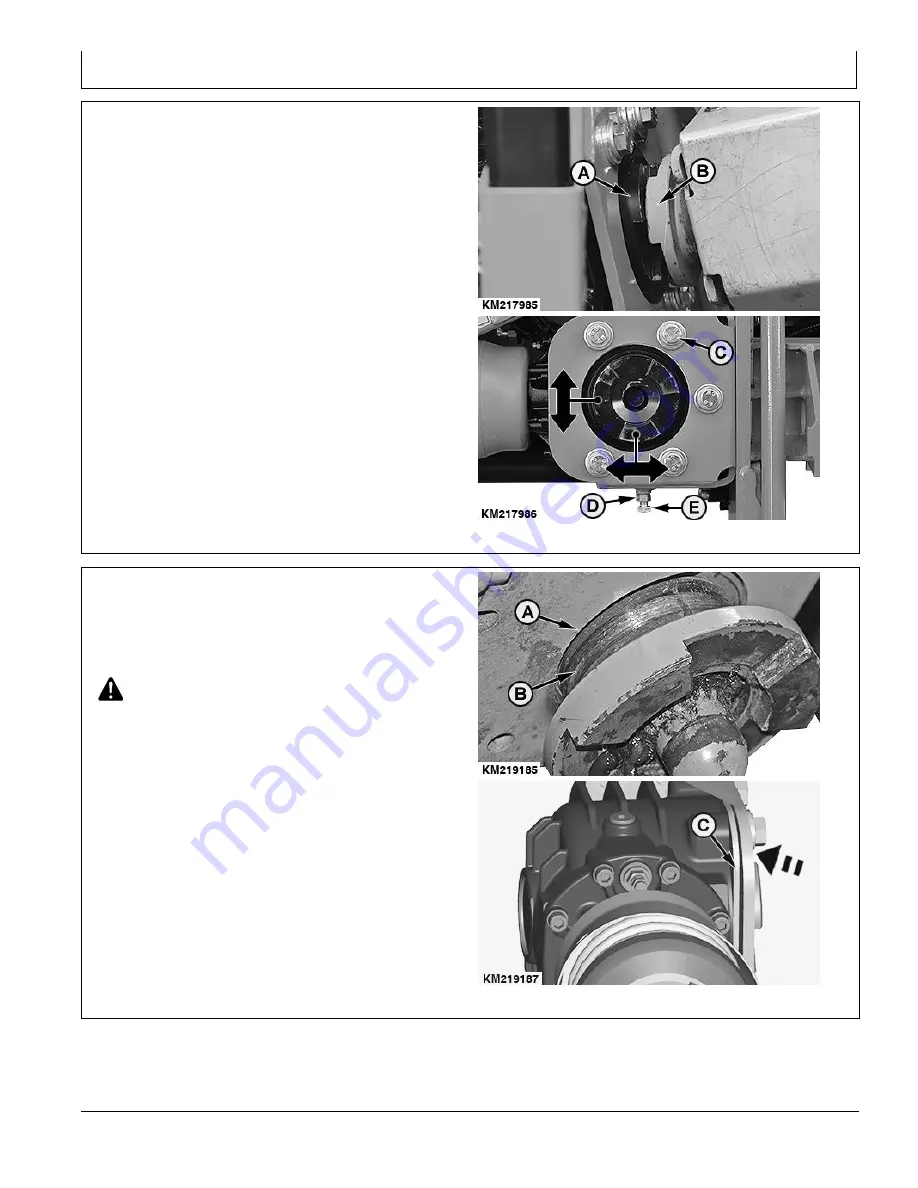
Adjust the quick coupler (only for initial use)
1. Make sure that attaching claw (A) on the rotary
harvesting unit and attaching claw (B) on the forage
harvester are in alignment.
2. If necessary, adjust the attaching claw (A) on the
rotary harvesting unit.
•
Loosen screws (C).
•
Loosen lock nut (D) and adjust attaching claw (A)
with set screw (E).
•
Tighten lock nut (D).
•
Tighten screws (C) to specified torque.
Specification
Screws (C) on Quick
Coupler—Torque...................................................... 240 N·m (177 lb.-ft.)
A—Attaching Claw on Rotary
Harvesting Unit
B—Attaching Claw on Forage
Harvester
C—Screw
D—Lock Nut
E—Set Screw
KM217985
—UN—15SEP14
KM217986
—UN—15SEP14
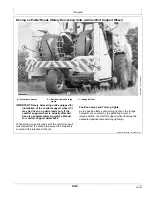
Adjust quick coupler in axial direction
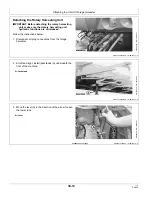
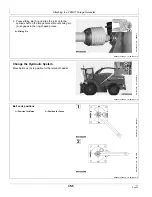
IMPORTANT: Make sure that groove (B) on attaching
claw of the forage harvester turns freely and
does not touch housing (A).
CAUTION: Risk of fire - Incorrect setting may
result in airborne sparks!
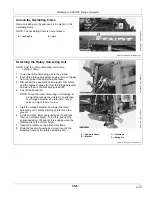
If necessary, install spacer plate (C)
before
installing the
bracket (see arrow).
A—Housing
B—Groove
C—Spacer Plate
KM219185
—UN—15SEP14
KM219187
—UN—15SEP14
30-12
061721
PN=45
Содержание 460plus
Страница 6: ...Contents iv 061721 PN 4...
Страница 108: ...Serial Number 80 2 061721 PN 108...
Страница 111: ...Index Index 3 061721 PN 3...
Страница 112: ...Index Index 4 061721 PN 4...

