
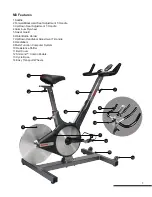
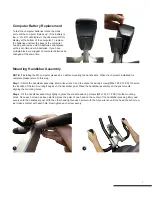
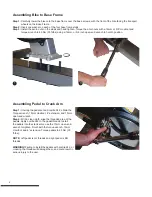
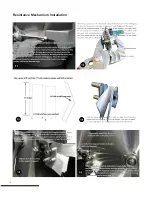


Mounting Handlebar Assembly
NOTE:
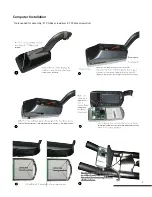
If installing the M3 computer please do so before mounting the handle bars. When the computer installation is
complete please return to this step.
Step 1:
Obtain the handlebar assembly, 6mm Allen wrench, and the socket head cap screws (M8x1.25 X 12 SS). Observe
the location of the two mounting flanges on the handlebar post. Place the handlebar assembly on the post mounts,
aligning the mounting holes.
Step 2:
Tilt the handlebar assembly slightly to place the socket head cap screws (M8x1.25 X 12 SS) into the mounting
holes. Once each screw has been started, place the palm of one hand on the center of the handlebar pressing firmly and
evenly onto the handlebar post. With the other hand tighten each screw with the Allen wrench until the head of each screw
just makes contact with each hole. Now tighten each screw evenly.
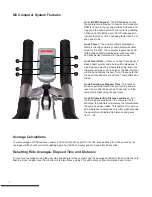
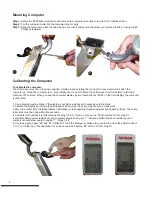
Computer Battery Replacement
To test the computer batteries rotate the crank
arm until the computer “wakes up”. If the battery is
low, a “LO-BA” will display in the odometer (ODO)
display at the bottom of the computer. To replace
the batteries unscrew the back of the computer
housing and remove old AA batteries and replace
with a set of two new AA batteries. If you have
multiple bikes, we suggest all computer batteries be
changed at the same time.
1
2
7
Содержание M3
Страница 1: ...M3 User and Service Manual...
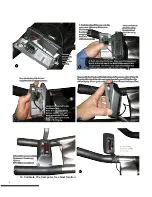
Страница 5: ...Computer Installation 3 Tools needed for assembly 1 Phillips screwdriver 2 Phillips screwdriver...
Страница 6: ...12 Calibrate The Computer See Next Section 4...
Страница 7: ...5...
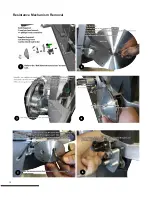
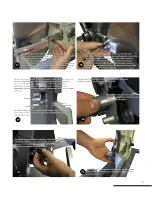
Страница 12: ...Resistance Mechanism Removal 10...
Страница 13: ...11...
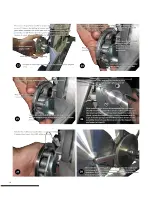
Страница 14: ...Resistance Mechanism Installation 12...
Страница 15: ...13...
Страница 16: ...14...
Страница 17: ...Steps For Belt Removal 15...
Страница 18: ...Steps for Belt Installation 16...
Страница 19: ...Crank Arm and Axle Removal and Installation 17...
Страница 20: ...18...
Страница 21: ...19...
Страница 25: ...23...
Страница 26: ...24...
Страница 27: ...25...