background image


Thrulink Operations Manual 


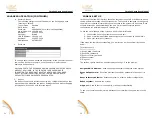
THRULINK TUNNEL SET UP (CONTINUED) 


C.


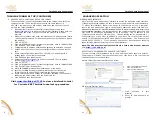
PROCEDURES TO CONFIGURE SET UP FOR TUNNEL 
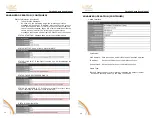
To access the GUI, connect an Ethernet cable to the LAN port and verify the 
computer’s static TCP/IP configuration is set to the same subnet (ie, 
192.168.1.xxx where xxx= any number  between 1 and 254 other than 10 
which is the ThruLink default) 
1.


Open Mozilla® Firefox or Microsoft® Internet Explorer and enter 

https://192.168.1.10

 to reach the internal GUI interface. Please note, you 

must enter the “https” in order to access the secure web browser 
interface. 

2.


Accept the certificate, then enter the default user ID and password (admin 
/ admin) when prompted. For questions on the security certificate, please 
see page 10 

3.


Click on “SET UP” 

4.


Click on “DISABLED” under “System Configuration” next to TUNNEL MODE 

5.


Click “SERVER” from listed options.  

6.


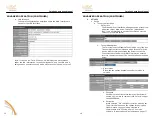
Configure WAN IP address, netmask and gateway as described on page 8 

7.


Choose a port from one of the preset configurations or choose a custom 
port. 

8.


Under LAN Configuration, leave IP as 192.168.1.10 unless that IP is 
already taken on the local area network. 

9.


Click SAVE and then reboot device. 

10.


Connect second ThruLink device and access its LAN IP on its default 
setting (

https://192.168.1.10

11.


Click on “SET UP” 

12.


Click on “DISABLED” under “System Configuration” next to TUNNEL MODE 

13.


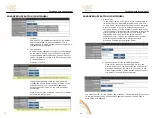
Click “CLIENT” from listed options. 

14.


Verify PASSWORD matches the preshared key of the Server 

15.


Enter Server WAN Setting (or public WAN IP at Server location) as 
Primary Server IP and verify port matches the Server port used. 

16.


Under LAN Configuration, change IP to another available IP on the same 
subnet as the Server (other than the Server LAN IP). 

17.


Click SAVE and then reboot device. 
 

Visit 

www.thrulink.net/TLV2

 to view a brief web tutorial 

for 2 minute KBC ThruLink tunnel set up procedure 


Thrulink Operations Manual 


ADVANCED OPERATION 

 
WEB BROWSER INTERFACE 

Each ThruLink has a web browser interface to access the advanced setup functions.  
If changing advanced settings, be sure to connect to and power the units individually.  
To access this interface, connect the device to the Ethernet port on a computer, 
launch the web browser and type in the default IP address at https://192.168.1.10. 
Please note that the “s” must be included as the IP alone or along with http:// will 
not access the interface. The configuration of the computer used to access the unit 
may need to be changed depending on its IP settings.  The IP address of the 
computer should be set to 192.168.1.xxx.  The xxx setting can be any address 2 – 
254 excluding 10 or any other IP address(s) you wish to use for a ThruLink on that 
subnet (or Encoder/Decoder/WES Mesh product if applicable).  The Subnet mask 
should be 255.255.255.0.  If you have any questions or concerns about changing 
these settings, please contact your network administrator.   
 
Note: The GUI interface is only accessible via a secure web browser address 
(i.e, 

https://192.168.1.10

)  

 
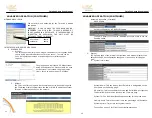
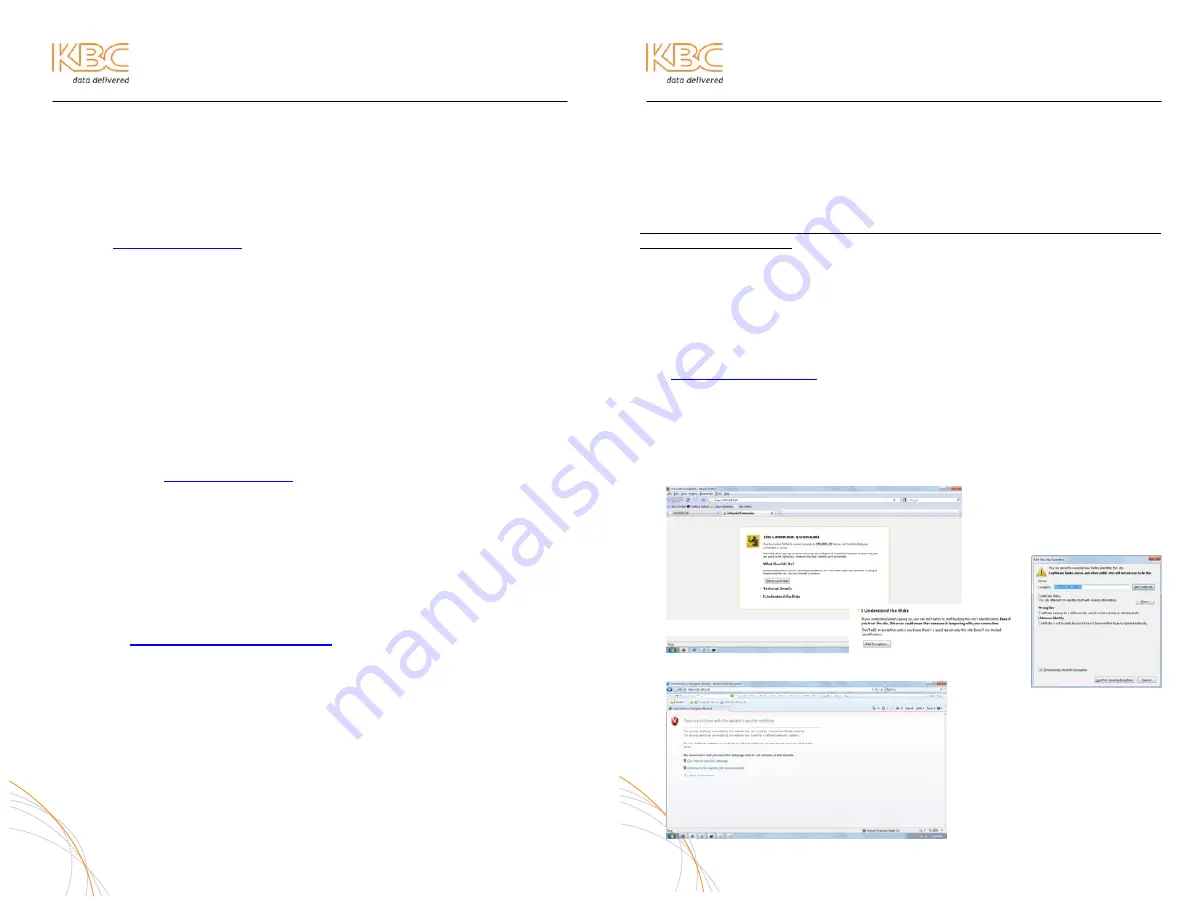
ACCEPTING THE WEB BROWSER SECURITY CERTIFICATE 
In order to reach the ID/password log in, the web browser must ensure its security. 
The browser will believe that the connection is not safe but it is OK to accept the 
certificate and access the interface. 
 
Mozilla Firefox (Recommended Browser) Users: 


1.


Click “I Understand the Risks” 

2.


Click “Add Exception” 

3.


Click “Confirm Exception” 


MS Internet Explorer Users: 


1.


Click “Continue to this 
Website” 

2.


Enter ID and password at 
prompt 


10 


Содержание ThruLink THLK Series

Страница 1: ... A Main 1 949 297 4930 Fax 1 949 297 4933 KBC Networks Ltd EMEA Barham Court Teston Maidstone Kent ME18 5BZ United Kingdom Office 44 0 1622 618787 Fax 44 0 20 7100 8147 Email info kbcnetworks com Web www kbcnetworks com ThruLink LAN WAN Transmission Systems Operations Manual Version 20110519 ...

Страница 2: ...hnical assistance is available should you require additional assistance KBC offers technical support over the phone or by way of e mail to all KBC qualified integrators on the ThruLink product The North American technical support hotline is available during regular US west coast business hours Monday through Friday on all non major holiday business days KBC will follow up on all electronic inquiri...

Страница 3: ...IGH CAPACITY ENVIRONMENTAL CONDITIONING The High Capacity ThruLink is an industrial server and must be stored in a conditioned environment Maintain temperature ratings in the server room within the temperature threshold as stated on the device specifications and ratings Rack Mount Instructions The following or similar rack mount instructions are included with the installation instructions A Elevat...

Страница 4: ...f cable is usually determined by the laptop Ethernet port If using a 10 100 port a crossover cable may be required If using a gigabit port the straight through cable should connect to the ThruLink 3 Connect the supplied 12 VDC 1000mA power supply to the DC jack as labeled on the Standard Capacity SC Connect the power supply to a sufficient voltage suppression device 4 Configure the static setting ...

Страница 5: ...pair can be sent directly to KBC with a valid RA number RA s are issued to KBC distributors dealers or integrators with a valid resale license End users should return products through their KBC dealer who can call or e mail KBC to obtain an RA number for repair 3 Thrulink Operations Manual THRULINK PHYSICAL DETAILS STANDARD CAPACITY STANDARD CAPACITY SINGLE DUAL LAN PORT THLK S2 Wx THLK S3 Wx A RE...

Страница 6: ...t both types of cables are on hand in case your particular device requires a different configuration than what KBC has tested 6 A REAR VIEW 1 Fan 2 Power Input Port 3 Serial Connection 4 WAN port 5 LAN port B FRONT VIEW 6 LCD Display 7 Power Off Hold for two seconds 8 Power On Hold for two seconds 12 VDC PS Ethernet Cat5 or 6 cable connect to network Ethernet Cat5 or 6 cable To PC serial port for ...

Страница 7: ...INK TUNNEL Out of the box the ThruLink units are set to default Tunnel Mode Disabled In order to connect two or more units together one unit must be enabled as SERVER and the other s to which the Server will connect must be configured as CLIENT S Each Client must have its respective Server WAN IP entered into the Primary Server IP section The WAN Configuration above shows the IP and netmask chosen...

Страница 8: ...able IP on the same subnet as the Server other than the Server LAN IP 17 Click SAVE and then reboot device Visit www thrulink net TLV2 to view a brief web tutorial for 2 minute KBC ThruLink tunnel set up procedure 9 Thrulink Operations Manual ADVANCED OPERATION WEB BROWSER INTERFACE Each ThruLink has a web browser interface to access the advanced setup functions If changing advanced settings be su...

Страница 9: ...ommand tool to be used along with the Command Prompt to ping trace the LAN or WAN IP addresses of other ThruLink or Ethernet devices on the network 11 Thrulink Operations Manual ADVANCED OPERATION CONTINUED Network Diagnostics Continued SNMP Enable Default configuration is SNMPv3 Disabled To enable simply click the Blue Disabled button in order to see the Enabled option 3 System The opening page o...

Страница 10: ...hing link STATUS ACTIVE Upon a link to Server WAN IP STATUS LINK LOST If the Client loses the link it will reattempt the connection STATUS INCORRECT SERVER WAN IP STATUS UNABLE CONTACT If the Server WAN IP is correct check the port selected to ensure ports are forwarded STATUS PSK MISMATCH 13 Thrulink Operations Manual ADVANCED OPERATION CONTINUED c WAN Interface Media Type IEEE 802 11 Wireless Et...

Страница 11: ...llow access through only the LAN or only the WAN port s ii Tunnel Mode Options The ThruLink is set to Disabled Tunnel mode out of the box The user must select the intended mode for each ThruLink device KBC recommends setting the Server first as the Client must have the Server WAN IP information entered into it to connect the tunnel The various options are shown below 1 Server Mode Below are the op...

Страница 12: ... In the picture below the Client is set to communicate to its primary Server whose WAN IP address is 10 0 0 10 on Port 8080 The Host Name does not need to match the Server Host Name in order to establish the tunnel A secondary Server if one is available can be used as the Failover Server in the event the connection is lost to the primary Server A failover Server will only receive the information f...

Страница 13: ...ng Below are the options to select the DNS settings 2 Example of settings The following are example configurations insert your settings from your ISP 19 Thrulink Operations Manual ADVANCED OPERATION CONTINUED a LAN Configuration Select a LAN IP and Subnet mask See page 9 if the LAN configuration will match the existing network settings If a different subnet will be used select the desired configur...

Страница 14: ...GUI interface cannot be reached via the LAN or WAN ports set up can be performed through the serial connection The console is designed to change only the minimum required information to enable access to the system via a network Once network access has been established the web GUI provides complete system configuration as detailed in pages 8 through 21 To use the serial console of the system a null...

Страница 15: ... plug type determined by part number APPROVALS FCC ID IC CE Warranty 2 YEAR LIMITED WARRANTY SEE PAGE 25 FOR DETAILS 23 Thrulink Operations Manual THRULINK PRODUCT SPECIFICATIONS CONTINUED For product improvement design and specifications are subject to change without notice HIGH CAPACITY THLK H2 Rx Series Bandwidth 650 Mbps unencrypted 400 Mbps encrypted 128 bit NETWORK MANAGEMENT User Interface ...

Страница 16: ... years from the date of initial sale for all fiber products 1 If within the specified warranty period this product or any part or portion thereof shall prove upon examination by KBC to be defective in material or workmanship KBC will repair or replace such part or portion at KBC s option The warranty period on the repaired or replaced part or portion of this product shall be limited to the unexpir...

Отзывы: