III.
WIRING.
Warning! Read Safety Warning on page 1
before attempting to use this control.
A.
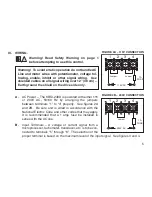
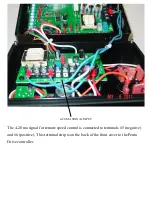
AC Power – The KBSI-240D is powered with either 115
or 230V AC, 50/60 Hz by arranging the jumpers
between terminals “1” to “4” properly. See figures 2A
and 2B. Be sure unit is wired in accordance with the
National Electric Code and other codes that may apply.
It is recommended that a 1 amp fuse be installed in
series with the AC line.
B.
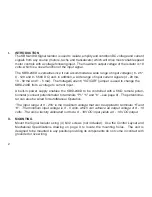
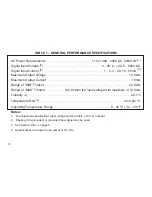
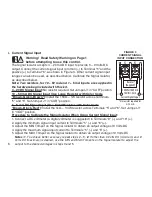
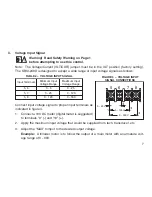
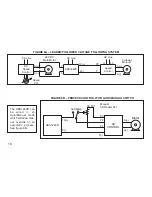
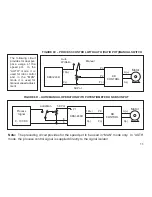
Input Terminals – A voltage or current signal from a
microprocessor, tachometer, transducer, etc. is to be con-
nected to terminals “5” through “8.” The selection of the
proper terminal is based on the maximum level of the input signal. See figures 3 and 4.
5
1
2
3
4
1
A
FUSE
115V AC
Jumper
Jumper
FIGURE 2A – 115V CONNECTION
1
2
3
4
1A
FUSE
230V AC
Jumper
FIGURE 2B – 230V CONNECTION
Warning! To avoid erratic operation do not bundle AC
Line and motor wires with potentiometer, voltage fol-
lowing, enable, inhibit or other signal wiring. Use
shielded cables on all signal wiring over 12” (30 cm) –
Earth ground the shield on the drive side only.
!
Содержание KBPC-240D
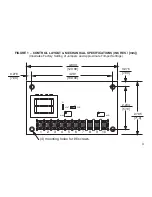
Страница 6: ...3 FIG 1 CONTROL LAYOUT Illustrates Factory Setting of Jumpers and Approximate Trimpot Settings...
Страница 7: ...4 INCHES mm FIG 2 MECHANICAL SPECIFICATIONS TM TM...
Страница 20: ...20 FIG 17 CONNECTION DIAGRAMS FOR KBPC 240D WITH KBSI 240D SIGNAL ISOLATOR...
Страница 36: ...NOTES 12...
Страница 37: ...NOTES 13...


