16
/
67
3)
For example, if you want to switch to Window 1, and if you want to switch the signal of
DisplayPort5.
Method 1:
directly press the INPUTS 5 button on the front panel or in the remote, the Video 1 and
2 button indicators blink (indicates the two buttons can be selected), press the Video 1 button on
the front panel or in the remote to select Window 1.
Method 2:
first
press
the Video 1 button on the front panel or in the remote, the 1 button
indicator on the panel turns solid on, 2~7 button indicators are blinking (If an indicator is solid on,
it means the source currently selected; If an indicator is blinking, it means this source can be
selected), press the INPUTS 1 button on the front panel or in the remote.
4)
In the same methods, Window 2 can select DisplayPort6, and Window 3 can select RGB/YPbPr.
5)
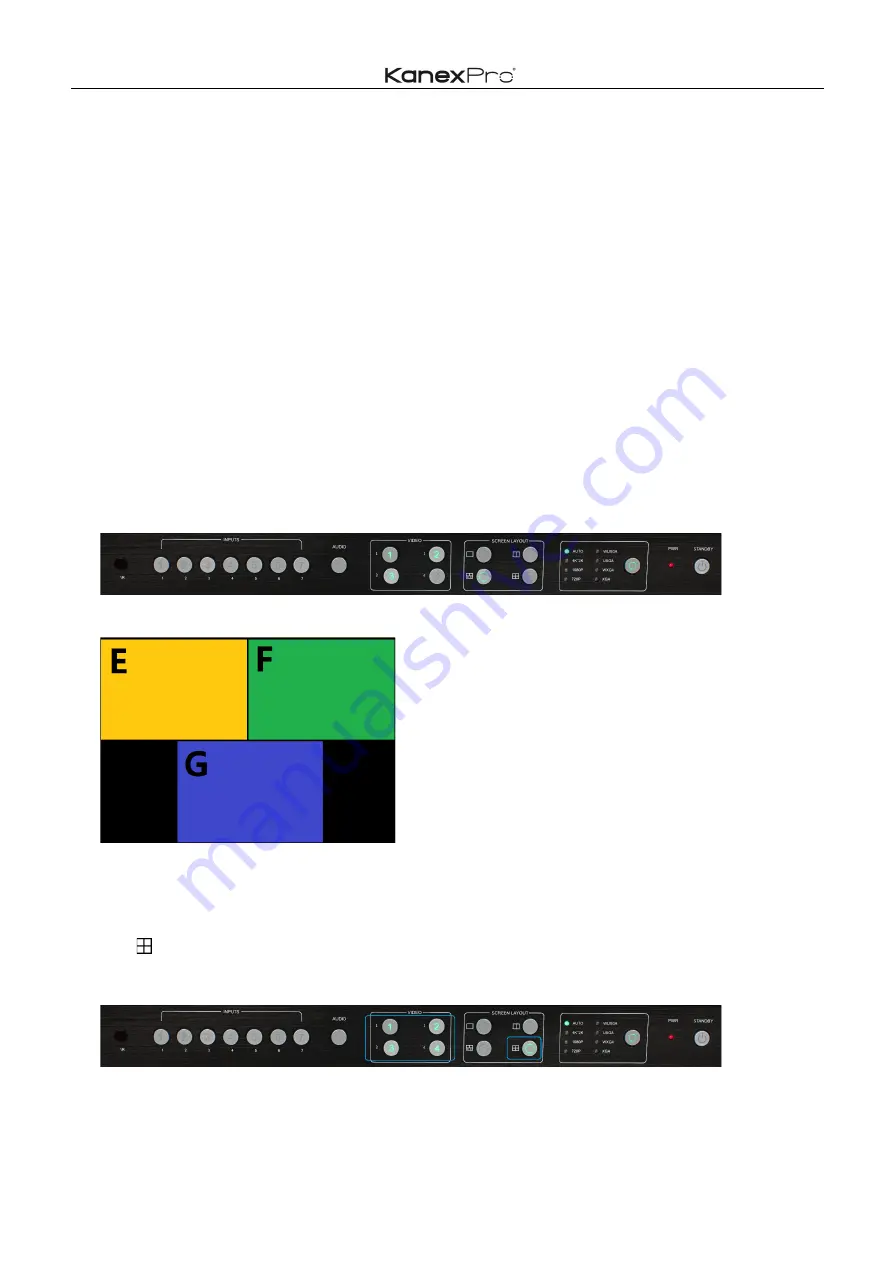
When the INPUTS indicators are off, the panel status is shown as follows.
6)
HDMI output picture is changed to the following status.
Quadruple Windows
1)
Use button on the front panel or in the remote to set quadruple windows, Video 1, 2, 3 and 4
button indicators on the front panel light up.
2)
HDMI output port outputs the mode of quadruple windows. Window 1 is configured to HDMI1
input (HDMI1 is the factory default. If any changes are made, use the last configuration); Window
Содержание HD-VTSC72-4K
Страница 22: ...22 67 3 Audio Mute indicates 4 Volume adjustment 5 VGA Auto Menu 6 IP address is displayed ...
Страница 23: ...23 67 Advanced Settings RS232 Settings RS 232 port ...
Страница 35: ...35 67 ...
Страница 39: ...39 67 step1 Upload EDID to TEMP RAM ...
Страница 40: ...40 67 ...
Страница 62: ...62 67 EDID Contain the following options 1 EDID Copy 2 EDID Upload 3 EDID Download ...


