WinKey USB SMT Assembly and Operation Guide - Version 1.5 12/26/2017 Pg 9
Here are instructions for installing the WKUSB-SMT assembly into the enclosure.
1) Using spray cleaner and paper towels, clean the inside surfaces of the top and base
enclosure halves to remove any dirt, grease, or metal filings.
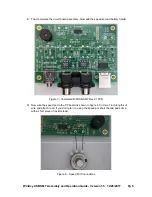
2) Attach the speed pot to the single hole on the front of the enclosure.
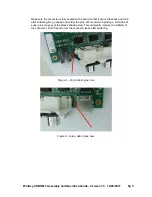
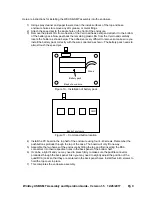
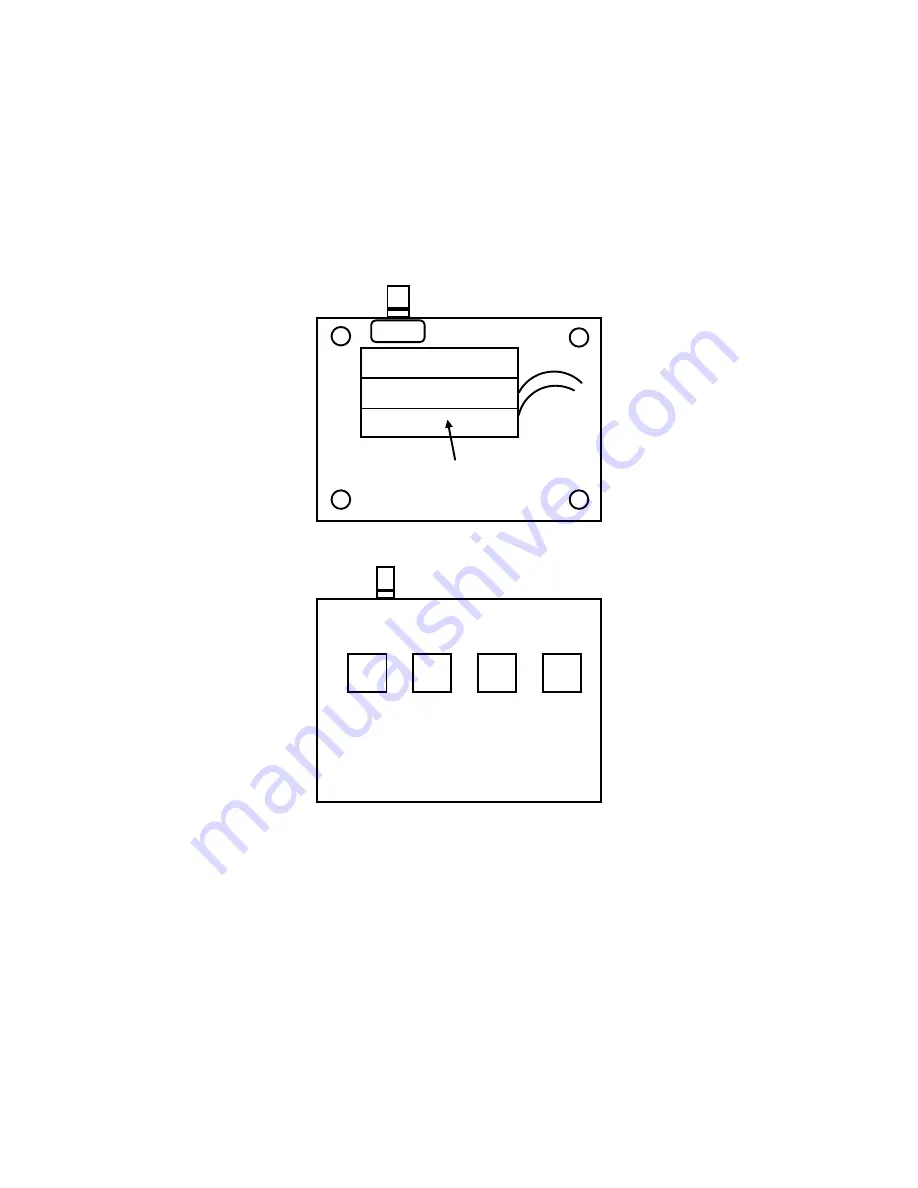
3) Remove the plastic film from one side of the Velcro adhesive strip and attach it to the bottom
of the battery pack. Now peel back the remaining plastic film from the Velcro and carefully
locate the holder as shown below. The adhesive is very difficult to remove so make sure you
install the battery pack correctly with the wires oriented as shown. The battery pack needs to
almost touch the speed pot.
Battery pack
Back of enclosure
Wires
Figure 10 – Installation of battery pack
Back of enclosure
CMD
Figure 11 – Command button location
4) Install the PC board in the top half of the enclosure using four 4-40 screws. Remember the
pushbuttons protrude through the top of the case. The board will only fit one way.
5) Assemble the two halves of the enclosure by tilting the top and first inserting the RCA
connectors into their respective holes in the back panel of the bottom half.
6) It can be a tight fit and you may need to press firmly to make sure the paddle connector
protrudes through the back panel. Also you may need to slightly adjust the position of the
quad RCA jacks so that they are centered in the back panel holes. Install four 4-40 screws to
hold the top cover in place.
7) This completes the enclosure assembly.


