


OPERATIONAL INSTRUCTIONS
Erasing Recording
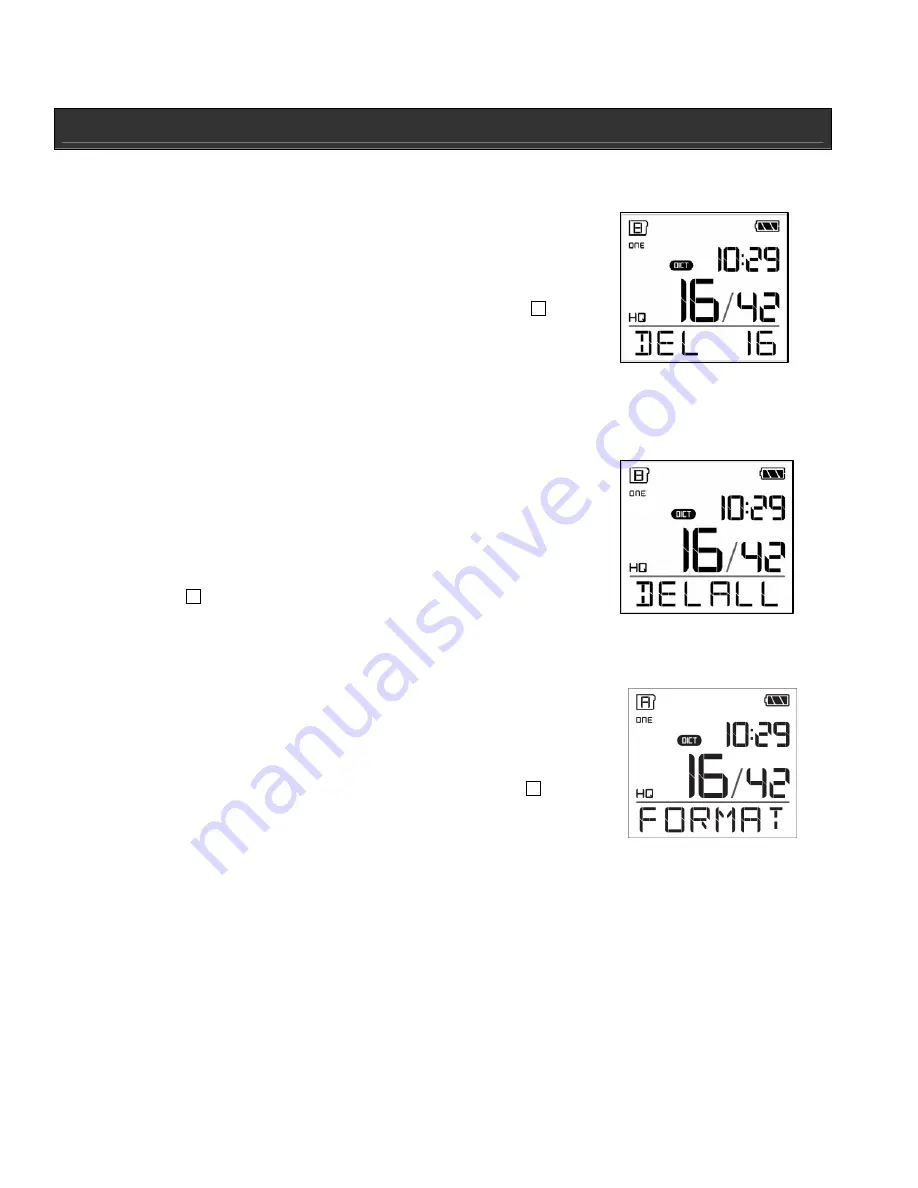
Erasing a file
1.
In a folder, select desired file to erase.
2. Press
ERASE
once. “DEL XX” (XX = Track number) will
flash on the LCD.
3. Press
ERASE
to confirm erasing. Or press
STOP
to
cancel erasing (If no key is pressed for five [5] seconds
erasing will also be canceled).
Note:
File numbers that come after erased file will move down one number.
Erasing all files in a folder
1.
In a folder, press and hold
ERASE
for five (5) seconds.
2.
“DELALL” will flash on the LCD.
3. Press
ERASE
to confirm and erase all files in a selected
folder.
4.
All files in a selected folder will be deleted. Pressing
STOP
or pressing no button for five (5) seconds will also
cancel erasing.
Format*
You can format the internal memory when needed
1.
In a folder, press and hold
ERASE
for ten (10) seconds.
“FORMAT” will flash on the LCD for a few seconds.
2. Press
ERASE
to confirm format.
3.
All files in the unit will be erased. Pressing
STOP
or
pressing no button for five (5) seconds will also cancel
erasing.
*CAUTION!
This function will erase all data on the unit, including the instruction manual file
and the PC Link Installer file.
Note:
The Erase function mode cannot be performed while the battery is empty and the
Battery icon is blinking.


