


VR-N100U
USERS
MANUAL
Page 26 of 98
All Items Are Subject To Change Without Notice
Feb. 2004 Rev 1.0
3.2.1. Server Name
Let’s have a look at the VR-N100U Setup Wizard. The first field displays the default name of the VR-N100U. Since this is the
name by which the VR-N100U will be recognized on the network, you may want to change it to something more meaningful,
even if it is just
VR-N100U,
SecuritySystem
or
CameraServer
. The name you choose can have up to 24 alphanumeric
characters and the dash. (The dash cannot be the first or last character of the name)
3.2.2. admin Password & admin Password Confirm
The next option is a very important one. The default
admin Password
is
admin
. You just used it in the password prompt to
gain access to this screen. In the future, you will be prompted for an admin password every time you want to get into the
Administration Toolbox
. It is strongly recommended you change the
admin Password
at this time to ensure that other users
will not be able to get into the Toolbox, unless you specifically give them admin/Manager rights. (Those users assigned
admin/Manager rights will use their own user names and passwords to gain access to the Toolbox) You can change the
admin Password
any time you want to, using the
General Settings
section of the System Utility.
3.2.3. Date, Time & Time Zone
You have the opportunity to set the current
Date
and
Time
on the VR-N100U system clock, using the format indicated. You
can also indicate the time zone you are in by choosing the name of your city, or a city that is in your time zone, from the drop-
down list. The Date and Time settings can be set or changed at a later time using the System Utility.
When you have finished setting options and making changes, click on the
Next
button. Your changes, if you made any, will be
saved.
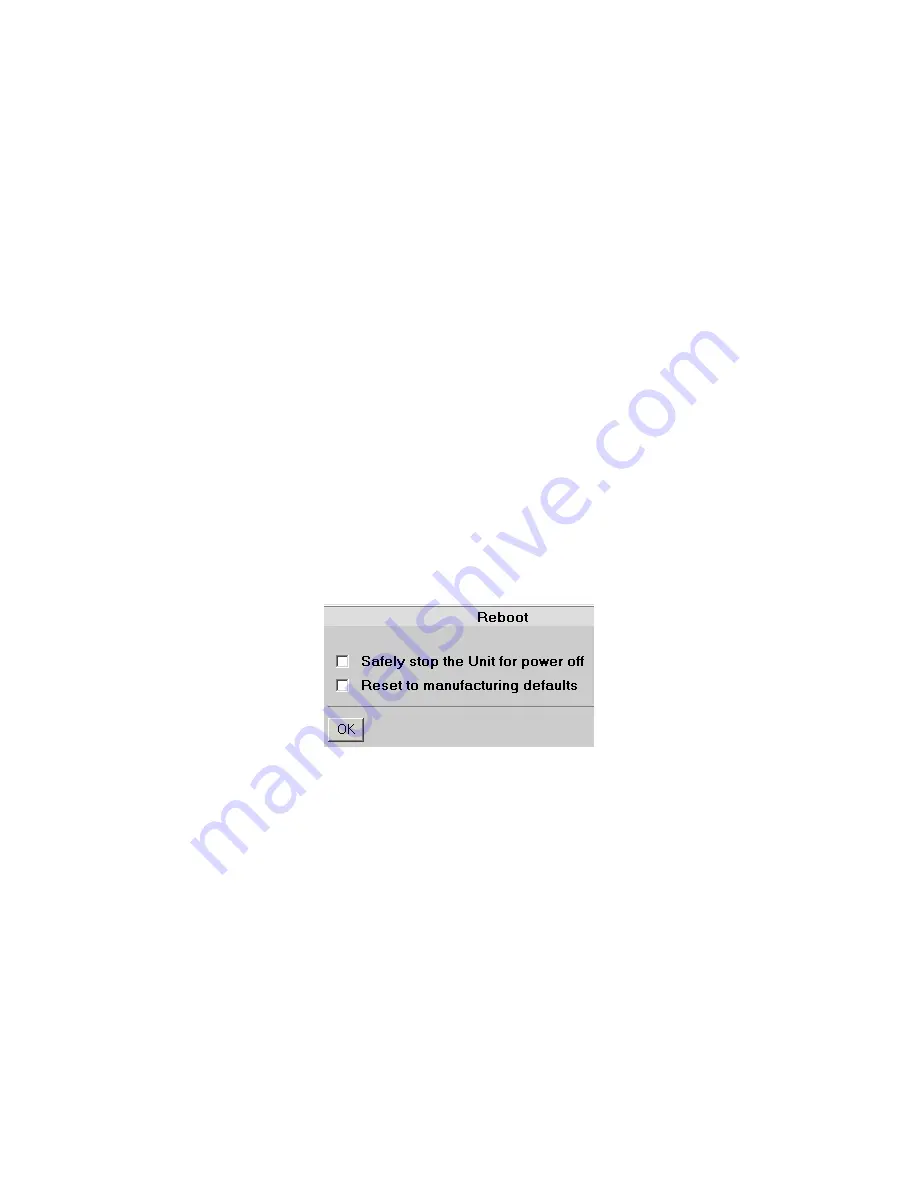
The next screen, the
Reboot
screen, offers two options. If you click on the
Yes
button, the VR-N100U will reboot and the
changes you made will go into effect. If you click on the
Cancel
button, you will go directly into the first page of the
Administration Toolbox, the
Devices
page. The changes you made have been saved, but will not go into effect until you reboot
the VR-N100U. If you didn’t make any changes to the Setup Wizard, there’s no need to reboot!
Finally, you are in. Normally, when you log in to the VR-N100U interface, it will open at the
Cameras
Administration Utility
page. But for this first time only, the
Devices
page displays. If you are testing your installation, this is the page you need to see
to verify that your connected devices are properly installed. So, let’s start our discussion about managing your VR-N100U here
on the
Devices
page in the
Administration System
Utilities page.