


VR-N100U
USERS
MANUAL
Page 19 of 98
All Items Are Subject To Change Without Notice
Feb. 2004 Rev 1.0
2. Reboot
your
workstation
3. Open
your
web
browser
4. Type http://10.10.10.10 (remember, that’s VR-N100U’s assumed IP address) in the address/location field.
NOTE: After you have finished configuring the VR-N100U and rebooting it, don’t forget to reset your workstation
back to its original IP address.
Now that you have a way of accessing the VR-N100U from your workstation, continue to
Step 2: Using the VR-N100U Web
Browser
.
2.4.3. Step 2: Using the VR-N100U Web Browser
From any workstation running any operating system on the same segment as VR-N100U, proceed to access the VR-N100U
with your web browser (
http://VR-N100U_IP_Address
).
Admin Name and Password
You will be challenged to authenticate your identity as the VR-N100U administrator when a password prompt
dialog appears. The default user name and password are
admin
and
admin
.
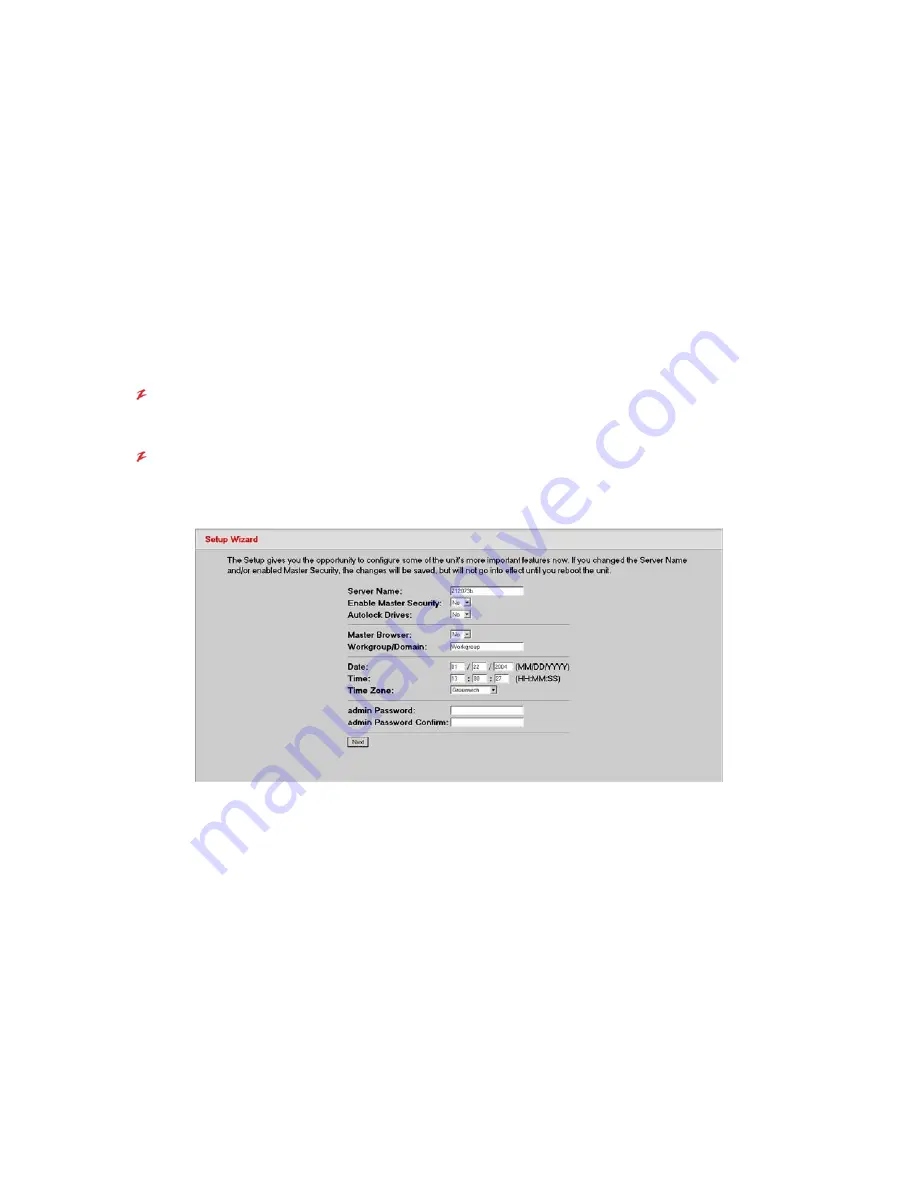
Setup Wizard
The first screen to appear is the
Setup Wizard
. If you already have a plan in place for your VR-N100U that
includes how you want to set the options you are seeing here, go ahead and make your changes. This is the only
time you’ll ever see the
Setup Wizard
, unless you reset your VR-N100U to factory default settings on reboot.
However, if you don’t want to be distracted by having to deal with setting these options at this time, it is not a
problem. All the options you see here can easily be set and changed at any time using the utilities in the
Administration Toolbox
.
If you are just not sure, you can pop ahead to the beginning of
3. VR-N100U
Overview
. It describes each of the
options in the
Setup Wizard
and the impact each setting will have on the system.
1. Regardless of what you eventually decide to do here, when you have finished doing it, click on the
Next
button.
2. You will be presented with the Networks Information Screen and will have three available settings options to
choose from,
View Network Settings
,
Change the Static IP Setting
, or
View/Change DHCP Settings
.