5
Select “START”, and press the [OK] button
v
Importing of the titles starts.
v
After titles are successfully imported, a “DUBBING IS
COMPLETED” message appears on the monitor.
.
%10(+4/
&7$$+0)+5%1/2.'6'&
1-
Specify a title
1
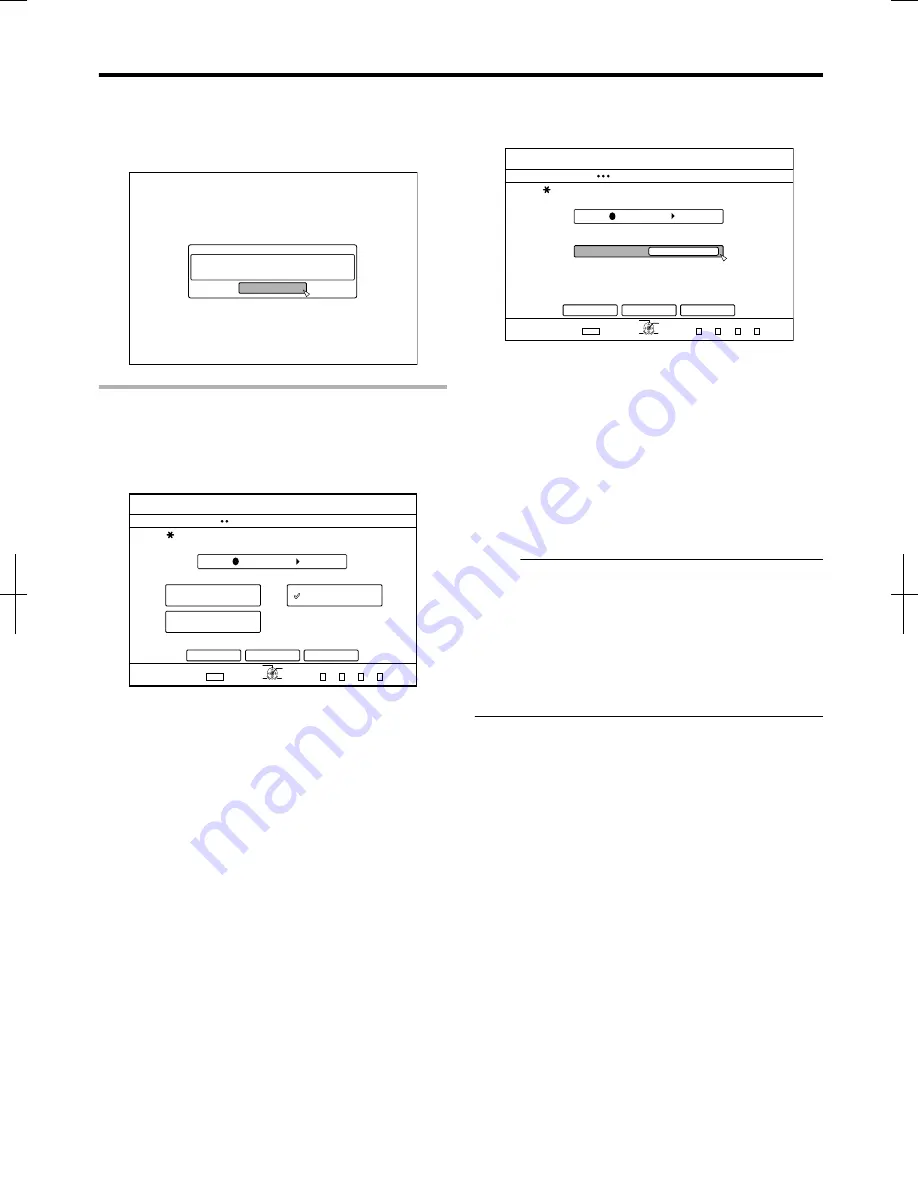
Select “SEL. TITLE(VIDEO)” in the import
selection screen, and press the [OK] button
v
A check mark is added to the “SEL. TITLE(VIDEO)” item.
2
Select “NEXT”, and press the [OK] button
.
&+5%
126+10
1-
4'6740
&7$$+0)
56'2
5'.'%66*'/'6*1&1(+/2146
*&&
(7..+/2146
5'.6+6.'8+&'1
5'.6+6.'2+%674'
%#0%'.
$#%-
':+6
5'.'%6
&7$$+0)
0':6
v
If a “BD-AV” disc is set, a recording mode selection screen
will appear.
v
If the disc is of a format other than “BD-AV”, a screen for
creating an import title list will appear. Go to step 5.
3
Select “RECORDING MODE”, and press the [OK]
button
v
A pop-up menu appears.
.
&+5%
52
126+10
1-
4'6740
&7$$+0)
56'2
5'66*'4'%14&+0)/1&'
*&&
%#0%'.
$#%-
':+6
5'.'%6
&7$$+0)
0':6
4'%14&+0)/1&'
4
Select the “RECORDING MODE” option.
For more details, refer to “Recording Modes” (
A
page 30) .
5
Select “NEXT”, and press the [OK] button
v
A screen for creating the import title list appears.
6
Create an import title list
v
Follow the steps below to create an import title list.
①
Select “ADD TITLE LIST FOR DUBBING”, and press
the [OK] button
The Title List screen is displayed.
②
Select the titles to import, and press the [OK] button
Titles selected are added to the list.
Memo:
v
Press the [MARK] button. A check mark will appear beside
the title.
All titles with a check mark can be added to the list at the
same time.
v
Select a title from the dubbing title list, and press the [OK]
button to perform the following changes.
v
Delete the selected title from the list
v
Thumbnails may not be displayed during title selection
depending on the discs used.
Dubbing/Importing
33
2012/3/8
13:53:0


