English
- 21 -
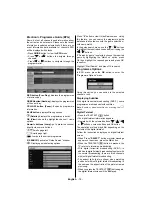
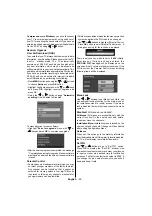
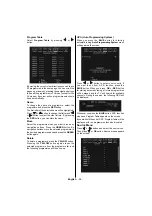
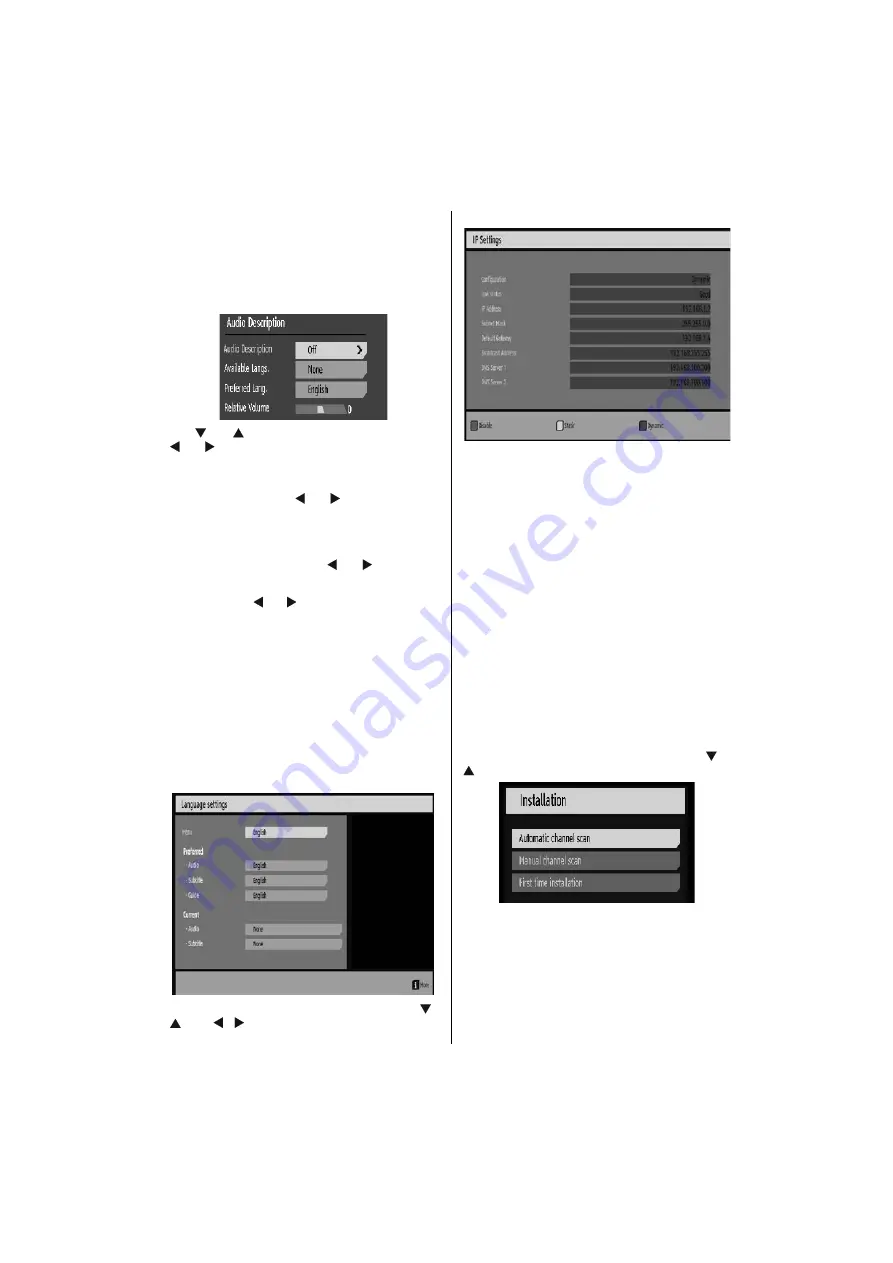
Audio Description (Optional)
Audio description refers to an additional narration
track for blind and visually impaired viewers of visual
media. You can use this feature, only if the broadcaster
supports that additional narration track. Select Audio
Description and press
OK
button to view contents.
Use “
” or “
” buttons to select an item. Then use
“ ” or “ ” buttons to set.
Audio Description
This function enables or disables the audio description
feature by pressing the “ ” or “ ”buttons.
Available Langs.
This feature displays available languages. If more than
one language is available, you can select between
available languages by using “ ” or “ ” button.
Preferred Language
By pressing the “ ” or “ ”buttons the preferred audio
description language is being changed. This setting
can be used, only if it is available.
Relative Volume
Using this option, the Audio Description volume level
can be increased or decrased relatively, according to
the general volume.
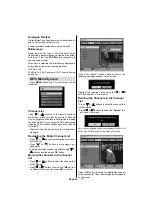
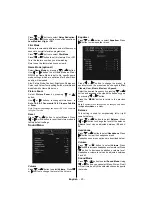
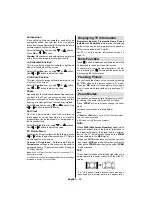
Language Settings
In this menu the user can adjust the preferred language.
Select “Language” item in the Setup menu and press
OK button. Then language settings menu will be
displayed.
.
You can set the desired language options by using “
” /
“
” and “ ”/“ ” buttons.
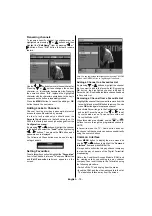
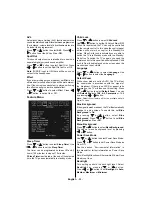
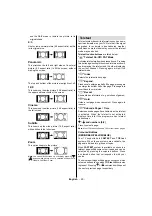
IP Settings
You can configure your TV’s IP settings by using this
menu screen. Press
YELLOW
button to set static
IP settings. Use
BLUE
button to configure dynamic
IP settings. You can press
RED
button to disable IP
configuration.
• In order for the Ethernet host to work correctly with
your Internet connection it needs to have a unique IP
address. In most cases all of the parameters can be
provided by the DHCP server in your router. In this
case you should use the “Dynamic” option.
• In the unlikely event that you do not have a DHCP
server in your router or if you prefer to assign your
own IP address, then the “Static” option can be used.
You will need to enter a unique IP address along
with the default gateway and DNS server. In most
domestic networks the default gateway and DNS
server will both be the IP address of the router.
Installation
The Installation menu is mainly intended to help you
create a Channel Table in most effi cient way. Select
Installation from the setup menu by pressing “
” or
“
” buttons.
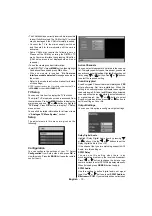
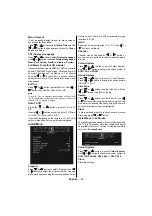
Automatic Channel Scan
Automatic channel scan is started by pressing
OK
button while Automatic channel scan item is
highlighted.
The following message appears on the screen:


