


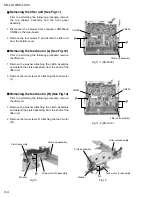


KD-LX10/KD-LX30
2-4
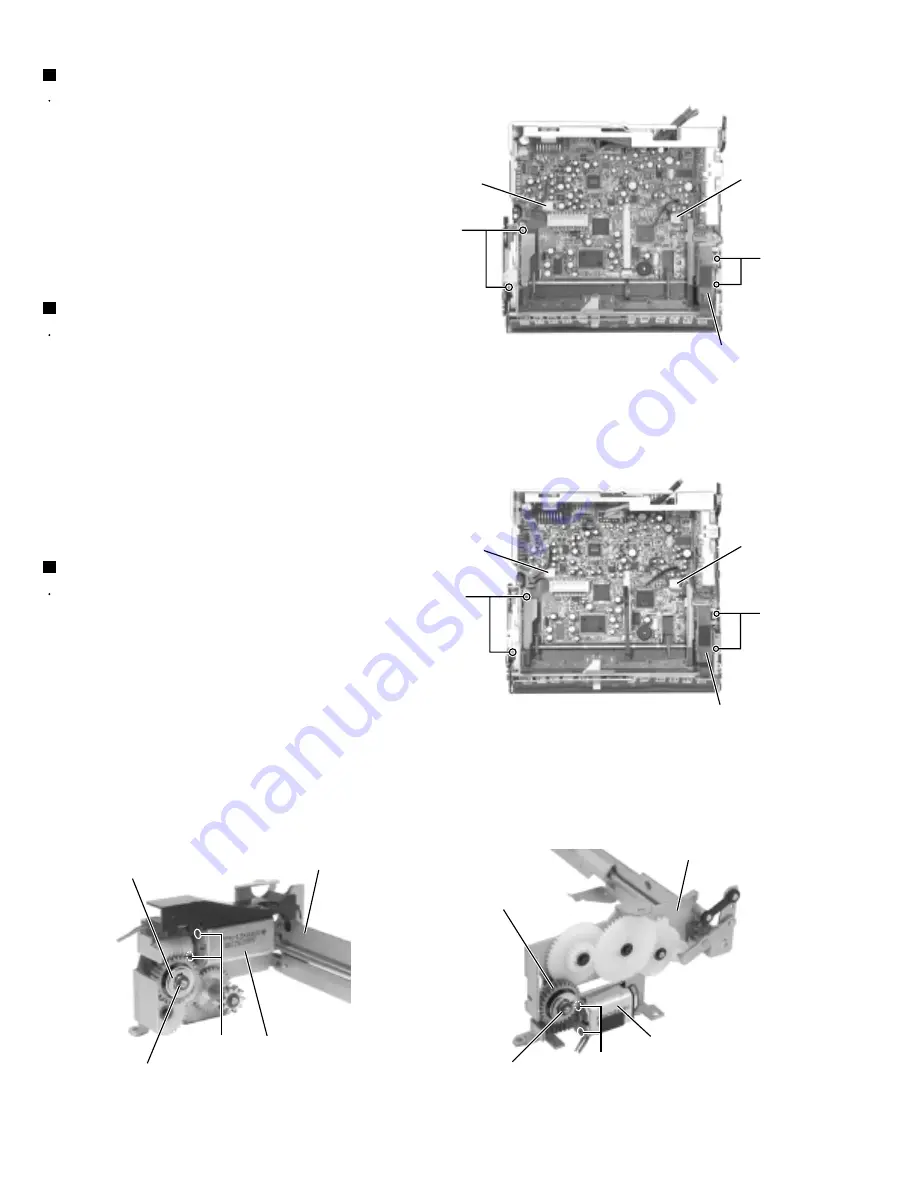
Prior to performing the following procedure, remove
the top chassis assembly and the front panel
assembly.
Disconnect the harness from connector CN503and
CN504 on the main board.
Remove the four screws P and detach the lifter unit
from the bottom cover.
1.
2.
Removing the lifter unit (See Fig.11)
Prior to performing the following procedure, remove
the lifter unit.
Remove the washer attaching the clutch assembly
and detach the clutch assembly from the shaft of the
lifter unit.
Remove the two screws Q attaching the feed motor
(L).
1.
2.
Removing the feed motor (L) (See Fig.12)
Prior to performing the following procedure, remove
the lifter unit.
Remove the washer attaching the clutch assembly
and detach the clutch assembly from the shaft of the
lifter unit.
Remove the two screws R attaching the feed motor
(R).
1.
2.
Removing the feed motor (R) (See Fig.13)
Clutch assembly
Fig.11-1 (KD-LX30)
P
Lifter unit assembly
CN504
CN503
P
Fig.11-2 (KD-LX10)
Fig.12
Fig.13
P
Lifter unit assembly
CN504
CN503
P
Lifter unit assembly
Feed motor (L) assembly
Washer
Q
R
Clutch assembly
Washer
Feed motor (R) assembly
Lifter unit assembly
Содержание KD-LX10
Страница 15: ...KD LX10 KD LX30 2 13 ...
Страница 42: ...KD LX10 KD LX30 2 40 ...
Страница 46: ...CD SIGNAL KD LX10J CD servo LCD control section ...
Страница 47: ...KD LX30J Main amp section AUX SIGNAL FRONT SIGNAL REAR SIGNAL TUNER SIGNAL CD SIGNAL CD CHANGER SIGNAL ...
Страница 48: ...KD LX30J CD servo LCD control section CD SIGNAL ...


