1-18 (No.YA337)
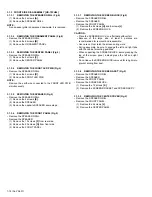
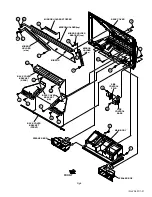
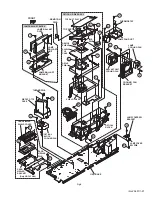
3.1.3 FRONT SIDE DISASSEMBLY [HD-70FH96]
3.1.3.1
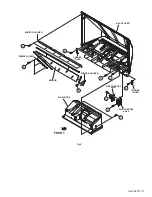
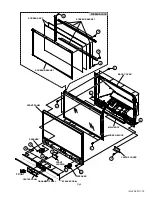
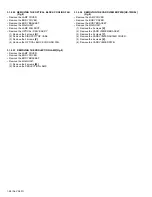
REMOVING THE SPEAKER GRILL (Fig.5)
(1) Remove the 2 screws
[A]
.
(2) Remove the SPEAKER GRILL.
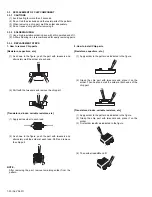
NOTE :
As a speaker grille is depressed downward, it is removed.
3.1.3.2
REMOVING THE ORNAMENT PANEL (Fig.5)
• Remove the SPEAKER GRILL.
(1) Remove the 6 screws
[B]
.
(2) Remove the ORNAMENT PANEL.
3.1.3.3
REMOVING THE CENTER PANEL (Fig.5)
• Remove the SPEAKER GRILL.
(1) Remove the 4 screws
[C]
.
(2) Remove the CENTER PANEL.
3.1.3.4
REMOVING THE FRONT LED PWB (Fig.5)
• Remove the SPEAKER GRILL.
(1) Remove the 2 screws
[D]
.
(2) Remove the FRONT LED PWB.
NOTE :
Remove the earth wire connected to the FRONT LED PWB
simultaneously.
3.1.3.5
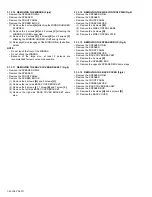
REMOVING THE SPEAKER (Fig.5)
• Remove the SPEAKER GRILL.
(1) Remove the 4 screws
[E]
.
(2) Remove the SPEAKER.
(3) Remove the opposite SPEAKER same steps.
3.1.3.6
REMOVING THE FRONT PANEL (Fig.5)
• Remove the SPEAKER GRILL.
• Remove the SPEAKER.
(1) Remove the 10 screws
[F]
from rear side.
(2) Remove the 20 screws
[G]
from front side.
(3) Remove the FRONT PANEL.
3.1.3.7
REMOVING THE SCREEN BLOCK (Fig.5)
• Remove the SPEAKER GRILL.
• Remove the SPEAKER.
• Remove the FRONT PANEL.
(1) Remove the 6 screws
[H]
and 8 screws
[J]
.
(2) Remove the SCREEN BLOCK.
CAUTION :
• Place the SCREEN BLOCK on a flat table without fail.
• Because of the large size, at least 2 persons are
recommended for removal and reassemble.
• Use care not to scratch the screen during work.
• During assembly, be sure to engage the left and right tabs
with the cabinet mounting positions.
• When supporting the SCREEN BLOCK, avoid grasping the
top of the screen panel, instead grasp the left and right
areas.
• Do not leave the SCREEN BLOCK removed for long time to
prevent soiling from dust.
3.1.3.8
REMOVING THE SCREEN ASS'Y (Fig.5)
• Remove the SPEAKER GRILL.
• Remove the SPEAKER.
• Remove the FRONT PANEL.
• Remove the SCREEN BLOCK.
(1) Remove the 12 screws
[K]
.
(2) Remove the SCREEN BRACKET and SCREEN ASS'Y.
3.1.3.9
REMOVING THE CENTER COVER (Fig.5)
• Remove the SPEAKER GRILL.
• Remove the FRONT PANEL.
(1) Remove the 2 screws
[L]
.
(2) Remove the CENTER PANEL.


