38
Applicable to: Camera mode
There are two ways to input audio sound.
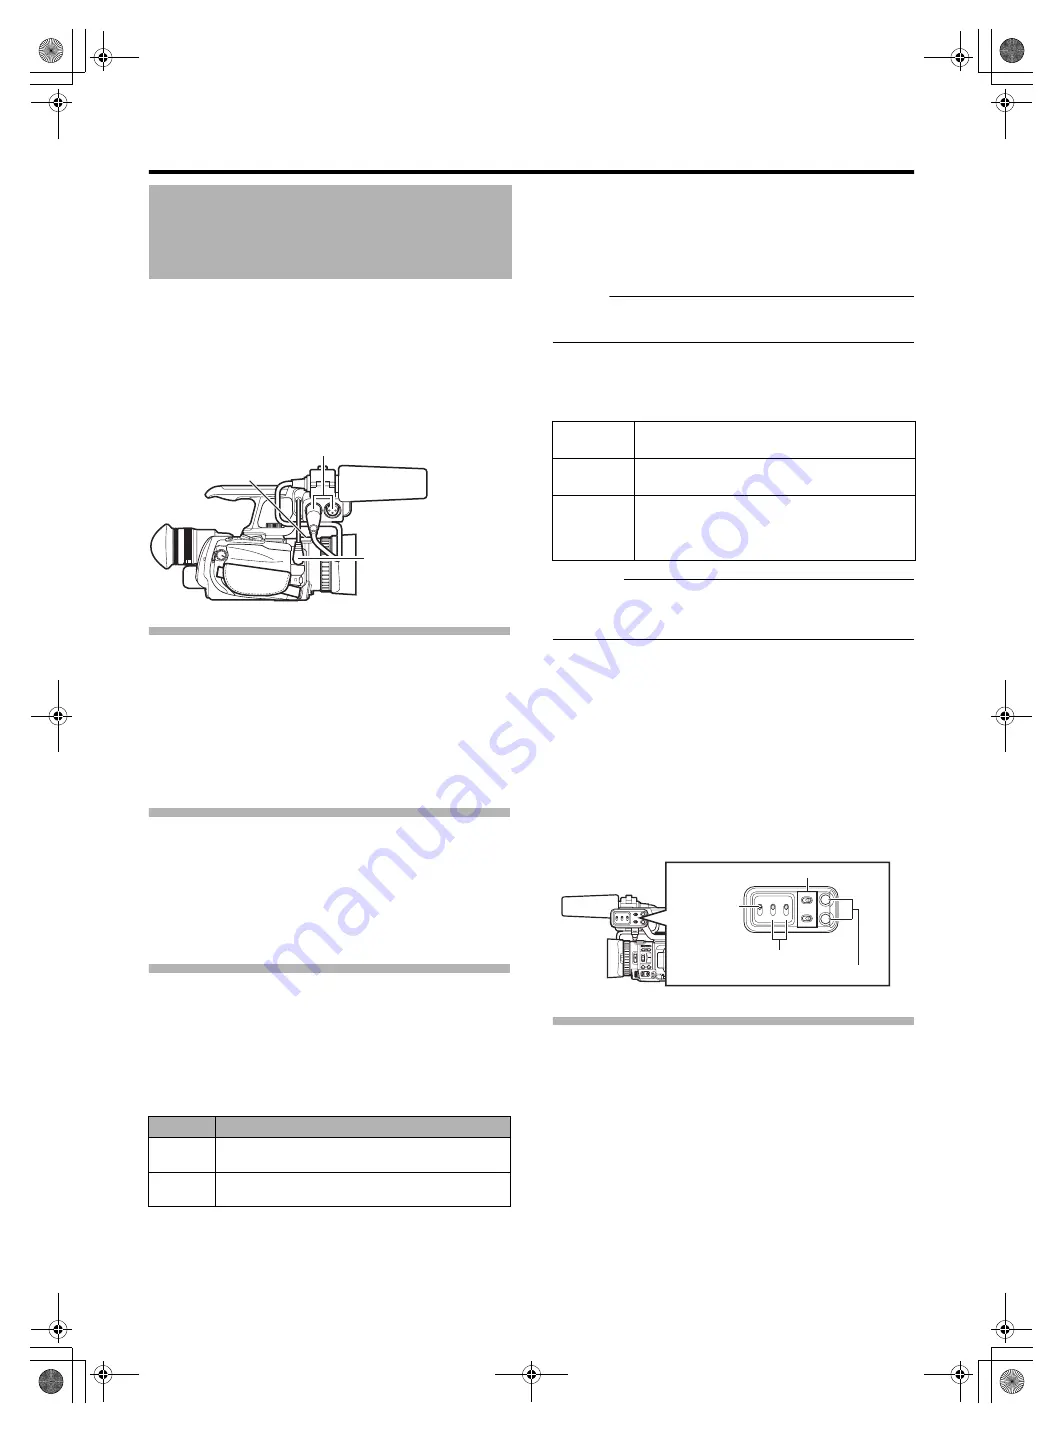
A
Built-in microphone
B
[INPUT1] terminal / [INPUT2] terminal
●
The priority order of the input is in the se
q
uence of
B
>
A
.
●
To use the built-in microphone, remove the audio unit cable
from the [AUDIO IN] terminal.
Setting the Reference Audio Recording
Level
Applicable to: Full Auto shooting mode
A
, Manual shooting
mode
M
Set using [Record Set] menu
B
/
)
Using the Built-in Microphone
Applicable to: Full Auto shooting mode
A
, Manual shooting
mode
M
Setting the input level.
Set using [Record Set] menu
B
Using an External Microphone Connected to
the [INPUT1/INPUT2] Terminal
Applicable to: Full Auto shooting mode
A
, Manual shooting
mode
M
Preparation: Connect a microphone to the [INPUT1/INPUT2]
terminal.
(
Selecting [CH-2] audio
Configure the [CH-2 INPUT] switch.
●
[INPUT1]: Inputs the audio from the [INPUT1] terminal to
[CH-2].
●
[INPUT2]: Inputs the audio from the [INPUT2] terminal to
[CH-2].
Memo :
●
The audio from the [INPUT1] terminal is input to [CH-1]
regardless of the setting.
Selecting the audio input to the [INPUT1] or
Configure the [AUDIO INPUT 1/2] switch.
Caution :
●
When connecting a device that does not re
q
uire a +4
8
V
power supply, make sure that it is not set to the [MIC+4
position.
Adjusting the audio recording level
Select a method for adjusting the audio recording level.
●
Configure the [CH1/CH2 AUDIO SELECT] switch.
●
Select whether to set each channel to the [AUTO] or
[MANUAL] mode.
Reducing Wind Noise
Wind noise for each microphone can be reduced.
Menu setting
Set [Record Set] menu
Cut]/[Input2 Mic Wind Cut]/[Internal Mic Wind Cut] to
Audio Recording
Terminal
Audio Input
Input to [CH1(L)] at all times. Input to [CH2(R)] can be
enabled using the [CH-2 INPUT] switch.
Input to [CH2(R)] can be enabled using the [CH-2
INPUT] switch.
REMOTE
A
Built-in Microphone
B
[INPUT1/INPUT2] Terminals
Audio Unit Cable
Use this setting when connecting to an audio
device or other e
q
uipment.
Use this setting when connecting to a
dynamic microphone.
Use this setting when connecting to a
microphone that re
q
uires a +4
8
V power
supply (phantom microphone), or when using
the supplied microphone.
: Use this setting to enable the auto
adjustment mode.
: Use this setting to enable the manual
adjustment mode. Adjust the audio
recording level using the [CH1/CH2 AUDIO
LEVEL] knob.
CH-2 INPUT
CH-1
3
45
2
1
23
0
CH-2
AUDIO INPUT
AUTO MANUAL
AUTO MANUAL
AUDIO
SELECT
INPUT1
INPUT2
- LINE -
- MIC -
MIC+48V
INPUT1
INPUT2
Switch
GY-HM150U.book Page 38 Monday, September 5, 2011 1:48 AM


