1-9
15
ENGLISH
Changing the Aspect Ratio
Precautions for using the screen mode switching function
• This Monitor features a screen mode switching (aspect ratio
change) function. If you select a mode different in aspect
ratio from software such as TV programs, the picture may
look different from original picture. Be aware of this point
when you are selecting a screen mode.
• If you select a wide screen mode while viewing
conventional video programs of the aspect ratio 4:3, some
portions (edges) of the original picture will be cut off, or
deformed. To enjoy the original picture as it is, select
“REGULAR” while viewing such programs.
• If you place the Monitor in a tea room, hotel, etc. for
business purposes or public viewing and modify the picture
by using the screen mode switching (aspect ratio change)
function, this could violate the copyright protected by the
copyright law, which requires your special attention.
• If you make the screen very bright and watch programs
selecting “REGULAR” for a long period of time, the
Monitor screen may happen to be burned in. If this occurs,
watching programs using a wide screen mode for a while
will reduce the burn-in gradually.
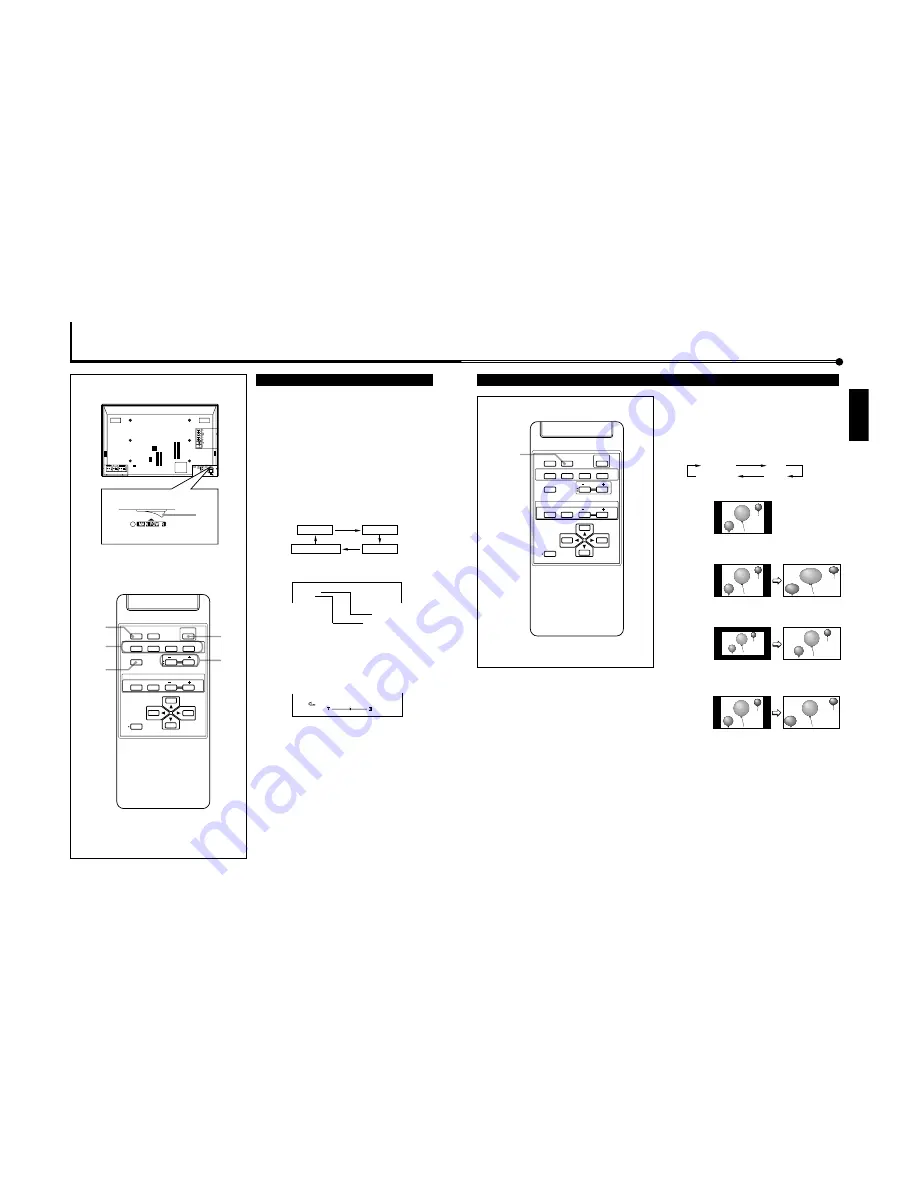
With this Monitor, you can select among three types of wide
screens (FULL, ZOOM, and PANORAMIC) in addition to the
REGULAR screen of conventional 4:3 aspect ratio.
Press ASPECT to select the screen size
Each time you press the button, the screen size changes as
follows:
REGULAR
:
Displays at conventional 4:3 aspect ratio.
FULL
:
REGULAR size display is enlarged
horizontally.
ZOOM
:
REGULAR size display is enlarged
vertically and horizontally at the same ratio.
PANORAMIC
:
REGULAR size display is enlarged
horizontally to the extent that the picture
does not look abnormally.
Notes:
• When one of the following signals is being input, you
cannot select the aspect ratio you want.
■
1080i, 1035i or 720p signal through the COMPONENT input
terminals
You can only select FULL.
■
480p signal through the COMPONENT input terminals
You cannot select PANORAMIC.
■
When any signal other than RGB15K-60 and RGB15K-50
through the RGB input terminals
You can select only REGULAR and FULL.
• The aspect ratio can also be changed on the Function
Selection Menu (page 21).
ASPECT
DISPLAY
ASPECT
POWER
RGB
COMPO.
VIDEO B
VOLUME
MULTIPLE
MODE
ID SET
MONITOR ADJUSTMENT
VIDEO A
MUTING
MENU/EXIT
RM-C575 REMOTE CONTROL UNIT
ID
REGULAR
FULL
ZOOM
PANORAMIC
14
Basic Operations
Daily Operations
1
Turn on the main power.
Set MAIN POWER on the back of the Monitor to ON.
The POWER lamp on the upper left of the front panel
glows orange.
2
Turn on the power.
Press POWER on the remote control to turn the power on.
The POWER lamp changes to glow green.
• You can also use the POWER on the front panel (lower
right) to turn on the Monitor.
3
Select an input.
Select the desired input by pressing VIDEO A, VIDEO B,
COMPO. or RGB.
• You can also select the input by pressing INPUT on the
Monitor. Each time you press the button, the input
mode changes in sequence.
• Only for GD-V4210PCE, GD-V4210PCE-G, and
GD-V4211PCE: You can only select RGB.*
Note:
• This Monitor has two RGB input terminals — RGB A and
RGB B.
When you select the RGB input, the one set on the menu
(RGB INPUT: see page 23) is selected as the input source.
If you want to select the other RGB input than the current
one, change the RGB INPUT setting on the menu.
4
Adjust the volume.
Notes:
• While no menu is displayed, you can adjust the volume by
pressing
2
/
3
on the Monitor.
• When the INTERNAL/EXTERNAL selecting switch on the
back of the Monitor is set to EXTERNAL, no sounds come
out of the built-in speakers.
When you want to hear audio sound from the built-in
speakers, set the INTERNAL/EXTERNAL selecting switch
to INTERNAL.
To turn off the volume immediately
Press MUTING.
“MUTING ON” is displayed, and the sound goes out.
Pressing the button again resumes the previous volume level.
To make the screen indication appear
Press DISPLAY
.
The types of input and signal are indicated on the screen for
about 3 seconds.
You can also make the screen indication appear using menus
(page 24).
Rear View
4
3
2
MUTING
DISPLAY
DISPLAY
ASPECT
POWER
RGB
COMPO.
VIDEO B
VOLUME
MULTIPLE
MODE
ID SET
MONITOR ADJUSTMENT
VIDEO A
MUTING
MENU/EXIT
RM-C575 REMOTE CONTROL UNIT
ID
,
,,
,,
I
1
VIDEO A
VIDEO B
RGB A or RGB B
COMPO.
V I D E O A
N T S C
Input selected
Input video signal
Ex. When selecting “VIDEO A” input
: 2 5
V O L U M E
+
–
* Only for GD-V4210PCE, GD-V4210PCE-G, and GD-V4211PCE: You need to install the video interface kit (IF-C421P1W), which
is separately purchased, to reproduce input images for VIDEO A, VIDEO B, and COMPONENT.
Содержание GD-V4210PCE
Страница 46: ...1R 9 3 9 3 9 3 9 3 0 02 ...
Страница 70: ...1 23 ...
Страница 75: ...No 51767 GD V4210PZW GD V4210PZW G GD V4210PCE GD V4210PCE G 3 4 EXPLODED VIEW 101 100 102 200 1 42 46 201 ...


