(No.MB160)1-9
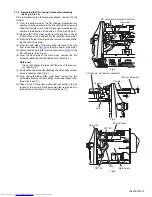
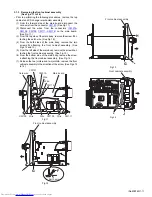
3.1.2 Removing the CD changer mechanism assembly
(See Figs.4 to 10)
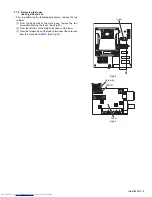
• Prior to performing the following procedures, remove the top
cabinet.
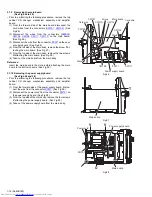
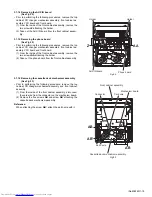
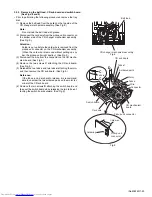
(1) From the bottom side of the CD changer mechanism as-
sembly, turn the gear cam in the direction of the arrow and
draw the tray disc out of the CD changer mechanism as-
sembly in the direction of the arrow 1. (See Figs.4 and 5.)
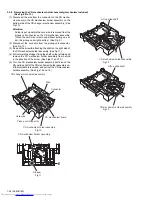
(2) Remove the CD door assembly from the tray disc in the di-
rection of the arrow 2 and push in the tray disc. (See Fig.5.)
(3) From the left side of the main body, remove the spacers fix-
ing the wire. (See Fig.5.)
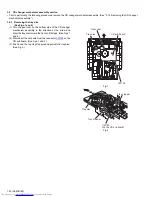
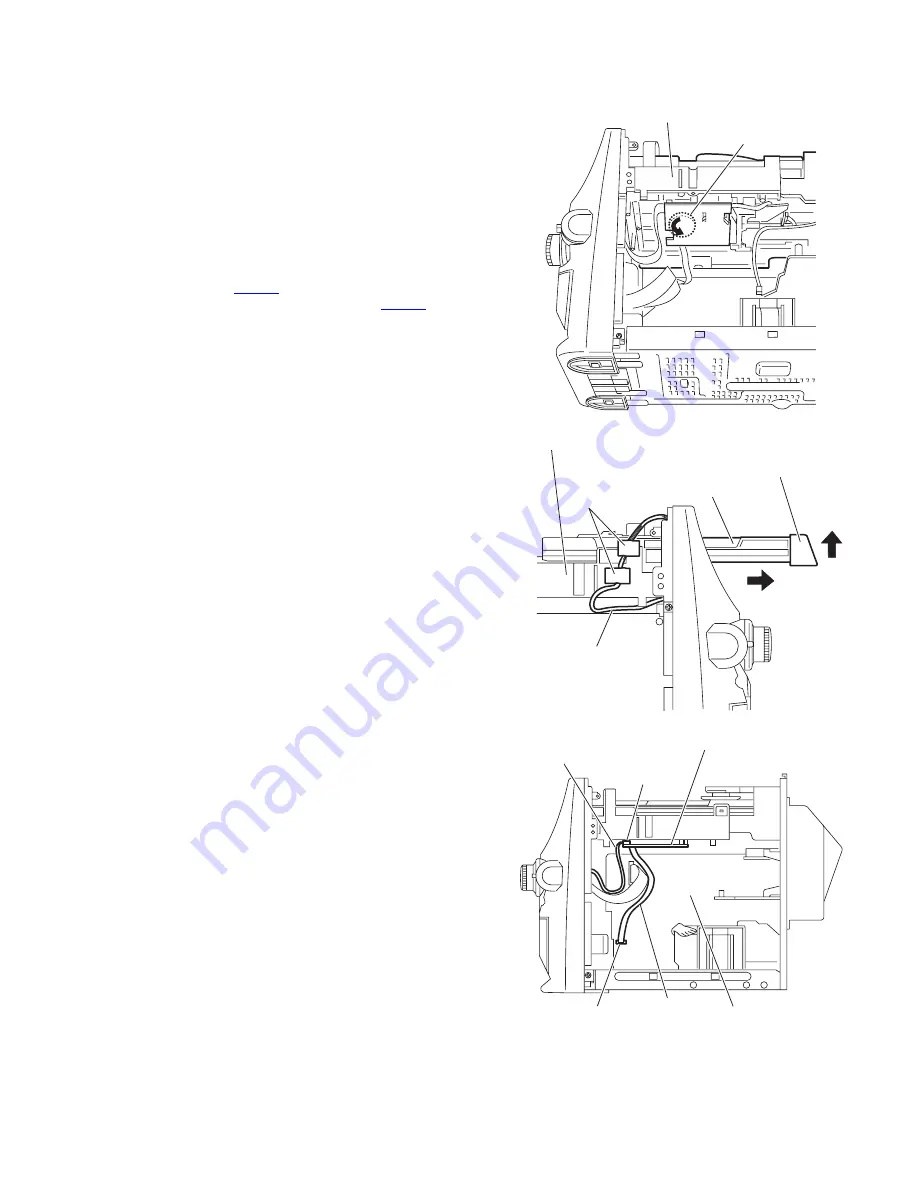
(4) From the right side of the main body, disconnect the wire
from the connector
CW104
on the main board. (See Fig.6.)
(5) Disconnect the card wire from the connector
CW105
on the
CD sub board. (See Fig.6.)
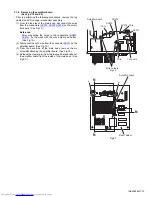
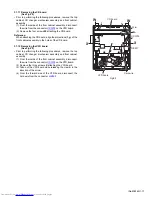
(6) From the back side of the main body, remove the five
screws
C
attaching the heat sink cover. (See Fig.7.)
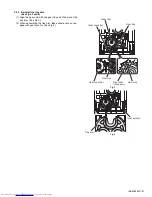
Reference:
It is not necessary to disconnect the wire of the fan mo-
tor. (See Fig.8.)
(7) Remove the two screws
D
attaching the CD changer mech-
anism assembly. (See Fig.8.)
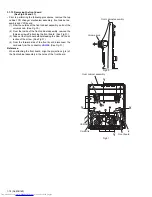
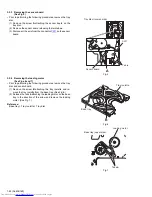
(8) From the both sides of the main body, remove the two
screws
E
attaching the CD changer mechanism assembly.
(See Figs.9 and 10.)
(9) Take out the CD changer mechanism assembly in the di-
rection of the arrow 2 while extending the rear cabinet in
the direction of the arrow 1. (See Figs.9 and 10.)
Fig.4
Fig.5
Fig.6
CD changer mechanism assembly
Gear cam
Tray disc
CD door assembly
CD changer mechanism assembly
Spacers
Wire
1
2
Card wire
Wire
CD sub board
Main board
CW105
CW104
Содержание CA-MXGB5
Страница 45: ... M E M O ...
Страница 46: ...2 1 Wiring diagram ...
Страница 47: ...2 2 ...
Страница 50: ...2 5 Standard schematic diagrams Main section MX GB6 ...
Страница 51: ...2 6 Parts are safety assurance parts When replacing those parts make sure to use the specified one ...
Страница 53: ...2 8 safety assurance parts placing those parts make se the specified one ...
Страница 54: ...2 9 Main section MX GB5 ...
Страница 55: ...2 10 Parts are safety assurance parts When replacing those parts make sure to use the specified one ...
Страница 56: ...2 11 Parts are safety assurance p When replacing those parts sure to use the specified on Amp section MX GB5 ...
Страница 57: ...2 12 arts are safety assurance parts hen replacing those parts make re to use the specified one ...
Страница 58: ...2 13 FL Key control section common ...
Страница 59: ...2 14 ...
Страница 60: ...2 15 CD section common ...
Страница 61: ...2 16 ...
Страница 62: ...2 17 Printed circuit boards Main board ...
Страница 63: ...2 18 Amp board ...
Страница 64: ...2 19 Front board ...
Страница 65: ...2 20 CD board ...


