


Jupiter Instruments
_____________________________________________________________________________________
JI-300
6
9/9/07
2. GETTING STARTED
2.1 Software Installation
The JI-300 Host Adapter requires the installation of both a USB driver and application software.
The drivers must be installed on the host PC’s hard-drive. The application software, however, can
be installed locally or executed directly from CD-ROM. See appendix C for detailed instructions on
installing both the USB driver and JI-300 application software.
2.2 Hardware Setup
Note that USB drivers for the JI-300 must be installed before the Hardware Setup will run
successfully.
1. Connect the I2C Host Adapter unit to the host PC using 6’ USB cable.
2. After a few seconds, confirm that the JI-300 is powered by verifying that the front panel PWR
LED is on.
2.3 Communications Check
1. Ensure that the I2C Host Adapter unit is connected to the host PC and power is on.
2. Launch the I2C Host Adapter application by clicking I2C Adapter JI-300.exe.
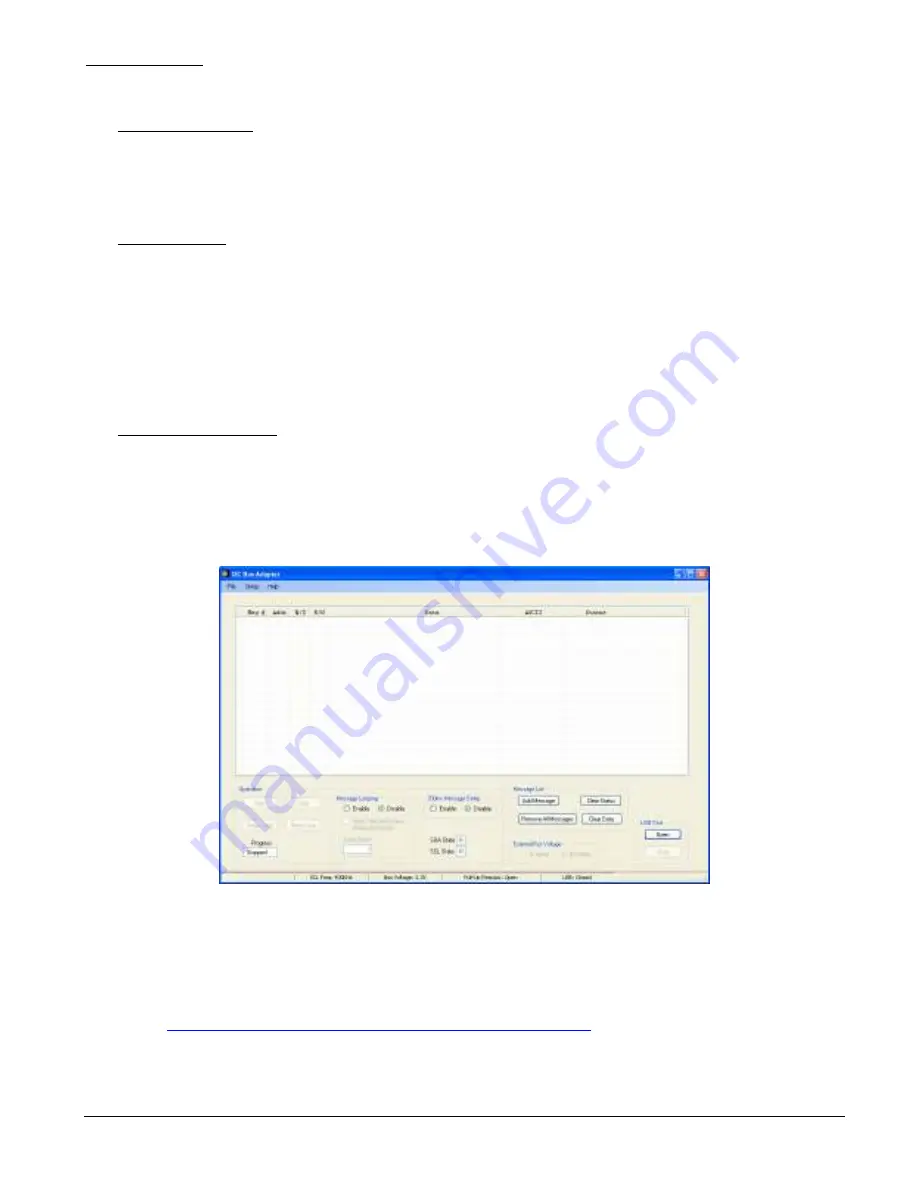
3. Verify that the I2C Host Adapter main window is displayed as shown in figure 1.
Figure 1. I2C Host Adapter Main Window
If an error occurs and the window does not appear, begin by verifying that the .NET
Framework is installed. To do this, click
Start
on your windows desktop, select
Control Panel
,
and then double-click the
Add or Remove Programs
icon. When the window appears, scroll
through the list of applications and check for the.NET Framework. If not listed, go to
http://msdn2.microsoft.com/en-us/netframework/aa569263.aspx
for
instructions
on
downloading and installing the latest .NET Framework
.