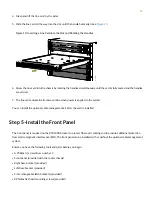
NOTE:
Ensure that the ejector is fully open to avoid scratching the chassis.
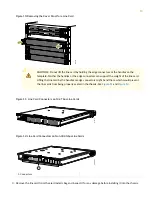
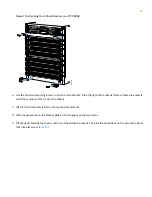
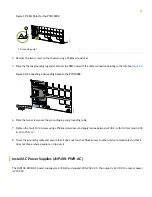
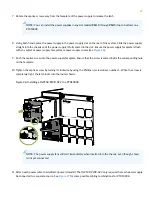
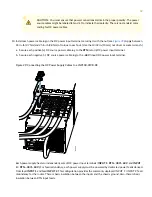
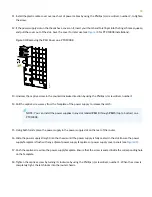
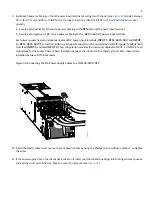
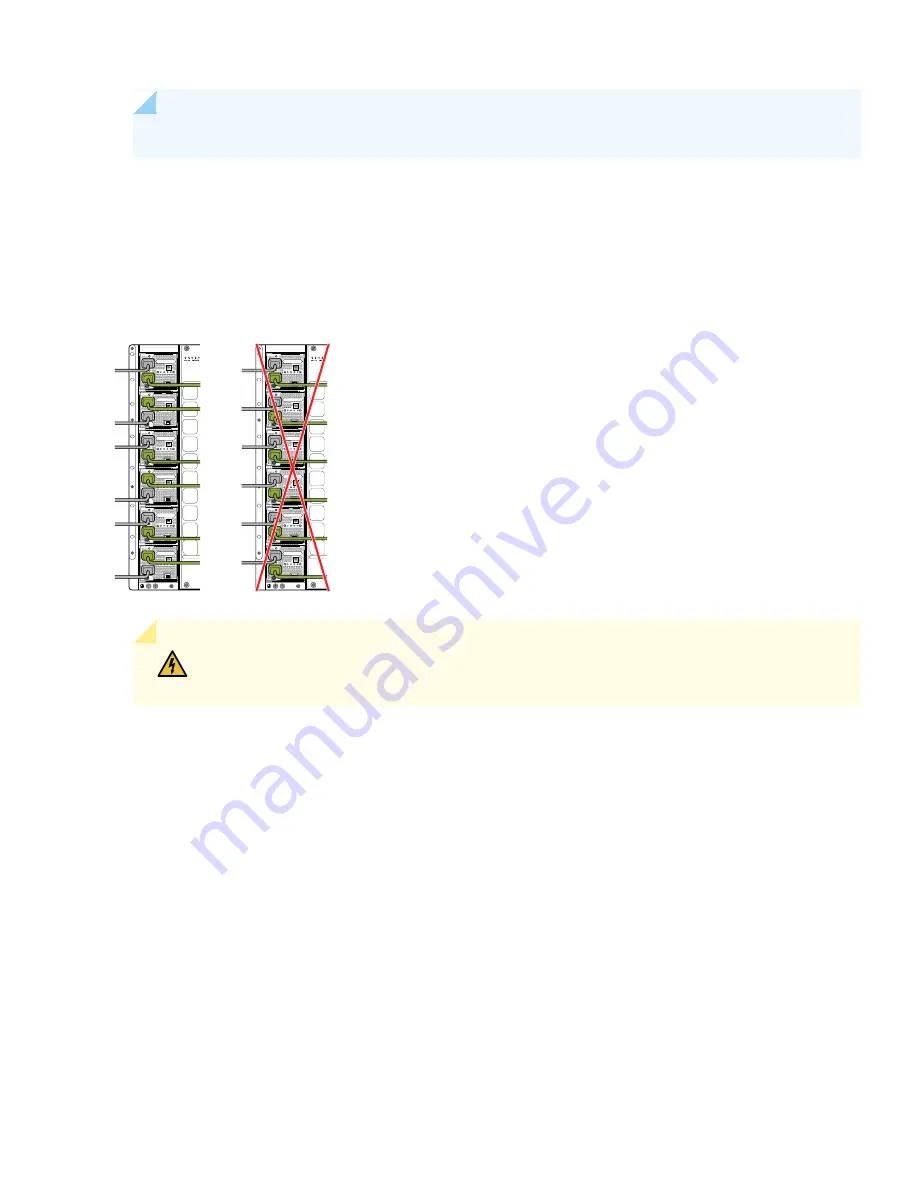
12. Manually load balance the power supplies as you attach each power cable to a dedicated AC power source outlet. To
load balance, route the power cables to alternate between power sources. The JNP10K-PWR-AC does not share
power; all power comes into INP1 (lower receptacle) and only uses INP2 (top receptacle) at fail over. See
.
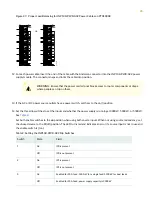
Figure 23: Proper Load Balancing for JNP10K-PWR-AC Power Cables on PTX10008
g100693
WARNING:
Ensure that the power cords do not block access to router components or drape
where people can trip on them.
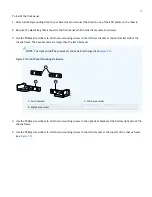
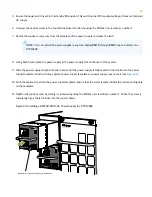
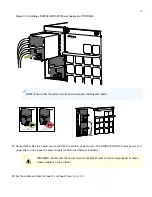
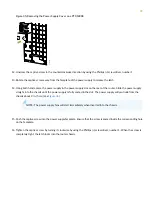
13. Squeeze the two sides of the power cord retainer clip and insert the ends of the clip into the holes in the bracket on
each side of the AC appliance inlets on the AC power supply faceplate. See
14. Locate two power cords shipped with the router; the cords have plugs appropriate for your geographical location.
15. Insert the power cord coupler into the power supply.
Each AC power supply has two independent 16 A rated AC inlets on the faceplate. Each inlet must be connected to a
dedicated AC power feed to achieve 2n source redundancy. If redundancy is not a requirement, use the default input
INP1 for a single connection.
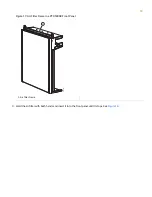
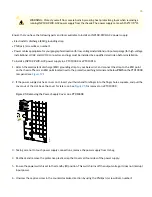
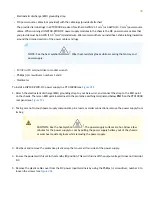
16. Fasten the cord retainer by lowering the clip over the cord and pushing the cord into the adjustment nut of the cord
retainer. Rotate the nut until it is tight against the base of the cord. See
.
24

