47
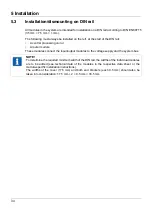
5 Installation
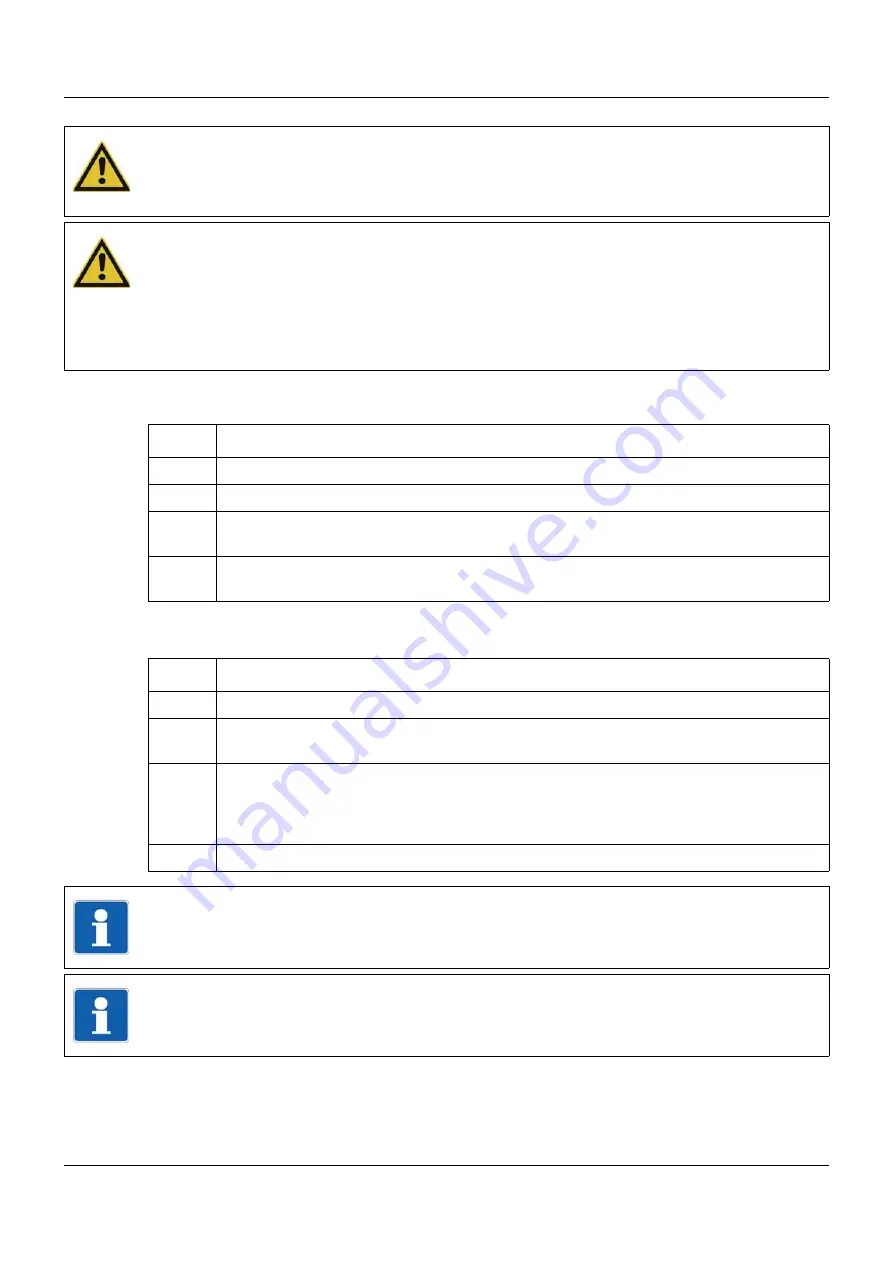
Removing the module insert
Mounting the module insert
CAUTION!
Only module inserts of the same type may be used for the replacement.
Otherwise, the function of the system may be affected.
The module inserts can be clearly identified using the nameplate.
CAUTION!
With the multichannel controller module 705010, a new module insert may contain retrofitted
inputs or outputs that have not yet been configured.
This can lead to unintended behavior, particularly at the outputs and the actuators connected
to them.
Prior to using the retrofitted inputs or outputs, ensure that these have been configured cor-
rectly.
Step
Activity
1
Disconnect load circuits from the relay or solid state relay outputs.
2
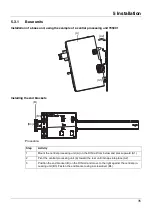
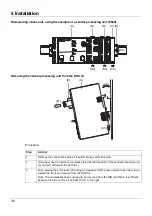
Pull off the wired terminal strips (A) toward the front.
3
Press the old module insert (B) together on the grooved surfaces at the top and bottom and
remove from the case (D).
4
For the multichannel controller module, also remove the modules (F) of the expansion slots
from the case (D) toward the front, if required.
Step
Activity
1
Affix the new nameplate in place of the old nameplate (C) in the case.
2
For the multichannel controller module, also insert the modules (F) of the expansion slots
into the case (D), if required.
3
Hold the new module insert (B) at the grooved surfaces on the top and bottom and insert
them into the case (D). For this purpose, ensure that the board of the module insert slides
into the guide rails of the case. For the multichannel controller module, also ensure that the
modules (F) of the expansion slots slide in the guide rails of the module insert.
4
Reattach the wired terminal strips (A).
NOTE!
When mounting the module insert, ensure that the snap holders (under the grooved surfaces)
audibly snap into place.
NOTE!
The availability of the system can be increased through the storage of module inserts and
modules for expansion slots.
Содержание mTRON T
Страница 2: ......
Страница 5: ...5 Contents 8 2 System expansion system version 02 71 8 3 Training courses seminars 72 ...
Страница 6: ...Contents 6 ...
Страница 50: ...5 Installation 50 ...
Страница 62: ...6 Electrical connection 62 ...
Страница 66: ...7 Startup and configuration 66 ...
Страница 73: ......


