13
10 Retrofitting optional boards
8
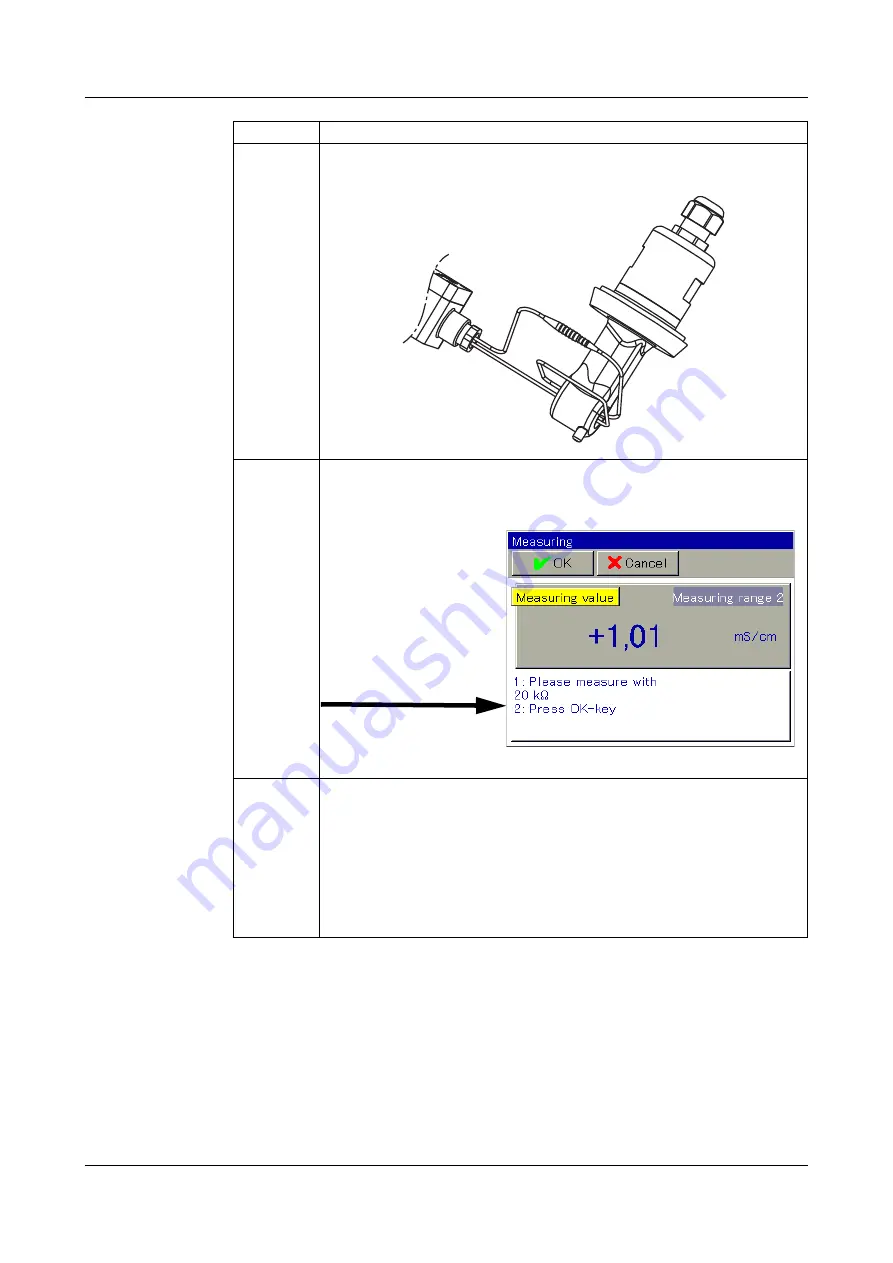
Connect the ends of the wires forming the conductor loop of the
calibration adapter.
9
Set the calibration adapter to the resistance value shown in the in-
struction text in the display (in the example: 20k
Ω
). Once the mea-
surement displayed has stabilized, confirm by pressing "OK".
10
Now follow the instructions on the display.
You will be requested to set certain resistance values on the cali-
bration adapter one at a time and then to confirm each measuring
by pressing "OK".
All resistance value set on the calibration adapter are measured for
the end of one measuring range and the beginning of the following
measuring range. Each resistance value will thus be confirmed 2
times. Only the last measuring will be confirmed 1 time.
Step
Action
Follow the
instructions
Содержание 202580
Страница 6: ...Content...
Страница 28: ...12 Calibrating a pH measuring chain 28...
Страница 42: ...15 Calibrating CR conductivity sensors 42...
Страница 52: ...16 Calibrating Ci conductivity sensors 52...
Страница 60: ...17 Calibrating universal inputs 60...
Страница 79: ...79 18 Technical data...
Страница 80: ...18 Technical data 80...
Страница 81: ......


