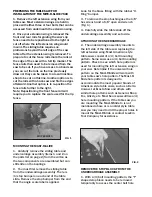
FIG. 11
LEVELING THE TABLE SLIDE
Note: The (8) button head cap screws (letter
“A” in Fig. 9) should all be loosened about
two revolutions for the following adjustment.
1. Begin with a rough adjustment at each
end of the table slide. Position the table slide
so just the outer (2) button head cap screws
and (2) outer set screws are accessible at the
rear end of the saw. Lay a straight edge
across the table saw surface so that the
straight edge rests on the table saw top and
crosses over onto the table slide (Fig. 11).
Site down along the lower edge of the
straight edge and determine the adjustment
necessary to level the two surfaces.
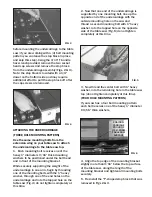
2. On the left end of the table slide, lay a
straight edge along the edge of the table saw
so it rests standing up on the lower carriage
assembly, between the table slide and the
edge of the table saw top (Fig.10).
3. Push the table slide against the straight
edge and snug up the socket head cap screw
(C) from Fig. 9.
4. Then reposition the straight edge at
opposite end of the table slide and repeat
step 3 on the front end of the saw. Leave the
button head cap screws loose for leveling in
the next step.
Provided your saw blade is aligned parallel
with your saw’s miter slot this should provide
a parallel cutting operation. If after all
adjustments have been made and you are
not happy with the cut quality you may
investigate this alignment in greater detail
later on if necessary.
2. Adjust the two outer set screws in
(clockwise) to raise the table slide or out
(counterclockwise) to lower the table slide.
To adjust the inside edge adjust the inside
set screw, to adjust the outside edge adjust
the outer set screw. Once the rear end of the
table slide is level, lightly snug the two
button head cap screws.
3. Do the same adjustment to the opposite
end of the table slide.
4. Recheck both ends again and readjust if
necessary.
MAKING FINE ADJUSTMENTS FOR LEVEL
5. After making the initial rough
adjustments to both ends, if additional
adjustments are necesssary, make fine
adjustments as follows. To raise the table
slide, loosen the button head cap screw 1/8
of a turn and tighten the set screw until it
bottoms out. Repeat if necessary in small
increments. To lower the table slide, loosen
the set screw 1/8 of a turn and tighten the
button head cap screw.
6. Once the ends of the table slide are level
to your satisfaction go to the inner pairs of
button head and set screws and check for
level at these locations. Adjust the set
screws up or down as necessary and snug up
the button head cap screws. Make fine
adjustments at both ends as done in step 5 if
necessary.
7. Recheck and readjust as necessary to
achieve your desired position of level.
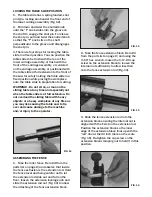
LOCK
KNOB
FIG. 12


