background image

25

VM9512HD

DVD/VCD VIDEO OPERATION

NOTE: When properly installed, DVD video cannot be 
displayed on the main TFT screen unless the parking 
brake is applied. If you attempt to play a DVD while the 
vehicle is moving, the TFT screen displays “PARKING” 
with a blue background. Rear video screens, if 
applicable, will operate normally.

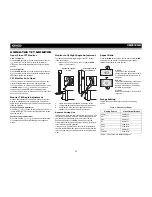
Opening/Closing the TFT Video Screen

Opening the TFT Screen

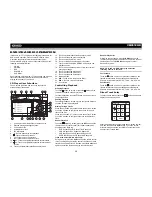
To open the TFT video screen, press the 

OPEN

 button (1). 

The unit beeps and then opens.

Closing the TFT Screen

Press the 

OPEN

 button (1) again to close the TFT screen. If 

the screen is in the “IN” position, it moves out before closing. 

Insert/Eject Disc

Upon inserting a DVD disc, DVD mode is entered and disc 
play begins. 

NOTE: If Parental Lock (Rating) is activated and the disc 
inserted is not authorized, the 6-digit code must be 
entered and/or the disc must be authorized (see “General 
Sub-menu Features” on page 18).

You cannot insert a disc if there is already a disc in the unit or 
if the power is off. 

NOTE: DVD-R and DVD-RW will not play unless the 
recording session is finalized and the DVD is closed.

Ejecting a Disc 

Press the   button (21) on the unit or remote control (35) to 
eject the disc. The unit automatically reverts to Tuner mode. 
You may eject a disc with the unit powered off. The unit will 
remain off after the disc is ejected.

Reset the Loading Mechanism

If the disc loads abnormally or an abnormal core mechanism 
operation occurs, 

press and hold

 the   button (21) on the 

unit or remote control (35) to reset the loading mechanism. 
Normal operation resumes. 

Accessing DVD Mode

To switch to DVD mode when a disc is already inserted, 
press the 

SRC

 button (15) on the front panel or remote 

control (8) until “DISC” appears at the bottom of the screen.

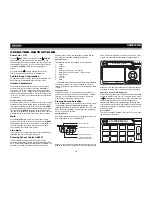
Controlling Playback

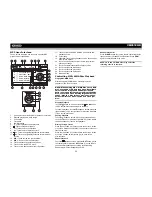
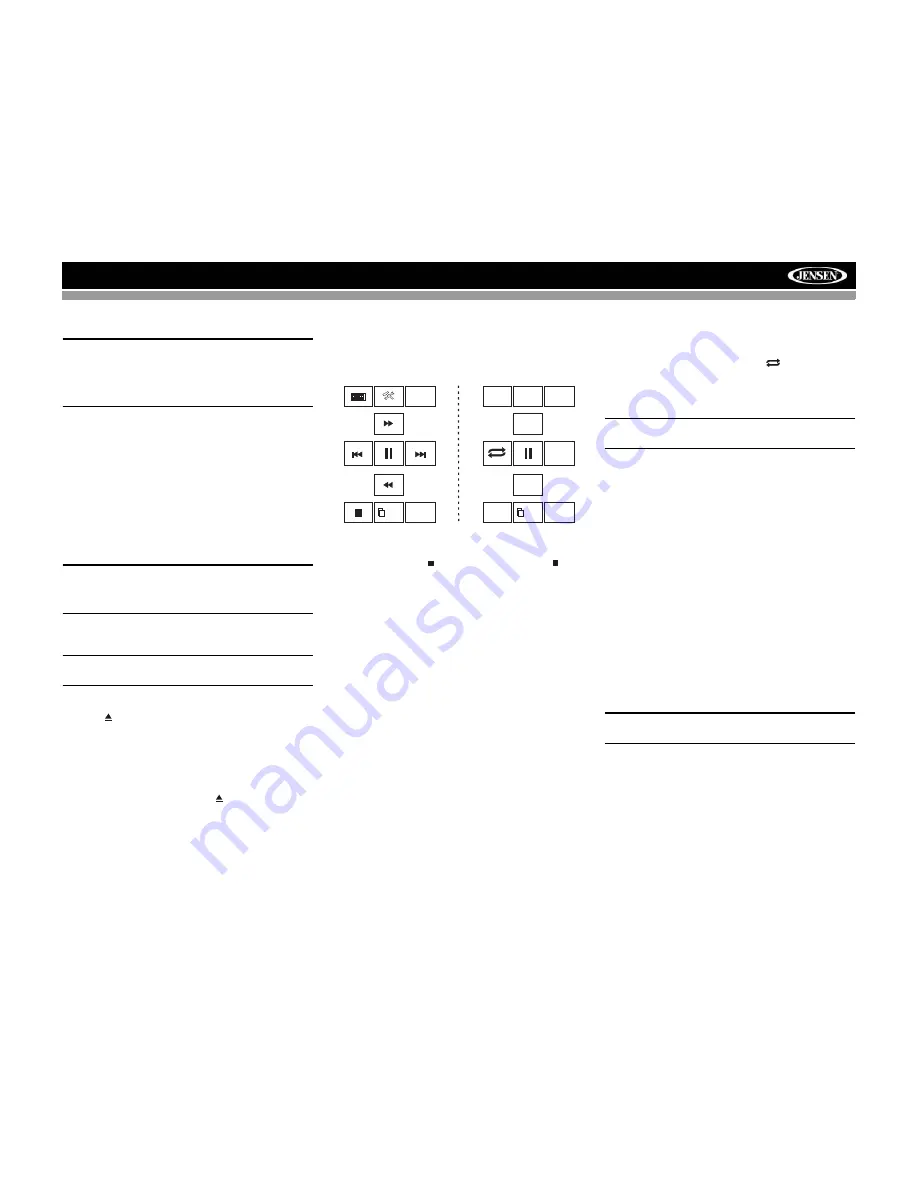
To access the on-screen controls, touch the screen. Touch 
the 

1/2

 button to view a second page of controls

Stopping Playback

Touch the stop button ( ) on the screen or press the 

/

BAND

 button (20) on the remote control to stop DVD play.

Pausing Playback

Touch the pause button (||) on the screen (or press the 

>/||


button on the remote control) to suspend disc playback. 
Press the > button on the screen to resume disc playback.

Fast Forward Playback

Press the 

/\

 button on the joystick or the >> button on the 

screen to fast forward. Keep pressing and releasing the 
button to increase the rate from “2X” to “4X”, “6X”, and “8X”.

Press the joystick enter button (18) on the remote control or 
touch the play button (>) to resume normal playback. 

Fast Reverse Playback

Press the 

\/

 joystick button or touch the << button on the 

screen to play the current title in fast reverse. Keep pressing 
and releasing the button to increase the rate from “2X” to 
“4X”, “6X”, and “8X”. 

Press the joystick 

ENTER

 button (18) on the remote control 

or touch the play button (>) to resume normal playback. 

Slow Forward/Slow Reverse Playback

Press the 

||>/BAND

 button on the remote control to slow 

forward/slow reverse. Keep pressing and releasing the button 
to increase the slow forward rate from “2X” to “4X” and “8X” 
and then begin slow reverse.

Repeat Playback

Press the 

RPT

 button (19) on the control panel, the 

RPT


button (7) on the remote control, or the 

 button on screen 

to alter repeat mode according to the following:

DVD: Repeat Chapter, Repeat Title, Repeat Off

VCD (PBC Off): Repeat Single, Repeat Off

NOTE: For VCD play, the repeat function is not available 
if PBC is on.

Sectional Repeat Function (A-B)

Use the A-B function to define a specific area of a disc to 
repeat.

Press the 

RPT


A-B

 button (6) on the remote control (or 

the A-B button on screen) to set the start point (A) of the 
repeated section. 

Press the 

RPT A-B

 button again once you reach the 

desired end point (B) of the repeated section. The 
selected portion of the DVD will now repeat 
continuously. 

Press the 

RPT A-B

 button again to cancel the A-B 

section setting and stop repeat play. 

Random Playback

With a DVD, VCD, or CD playing, press the 

RDM

 button on 

the control panel (21) or remote control (33) to activate 
random playback and play all chapters/tracks in random 
order. “On” appears on the screen. 

Press the 

>

 button on the joystick to play the next random 

track.

Press the 

RDM

 button again to turn random play off. 

NOTE: When a VCD is playing with PBC turned “On”, 
activating random playback automatically turns PBC off. 

Picture in Picture (PIP)

Press the 

PIP

 button (30) on the remote control to view a 

Picture in Picture image of the Front source, Rear Zone or 
NAV screen. Use the left/right arrows at the bottom of the 
image to change the PIP source.

Accessing the DVD Menu

Press the 

MENU

 button (1) on the remote control to recall the 

main DVD menu. Use the joystick to select a title from the 
menu or touch the title on screen.

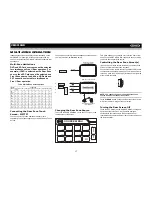
1/2

BACK

MENU

2/2

PIP

DISP

EQ

AUDIO

A-B

TITLE

SUBTITLE

REAR

Содержание VM9512HD

Страница 1: ...240 Watts Peak Watts en Cr te Vatios el M ximo 60W x 4 VM9512HD Installation and Operation Manual video Enter VM9512HD Press Audio ANGLE TILT PICTURE Multimedia Receiver AS DISP BAND CLOSE...

Страница 2: ......

Страница 3: ...n VM9512HD Mobile Multimedia Receiver for maximum enjoyment Preparation 1 Installation 5 Anti Theft Feature 6 Controls and Indicators 7 Remote Control 9 Using the TFT Monitor 12 Operating Instructions...

Страница 4: ...ii...

Страница 5: ...able iPod Interface Cable included MediaLink4 Under Dash Interface Allows Portable Media Devices to be Connected MediaLink4 Includes the Following Connectivity USB Supports Hard Drives and Flash Memor...

Страница 6: ...and strippers Tools to remove existing radio screwdriver socket wrench set or other tools Electrical tape Crimping tool Volt meter test light Crimp connections 18 gauge wire for power connections 16...

Страница 7: ...SURROUND REAR R RED WHITE WHITE RED Rear Video 1 YELLOW WHITE YELLOW RED Rear View Video Camera External AV System YELLOW BLACK MZ7 TFT Touch Screen Sold Separately MediaLink Bus SAT Radio AUX IN 1 SA...

Страница 8: ...en 5 5 or earlier photo or video iPod iPhone iPod Touch iPod Classic and iPod Nano with video will only play music files Compatible SAT Tuners 1 XMD1000 requires XMC or XMDJEN100 Cable Kit 2 CNP2000UC...

Страница 9: ...ust be on If unit does not operate recheck all wiring until problem is corrected Once proper operation is achieved turn off the ignition switch and proceed with final mounting of the chassis 1 Connect...

Страница 10: ...the screen to enter the SETUP menu 2 Touch RATING to view the RATING sub menu An open lock icon to the right of the Password field indicates that a user password had not yet been entered 3 Touch the...

Страница 11: ...uring navigation the voice prompts will still be heard although the navigation map cannot be seen The selected source audio will be muted until the navigation voice prompt command is completed after w...

Страница 12: ...r disc insertion ejection Press and hold to reset core mechanism position 17 TFT Display 18 REAR Select rear zone source Allows front passengers to listen to the radio while rear passengers listen to...

Страница 13: ...nt to rear zone move the F R switch 32 located on the right side of the controller 29 3 4 5 9 6 7 26 27 15 16 34 33 19 32 23 24 31 30 8 35 1 2 10 13 28 25 11 12 14 20 18 17 22 21 NOTE Your remote cont...

Страница 14: ...ying DVD or Photo Zooms in Navigates the preset station list Navigates list window Navigates the preset station list Navigates list window PRESET 12 Zooms out when playing DVD or Photo Zooms out Navig...

Страница 15: ...IN EMA or Standby Selects display mode CIN EMA or Standby 1 2 3 4 5 6 7 8 9 0 Numeric Keypad 29 Directly accesses chapter 1 18 selects preset for current band Directly accesses track 1 6 selects prese...

Страница 16: ...he TFT screen in Out Press the OPEN button 1 if necessary 2 Locate the extender mechanism behind the screen 3 Firmly grasp both sides of the screen near the bottom 4 Gently pull on either the left or...

Страница 17: ...m If an obstruction occurs in the monitor path the following protective measurements can be executed to prevent damage to the mechanism or monitor After the protective procedure is executed normal ope...

Страница 18: ...uded with the PAC adapter for detailed installation information SWC Functions The following controls are available for most vehicles 1 Vol Up 2 Vol Down 3 Mute 4 Seek Up Next Track Preset Up 5 Seek Do...

Страница 19: ...it after a few seconds of inactivity To exit quickly touch the top left corner of the screen or press and hold the AUDIO button 5 Alternate Display Options A menu located on the left side of the scree...

Страница 20: ...e the tip of a pen to press the reset button 12 located on the front bottom right corner of the unit After a system reset the unit restores all factory default settings NOTE If the unit is reset while...

Страница 21: ...r zone functions You can also use the remote control The VM9512HD remote controls both the front and rear zones To switch from front to rear zone move the F R switch 32 located on the right side of th...

Страница 22: ...PM 24 Hour Clock displays 24 hour time up to 23 59 RADIO RADIO SETUP RDS Rating Hardware P VOL TS Cal General Language Audio Back Clock Mode 12 Hour Clock Adjust 04 31 AM Video Input AUTO Beep On Spe...

Страница 23: ...tor is in display mode the monitor automatically switches to CAMERA mode upon reverse driving When the reverse driving stops the monitor return to its original input mode Setting Options Function Blue...

Страница 24: ...Continue for each quadrant until the calibration is completed To exit without performing calibration touch the BACK button Exiting the System Setup Menu To exit setup mode and resume normal playback p...

Страница 25: ...uch to select Auto Analog or Digital tuning mode 22 HD Radio station indicator 23 Auto memory scan Switching to HD Radio Reception Touch the top left corner of the screen the circle to view the SOURCE...

Страница 26: ...reset Stations You can store up to 18 presets for FM and 6 presets for AM Stored stations appear on the left side of the screen Storing a Station 1 Select a band if needed then select a station 2 Touc...

Страница 27: ...n the following bands SAT1 SAT2 or SAT3 indicated in the top left corner of the TFT screen Six numbered preset buttons store and recall stations for each band All six stored stations P1 P6 for the cur...

Страница 28: ...s While in Search Mode to switch between Channel and Category search modes press the CH or CAT buttons on the touch screen Use the scroll bar and arrows on the touch screen to view the next previous p...

Страница 29: ...forward Keep pressing and releasing the button to increase the rate from 2X to 4X 6X and 8X Press the joystick enter button 18 on the remote control or touch the play button to resume normal playback...

Страница 30: ...choose a language Changing Subtitle Language If you are watching a disc recorded in multiple languages with subtitles press the SUBTITLE button 9 on the remote control to choose the language in which...

Страница 31: ...Number of subtitle languages available on the disc maximum of 32 Number of angles provided maximum of 9 Aspect ratios available LB stands for Letter Box and PS stands for Pan Scan In the example on th...

Страница 32: ...suspend or resume disc playback Moving Through Tracks Press the button 19 on the remote control or on screen or use the button on the joystick to advance to the next track on the disc Press the button...

Страница 33: ...elect are accessed in the order they were written by the CD writer As a result the order in which they are expected to be played may not match the order in which they are actually played You may be ab...

Страница 34: ...increase disc reading reliability Also use folders when burning large numbers of songs files to a disc for easy music navigation Select the Disc at Once option and close your disc Stopping Playback To...

Страница 35: ...enu option Press the button 14 on the remote control or the button 18 on the joystick or touch the MENU button on screen to return to the previous menu Fast Forward Fast Reverse Press and hold the or...

Страница 36: ...the desired track file using the on screen number pad Press the Enter button to tune to the selected station To exit the screen without changing the station touch Exit To clear your entry and start ov...

Страница 37: ...from the head unit turn the Bluetooth connectivity off on the mobile phone Phone Book direct searching through the head unit is only available if the mobile phone supports Phone Book Download If the f...

Страница 38: ...can be answered directly or left for voice mail Volume Control To increase or decrease the volume level turn the rotary encoder 5 on the front panel or press the VOL VOL buttons 15 16 on the remote co...

Страница 39: ...he VM9512HD allows you to play back audio files from your phone PDA or personal music player using a Bluetooth connection Before using an audio player it may be necessary to enter a PIN code into the...

Страница 40: ...lfunction MUTE wire is grounded Check that the MUTE connection is not grounded and that it s properly insulated Unit resets itself when engine is off Incorrect connection between ACC and positive batt...

Страница 41: ...od files Incorrect playback message displayed Message is longer than LCD can display SAT RADIO No Sound Incorrect cable connections Check RCA cables Satellite source not available Incorrect cable conn...

Страница 42: ...maged by foreign objects 5 Do not attempt to use a 3 8 cm CD Single disc in this unit either with or without an adaptor as damage to the player and or disc may occur Such damage is not covered by the...

Страница 43: ...18 kHz Signal to Noise Ratio Stereo 70 dB AM Tuner Tuning Range 530 kHz 1710 kHz Sensitivity 20dB 12uV Signal to Noise Ratio 1 kHz 50dB Image Rejection 60dB Frequency Response 50Hz 2 kHz 3dB Monitor...

Страница 44: ...40 VM9512HD...

Страница 45: ...tenance section of your Installation and Operation Manual for additional information regarding the proper use of your product Limitations THE EXTENT OF THE COMPANY S LIABILITY UNDER THIS WARRANTY IS L...

Страница 46: ...Audiovox Electronics Corporation Hauppauge NY 11788 Technical Assistance 1 800 323 4815 www jensen com 2008 Audiovox Ver 052808 Printed in China...

Страница 47: ......

Страница 48: ...e and are subject to eMusic s Terms of Use eMusic is a registered trademark of eMusic com Inc in the U S A and other countries iPod is a registered trademark of Apple Inc Apple is not a partner sponso...

Отзывы: