


2. Connect the adapter cable to the LCD monitor..
3. Plug the LCD monitor AC power plug into the power jack on the rear of the LCD base.
4. Turn on the LCD monitor by pressing the top POWER button.
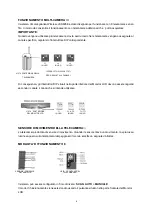
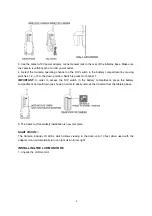
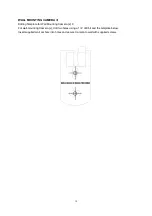
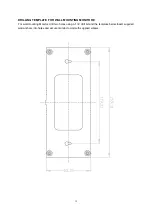
5. If using the rechargeable battery pack (for your option), when changing the LCD bracket with that,
please follow the schematic as below:
6. The earphone jack is available.
OPTIMIZING THE WIRELESS CAMERA SYSTEM///
The 2.4 GHz signal passes easily through walls, but the signal may be reflected by power wires or
plumbing inside the wall. The most common source of interference is microwave ovens. Try to avoid
mounting the LCD monitor near a microwave oven or other source of RF interference.
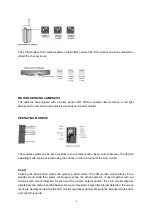
MULTI-CAMERA OPERATION///
The Wireless monitoring System is designed to work with up to three cameras. Additional cameras are
sold separately.
IMPORTANT:
When using more than one camera, make sure each camera is assigned to a
specific/different channel by moving the DIP switch to the right position.
5
Содержание JKS5056
Страница 1: ......
Страница 2: ......
Страница 3: ...JKS5056 MANUALE D USO SISTEMA DI VIDEO SORVEGLIANZA SENZA FILI CON TELECAMERA E SENSORE DI MOVIMENTO ...
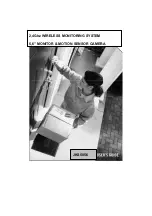
Страница 17: ...JKS5056 2 4Ghz WIRELESS MONITORING SYSTEM 5 6 MONITOR MOTION SENSOR CAMERA ...
Страница 31: ......


