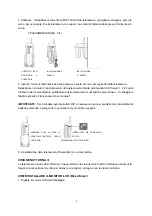


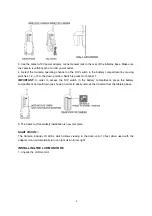


3. Use the camera 12V power adaptor, connect power jack to the rear of the tabletop base. Make sure
the camera is within reach of an AC power outlet.
4. Select the Camera operating channel on the DIP switch in the battery compartment by moving
switches 1, 2, or 3 to the down position. Switch is preset to channel 1.
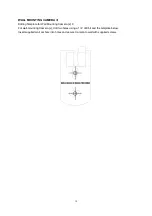
IMPORTANT:
In order to access the DIP switch in the battery compartment, press the battery
compartment and pull down (as shown) in order to easily remove the Camera from the tabletop base.
5. The Camera (Transmitter) installation is now complete.
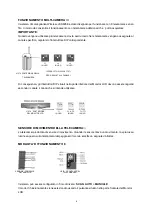
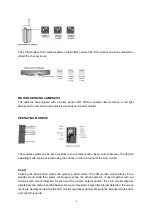
NIGHT VISION
///
The Camera includes IR LEDs, which allows viewing in the dark up to 10 feet when used with the
adapter. It can automatically turn on night vision in low light.
INSTALLING THE LCD MONITOR///
1. Unpack the LCD monitor.
4
Содержание JKS5056
Страница 1: ......
Страница 2: ......
Страница 3: ...JKS5056 MANUALE D USO SISTEMA DI VIDEO SORVEGLIANZA SENZA FILI CON TELECAMERA E SENSORE DI MOVIMENTO ...
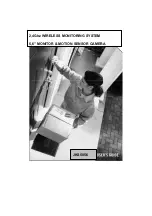
Страница 17: ...JKS5056 2 4Ghz WIRELESS MONITORING SYSTEM 5 6 MONITOR MOTION SENSOR CAMERA ...
Страница 31: ......


