


18
Setting Up the Meter for Loss and Power Measurements
To prepare the meter for loss and power measurements:
1. Ensure that the meter is powered off.
2. Set the power switch to
I
(on), and select the Restore Last Settings or Initialize option.
3. Press
the
or
key to select the required output port.
4. Clean the output port on the front of the meter and the FC/APC connector (green boot) of
the measurement jumper. Connect this end of the jumper to the output port. Ensure that you
are using the measurement jumper and not the calibration jumper (which is labeled).
5. Press
the
key to select the required wavelength.
6. Attach the appropriate detector adapter to the detector on the front of the meter.
7. Connect the output connector of the measurement jumper to the detector adapter. This end
of the jumper is user-selected and must be compatible with the input connector of the DUT.
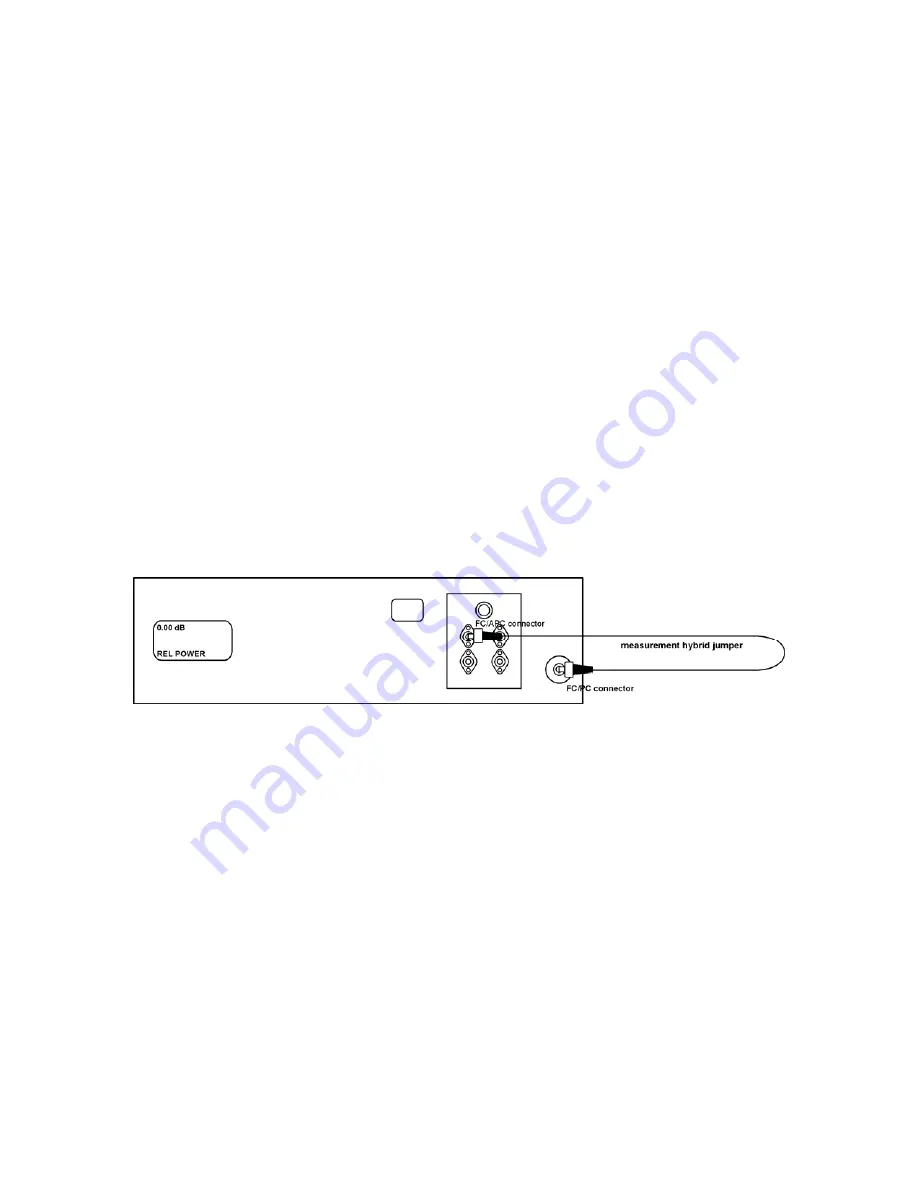
8. Press the POWER key to set the meter to Relative Power mode. When the meter is in
Relative Power mode, measurements are displayed in dB and the mode is indicated (Figure
13).
Figure 13: Setting Up for Loss and Power Measurements
9. Press the REF key. The display reads 0.00 dB, and the loss of the measurement jumper is
subtracted from the DUT loss or power measurements to be made.
10. Repeat steps 3 to 9 for the next required output port.
11. Ensure that the detector is covered; for example, the detector cap is on or the output
connector is connected to the detector. This dark measurement current is subtracted from
future power measurements.
12. Press the DARK key. The key lamp lights to indicate that the user-stored value of DARK
(the dark signal from extraneous sources) is used to calculate the DUT loss or power.
If the detector is not sufficiently covered, the message “Too Much Light” is displayed.
If the DARK value is not stored before a measurement is made, the last value stored is
used.
Artisan Technology Group - Quality Instrumentation ... Guaranteed | (888) 88-SOURCE | www.artisantg.com
Содержание RX3 Series
Страница 5: ...iv Artisan Technology Group Quality Instrumentation Guaranteed 888 88 SOURCE www artisantg com...
Страница 12: ...xi Artisan Technology Group Quality Instrumentation Guaranteed 888 88 SOURCE www artisantg com...
Страница 13: ...xii Artisan Technology Group Quality Instrumentation Guaranteed 888 88 SOURCE www artisantg com...
Страница 51: ...38 Artisan Technology Group Quality Instrumentation Guaranteed 888 88 SOURCE www artisantg com...
Страница 53: ...40 Artisan Technology Group Quality Instrumentation Guaranteed 888 88 SOURCE www artisantg com...


