background image


Use the CER player (player installation software is in the disc provided) or other 
popular software media players to play the download files.  

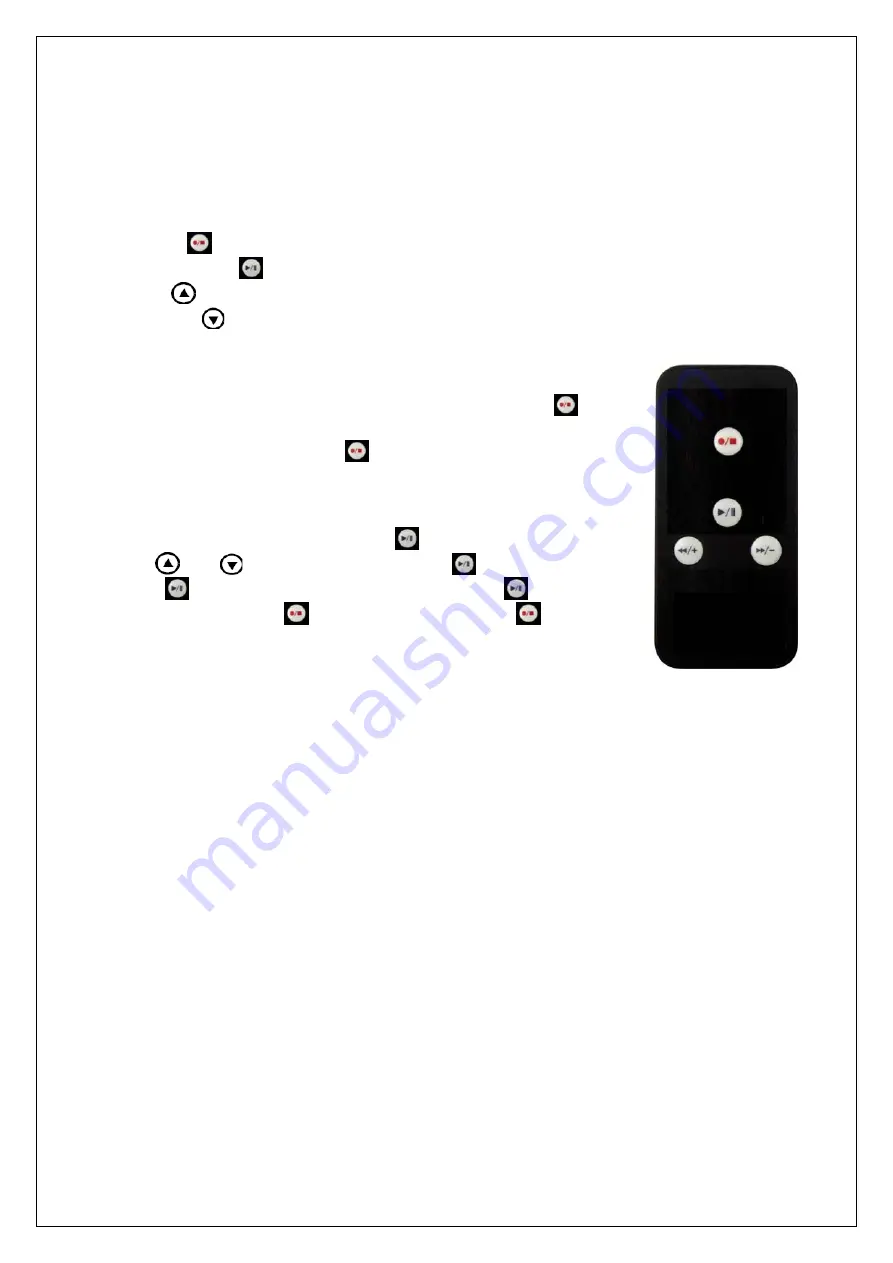
4. Remote control 

The unit comes with remote control. The remote control works as the primary input 
method for operation.  
There are 4 buttons on the remote control:  

a. REC   
b. PLAYBACK


c. UP


d. DOWN


Event Recording 

          When the device is connected with power, the device starts to 

record and in standby mode for event recording, press 

 to start 

event recording, green LED blinks and this indicates event 

recording in progress; press 

 again to stop recording, and the 

green LED will back to flash. 

 
 File Playback via AV out 
At AV out live display mode, press 

 to enter playback mode. 

Use 

 and 

 to select event file. Press 

 to confirm and 

press 

 again to start play, when playing press 

 for pause.  

When playing, press 

 return to play list.   Press 

 again 

return to live display mode and prepare to record. 


Содержание QV-3798

Страница 1: ...Car Event Recorder QV 3798 INSTRUCTION MANUAL ...

Страница 2: ...anual trigger for Video recording Built in GPS global positioning system 3 Electrical Parameters Wide voltage input 10 30Vdc Backup Ni MH battery for Emergency Built in 300K image sensor 6 IR LEDs for night vision USB 1 1 for Mass Storage driver Micro SD card not included support SDHC up to 16GB Time G sensor data stamp on recorded video A V output to connect display for video monitor playback LCD...

Страница 3: ...o mount the recorder make sure the recorder is in an area that will not obstruct your vision while driving Choose a Location and Install Power Cable 1 Choose a location on windshield or dashboard of your car where does not obstruct your vision 2 Connect the Cigarette DC plug cable provided with the cigarette lighter socket 12V power outlet of vehicle Remark The cable must not interfere the safe op...

Страница 4: ......

Страница 5: ...your viewing angle Tighten the screw on the mount to fix the position Remark To maximize the effectiveness of the suction mount it is recommended the application is performed under the following conditions Surface temperature should be between 21 to 38 70 and 100 Application below 10 50 should be avoided Application should be avoided in direct sunlight Mounting should be protected from exposure to...

Страница 6: ...Side View A Side View B ...

Страница 7: ...ellite or SD card is not inserted 7 LCD DISPLAY The modes of display are shown as below If revolving function is set this icon lights up MODE Button Time display Play back File List Playback Time setting TIME Display time date Review next file N A Confirm until date time setting finish and then back to normal display mode TIME press 3sec Enter time date setting N A N A N A REC Recording startup st...

Страница 8: ...60 adjustable seconds after the trigger point will be saved When recording is in process the Red LED blinks Once the recoding is stopped Red LED will stop flash and resume to standby mode NOTE G Sensor data watermark Time watermark are stamped on all recorded files Resolution of recorded file is 640 x 480 and 30 films per second 3 File Playback File Playback can be achieved by a Reviewing on TV se...

Страница 9: ...the device is connected with power the device starts to record and in standby mode for event recording press to start event recording green LED blinks and this indicates event recording in progress press again to stop recording and the green LED will back to flash File Playback via AV out At AV out live display mode press to enter playback mode Use and to select event file Press to confirm and pre...

Страница 10: ...itched by using the left bottom corner button Select sub menu Full screen of the View menu to set the Video frame full screen Via Play menu you can play pause or stop the video playing b Control Bar Open and control the video playing by using the buttons contained in Control Bar c Audio Control Use for adjusting the volume 2 On screen display a Map and Driving Route At left of the window is the ma...

Страница 11: ...ime define the record time triggered by pressing recording button Event trigger recording time define the record time triggered by event G sensor On screen display set watermark on or off in the video image G sensor sensitivity set the sensitivity for event triggering Overwrite set the record overwriting on or off Caution if set overwrite off Once the card is full written the unit will stop record...

Страница 12: ... the provisions contained therein DISCLAIMER You agree to use car event recorder in accordance with all privacy laws in effect in your jurisdiction and to observe all such laws and regulations The use of the video recording and or audio functions of car event recorder shall not be used without limitation for immoral criminal tortuous acts and other civil wrong doings harassment and disturbance of ...

Отзывы: