20
www.janome.com
User Manual
QUILT MAKER PRO 16
Opti onal Accessory: Laser Stylus
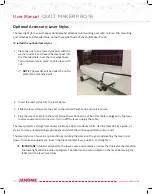
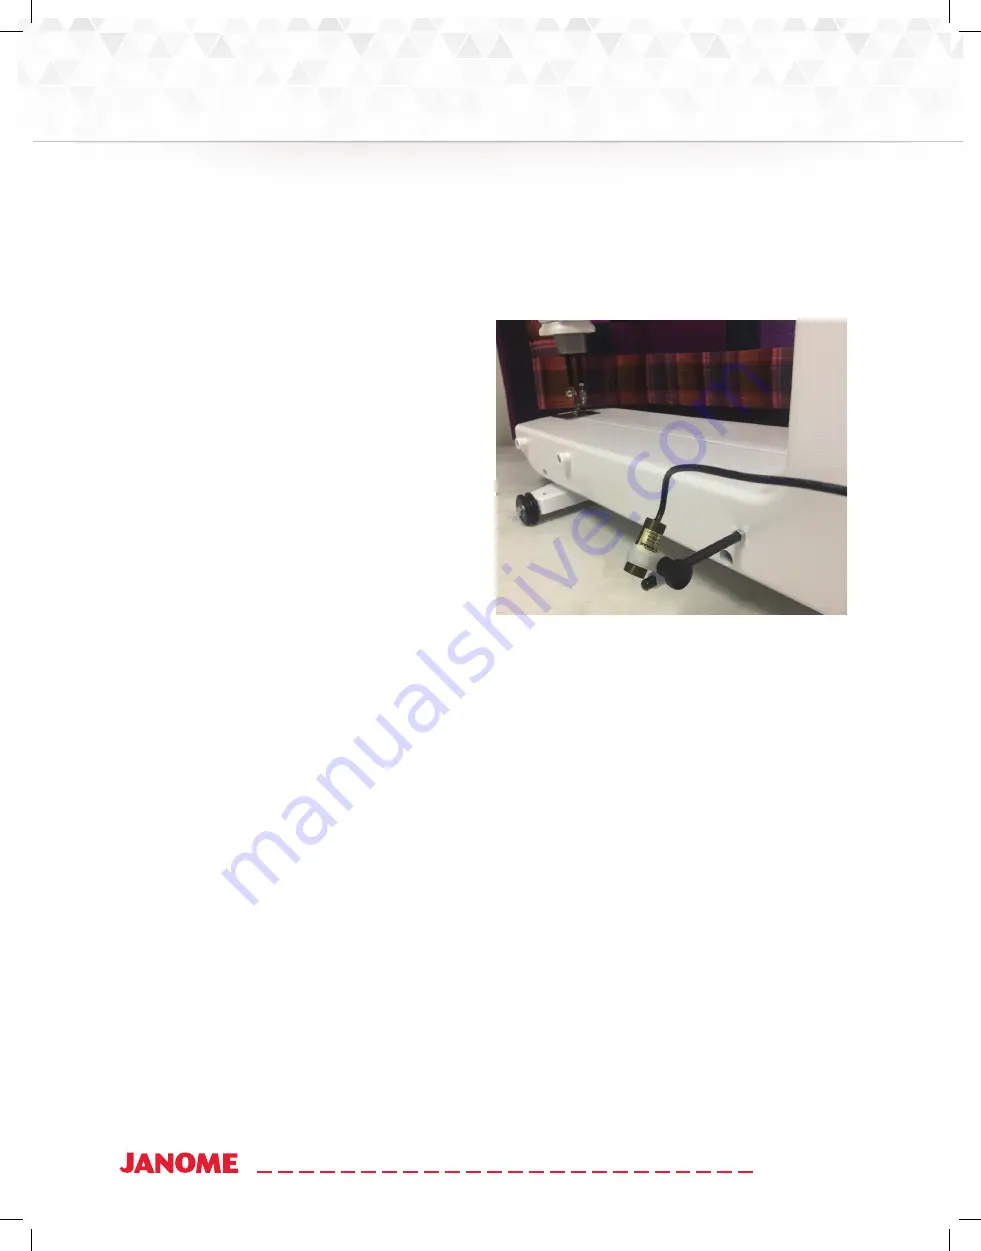
The laser light (for use with paper pantographs) att aches to a mounti ng post with a clamp. The mounti ng
post att aches to a threaded hole on the thread-path side of the Quilt Maker Pro 16.
To install the opti onal laser stylus
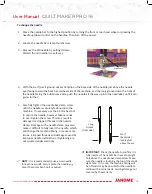
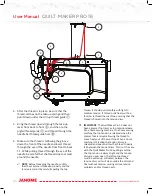
1. Place the nut on the laser stylus post with the
washer under it and thread the laser post into
the threaded hole, near the rear wheel base.
Turn unti l securely in place. Lock in place with
nut.
NOTE
: The washer will be under the nut to
protect the machine paint.
2. Insert the laser stylus into the laser clamp.
3. Slide the laser clamp over the post to the desired height and ensure it is secure.
4. Plug the laser’s cable into the Laser Stylus Power Connector. When this cable is plugged in, the laser
receives power and is turned on. To turn off the laser, unplug the cable.
The laser projects a straight laser beam visible as a dot on surfaces it hits. Use the laser dot as a guide, or
stylus, to trace printed pantograph designs and sti tch the conti nuous patt ern onto a quilt.
The laser stylus can move in any directi on by rotati ng the clamp on the post and pivoti ng the laser up or
down. To make an adjustment, loosen the black thumbscrews, positi on, and reti ghten.
IMPORTANT
: A label is att ached to the laser’s case and contains an arrow that indicates the directi on
the laser light will shine when energized. The label must remain in place on the laser. Removing the
label voids the laser’s warranty.
Содержание Quilt Maker Pro 16
Страница 1: ...USER MANUAL Version 1 0 Janome America Quilt Maker Pro 16...
Страница 62: ...62 www janome com User Manual QUILT MAKER PRO 16 Notes...
Страница 63: ...63 www janome com User Manual QUILT MAKER PRO 16...
Страница 64: ......


